Summary
I’m working on installing an Aires wind vane that I bought second-hand on eBay. I’ll write more about the vane later, but first a brief note on the backer plates that I fabricated to support the points at which the wind vane frame bolts on to the transom of the boat.
Don’t let a wave break it off your boat
I did some research on different types of wind vanes and received some feedback from experienced people that any device that bolts to the transom is at risk of being torn out by a quartering wave. Having a large hole in the transom would be difficult to deal with to say the least.
I’ve never worked with G10, but based on what I have read it seems like a good choice for my situation. Wikipedia says, “G-10 is a high-pressure fiberglass laminate, a type of composite material.[1] It is created by stacking multiple layers of glass cloth, soaked in epoxy resin, and by compressing the resulting material under heat until the epoxy cures.[2][3] It is manufactured in flat sheets, most often a few millimeters thick.” It is very strong and will not rot. It will degrade in sunlight, but my design calls for a painted product to match the existing transom.
I bought a sheet of ⅜” thick G10 from Defender for $65 for a 12*24” piece. It is not an inexpensive product.
I have four attachment brackets for the vane, and I wianted to put backer plates inside the hull and outside the hull, for a total of 8 plates. This is probably overkill, but so what? The design constraints were:
1.The vane installation should be removable as it is superfluous for day-sailing.
2. The backer plates on the exterior of the hull should be removable (see point 1).
3. The backer plates should conform to the convex contour of the transom, so that the bolt pressure of the brackets do not distort the hull.
I have read some accounts that suggested the material could heat up and start to melt like plastic while being worked and shaped, so I proceeded with some caution. From my boardI cut 4*6 postcard sized pieces with a thin-kef blade on my Ryobi battery skil saw. The blade is relatively sharp, I guess, and the cut did not cause the material to melt at all. I pushed the saw slowly.
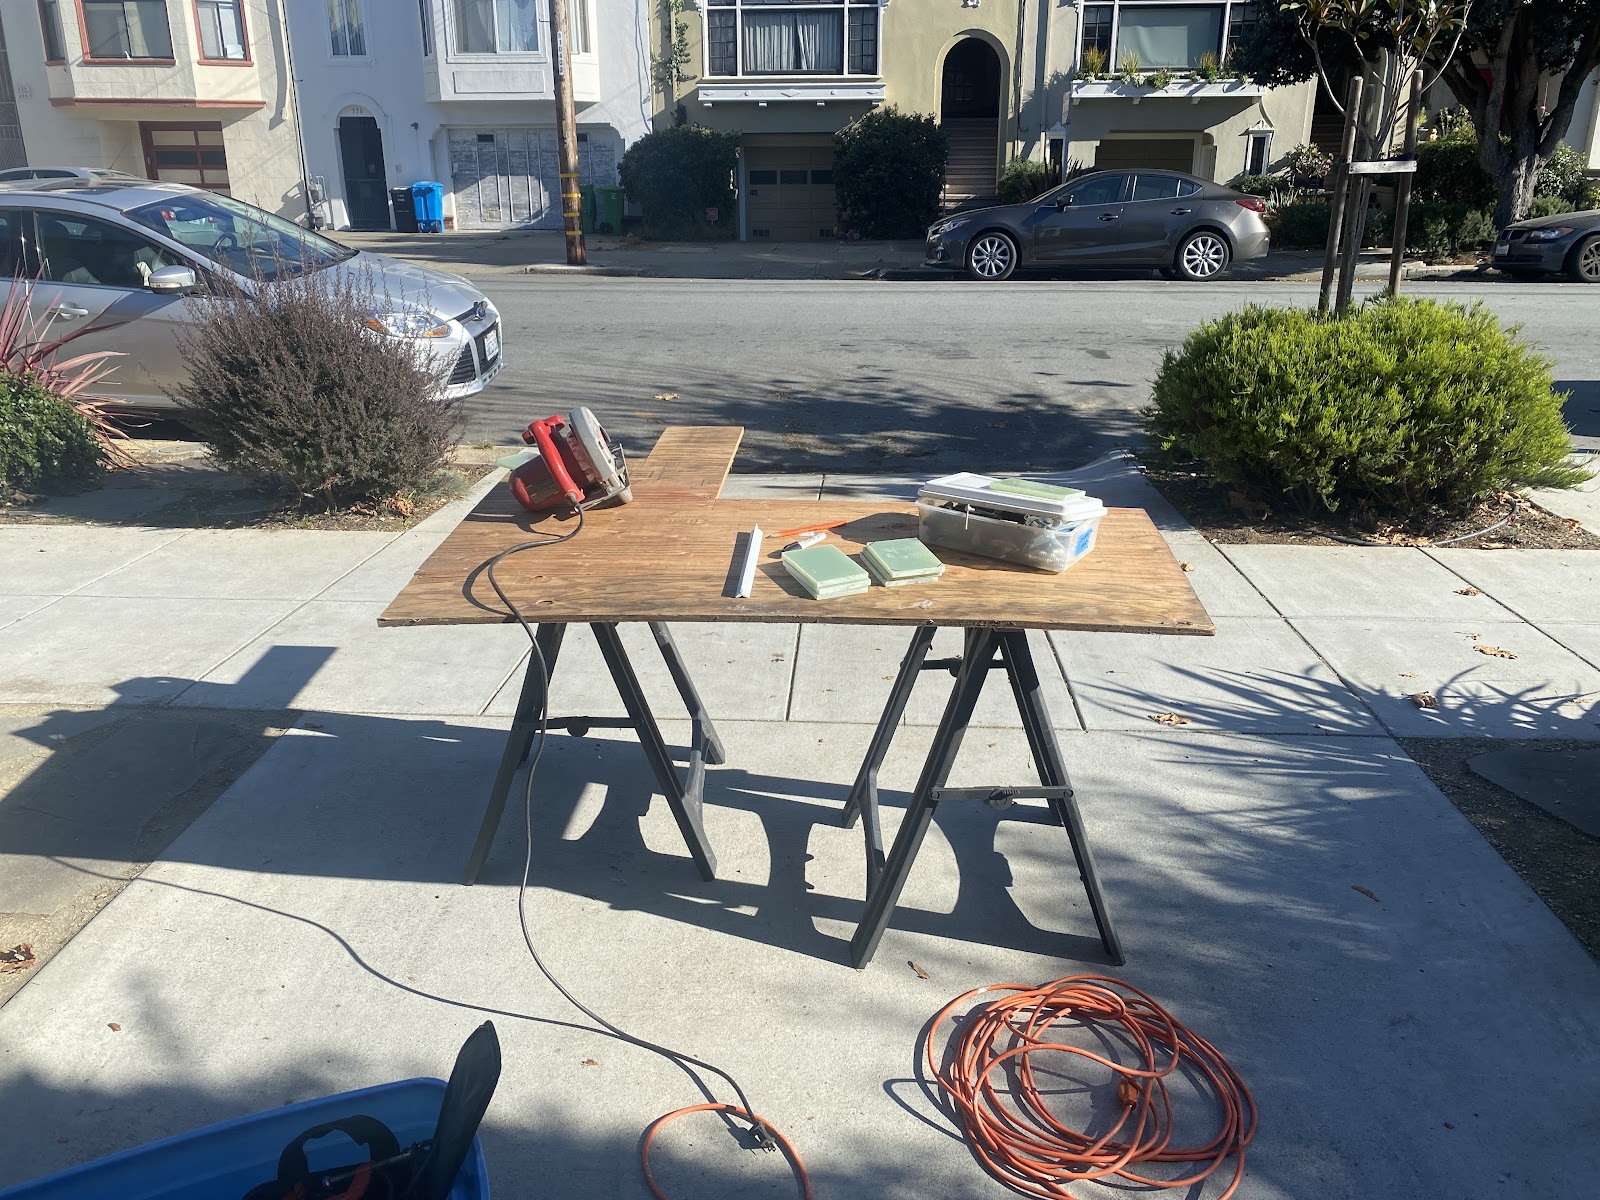
I did this at the dock and then decided I should go home and continue in a more “controlled environment” like the sidewalk in front of my house.
I set up my precision tooling workstation.
Mobile modular ultralight workstation, constructed 50% from sustainable materials.
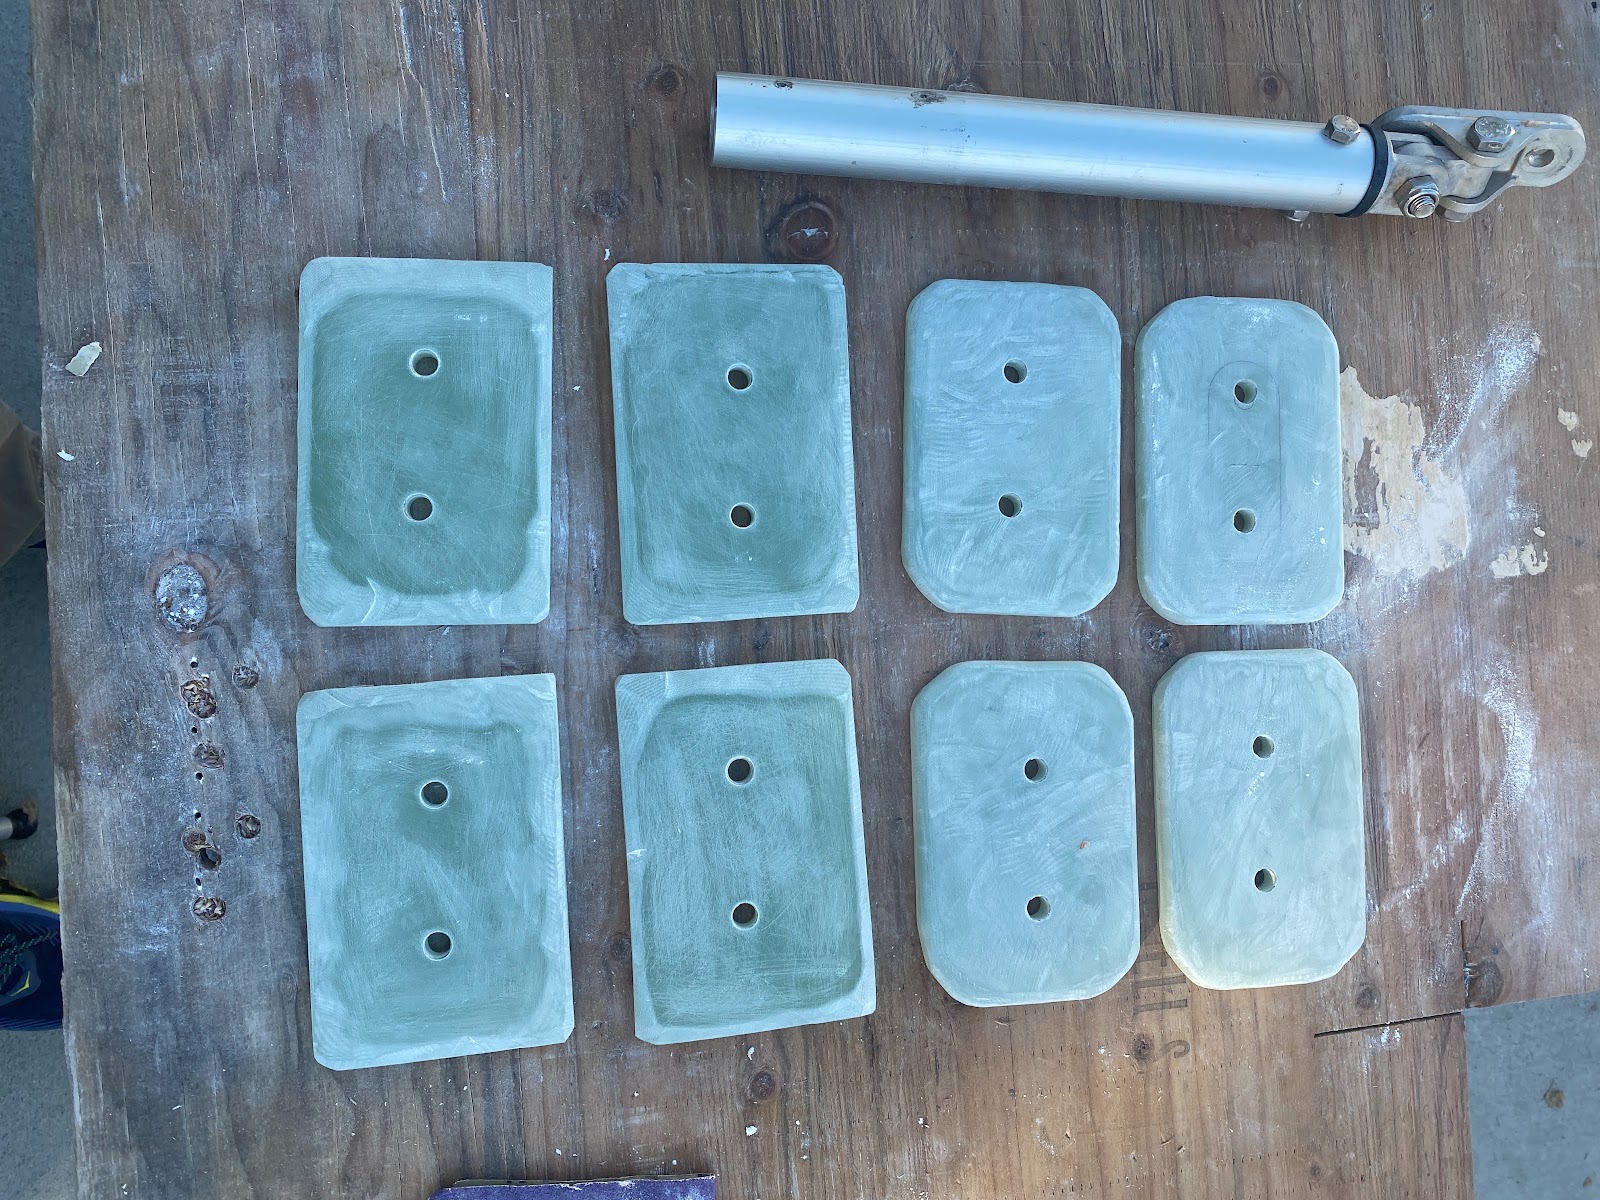
I knocked the corners off the exterior plates for a more rounded look. I used a metal grinding wheel and a concrete polishing wheel to soften the edges. Both worked fine without melting anything, though I was judicious with not keeping the abrasion in any one section for too long. I also used the polishing wheel to scuff the surface for paint and epoxy adhesion.

Next I drilled the holes through which the bolts would be connected.
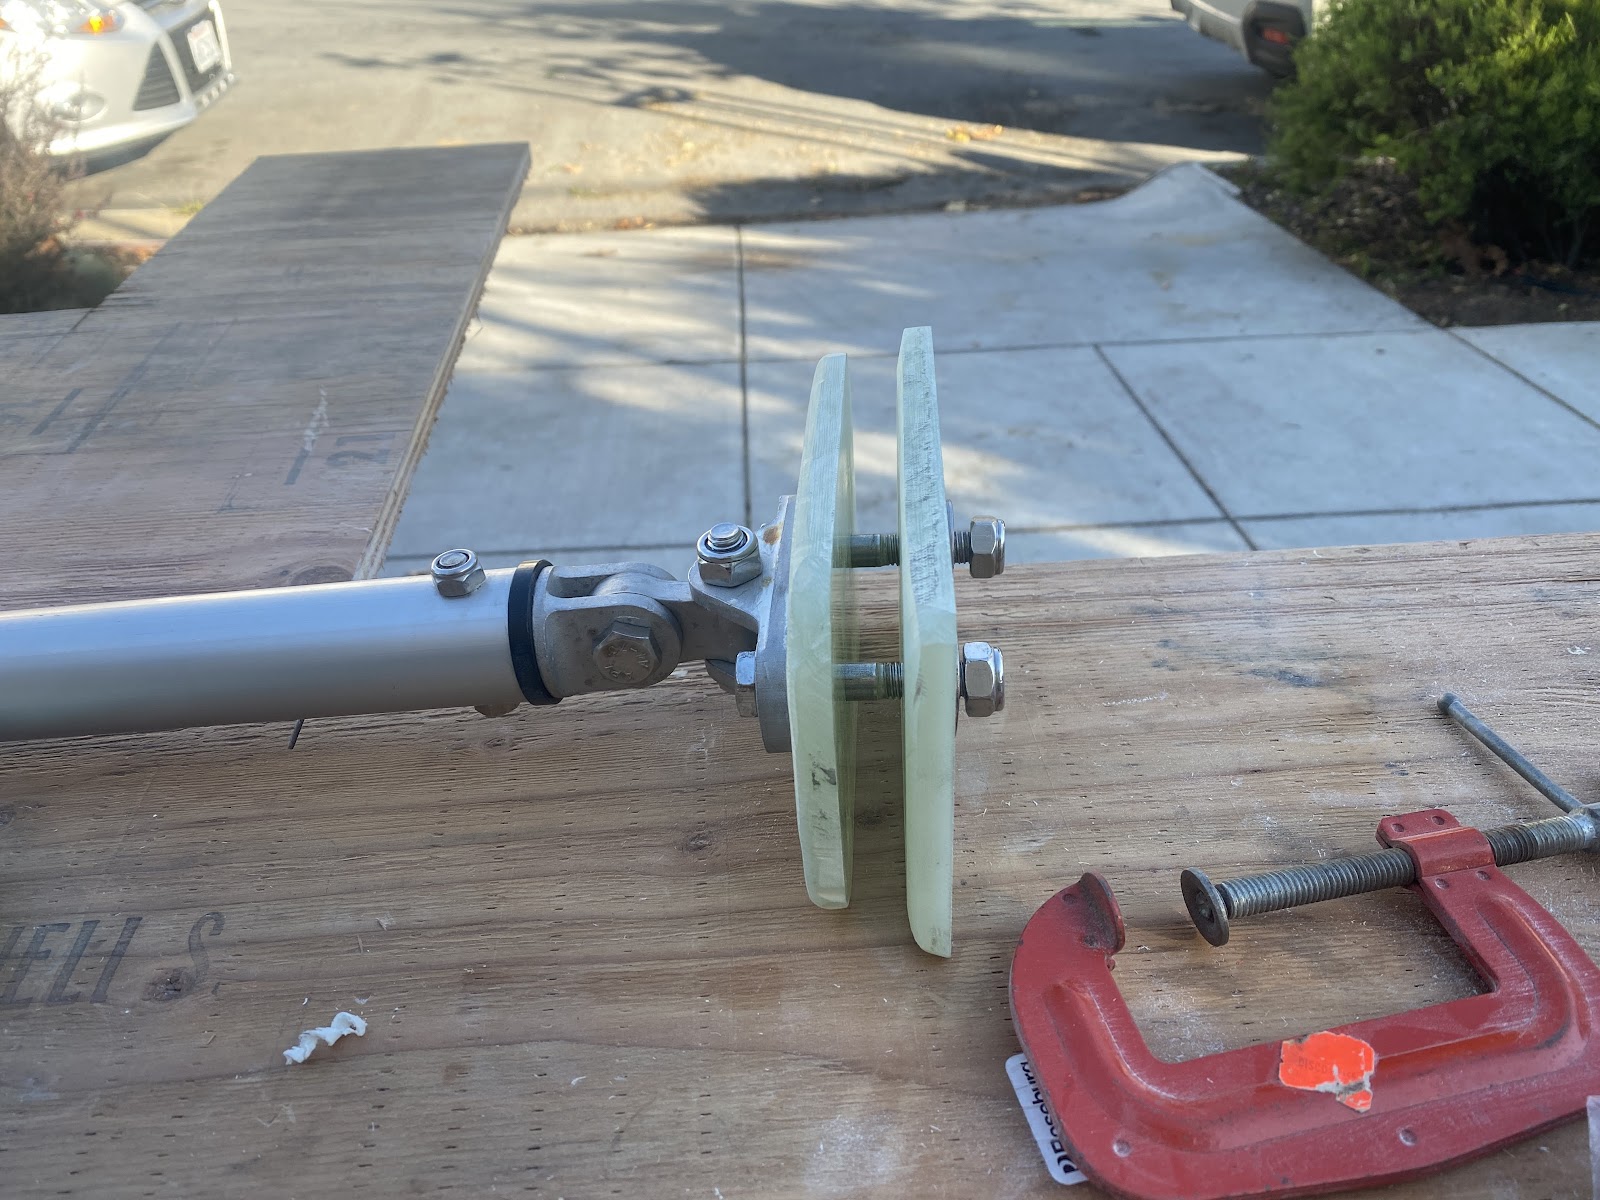
The basic assembly would bolt together as shown (with the hull sandwiched between the plates.
Then back to the boat. I took some measurements that I will describe in another blog entry about the wind vane itself and drilled holes in my transom (always a somewhat daunting task, drilling a hole in the boat).
My idea was to affix the interior plates permanently to the hull with thickened epoxy. I’ve never worked with the colloidal silica filler before (It’s like powdered air!) but beyond stirring it into a batch of epoxy to one’s desired consistency, it’s not complicated. I smeared the epoxy on the interior plates, and then smushed them on to the inside of the transom, using duct tape and some sacrificial ball-point pens as guides to help hold the plates in place while the epoxy cured. The thickened epoxy also helps to even the load distribution given the curved transom wall and the very flare G10 plate.
Right before the epoxy mix started

To allow for enough space for the vane, I needed to remove my swinging swim ladder. To get to the nuts on the far starboard side from the (port) rear cockpit locker, I could not reach both sides. Fortunately a passerby was willing hold a screwdriver while I unbolted.

Sacrificial pens taped in to hold backer plates.
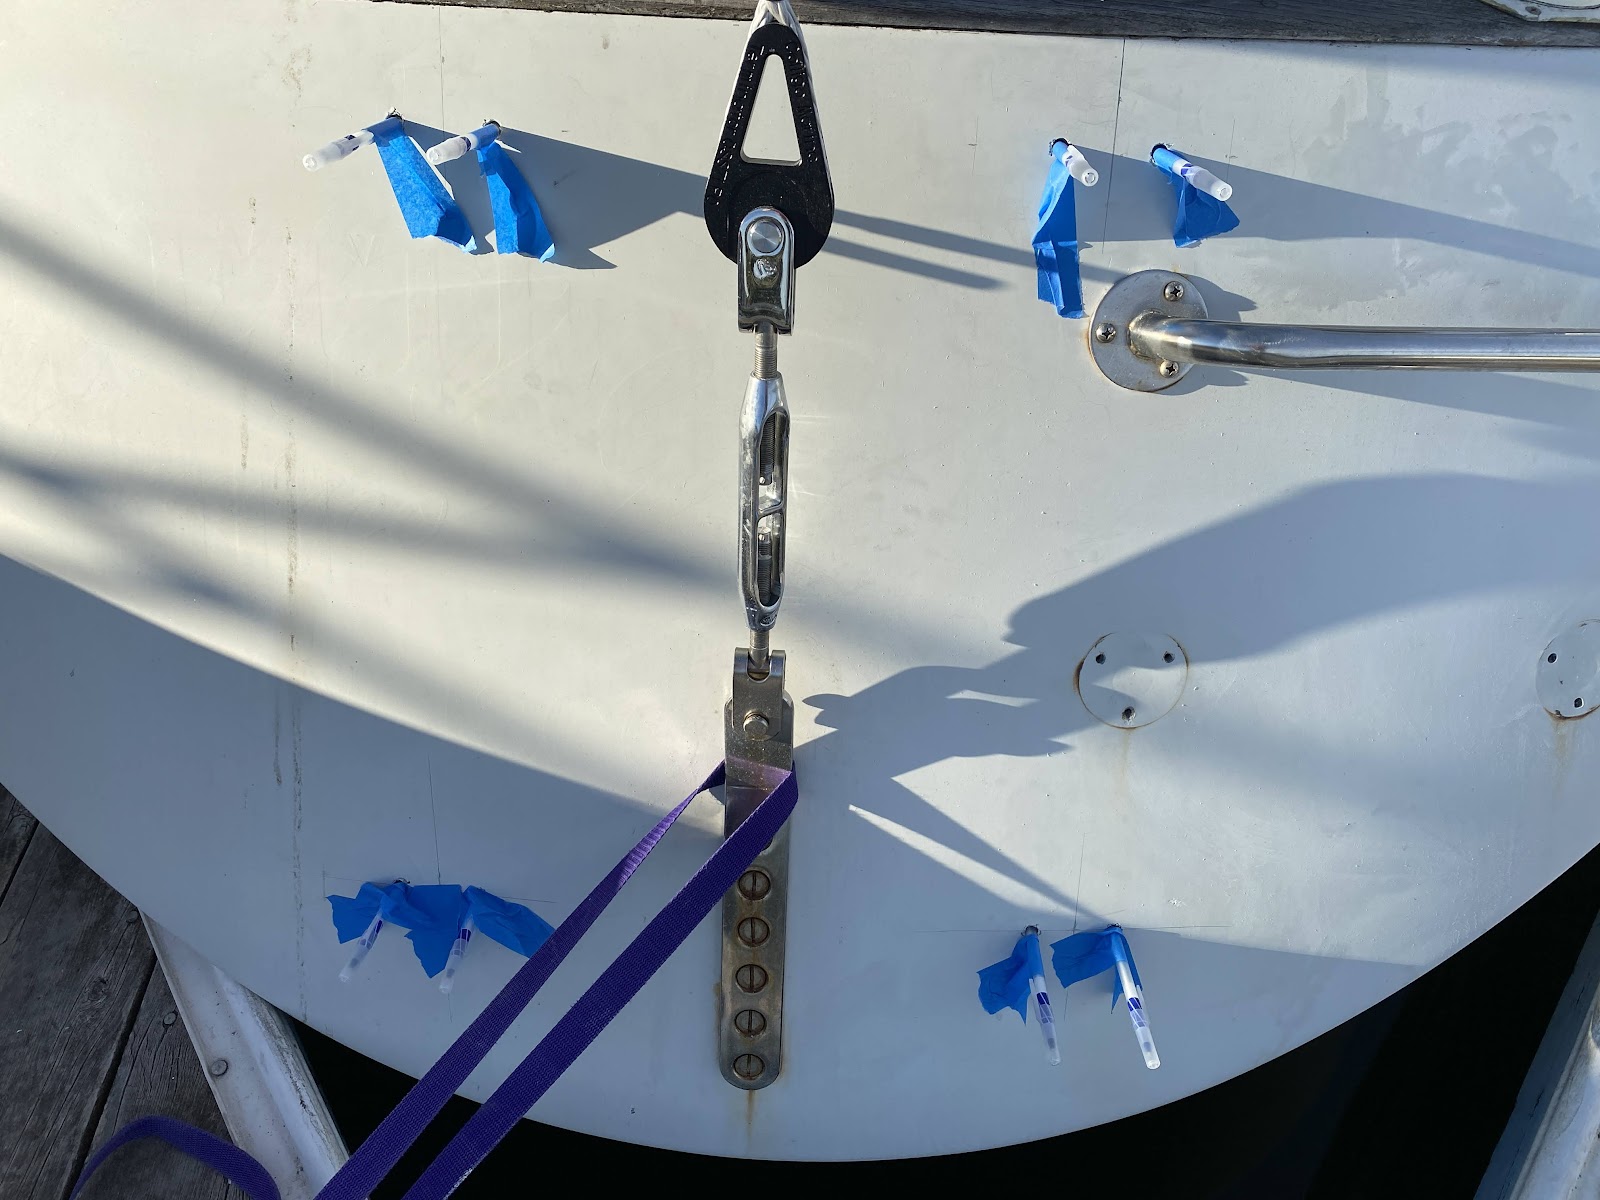
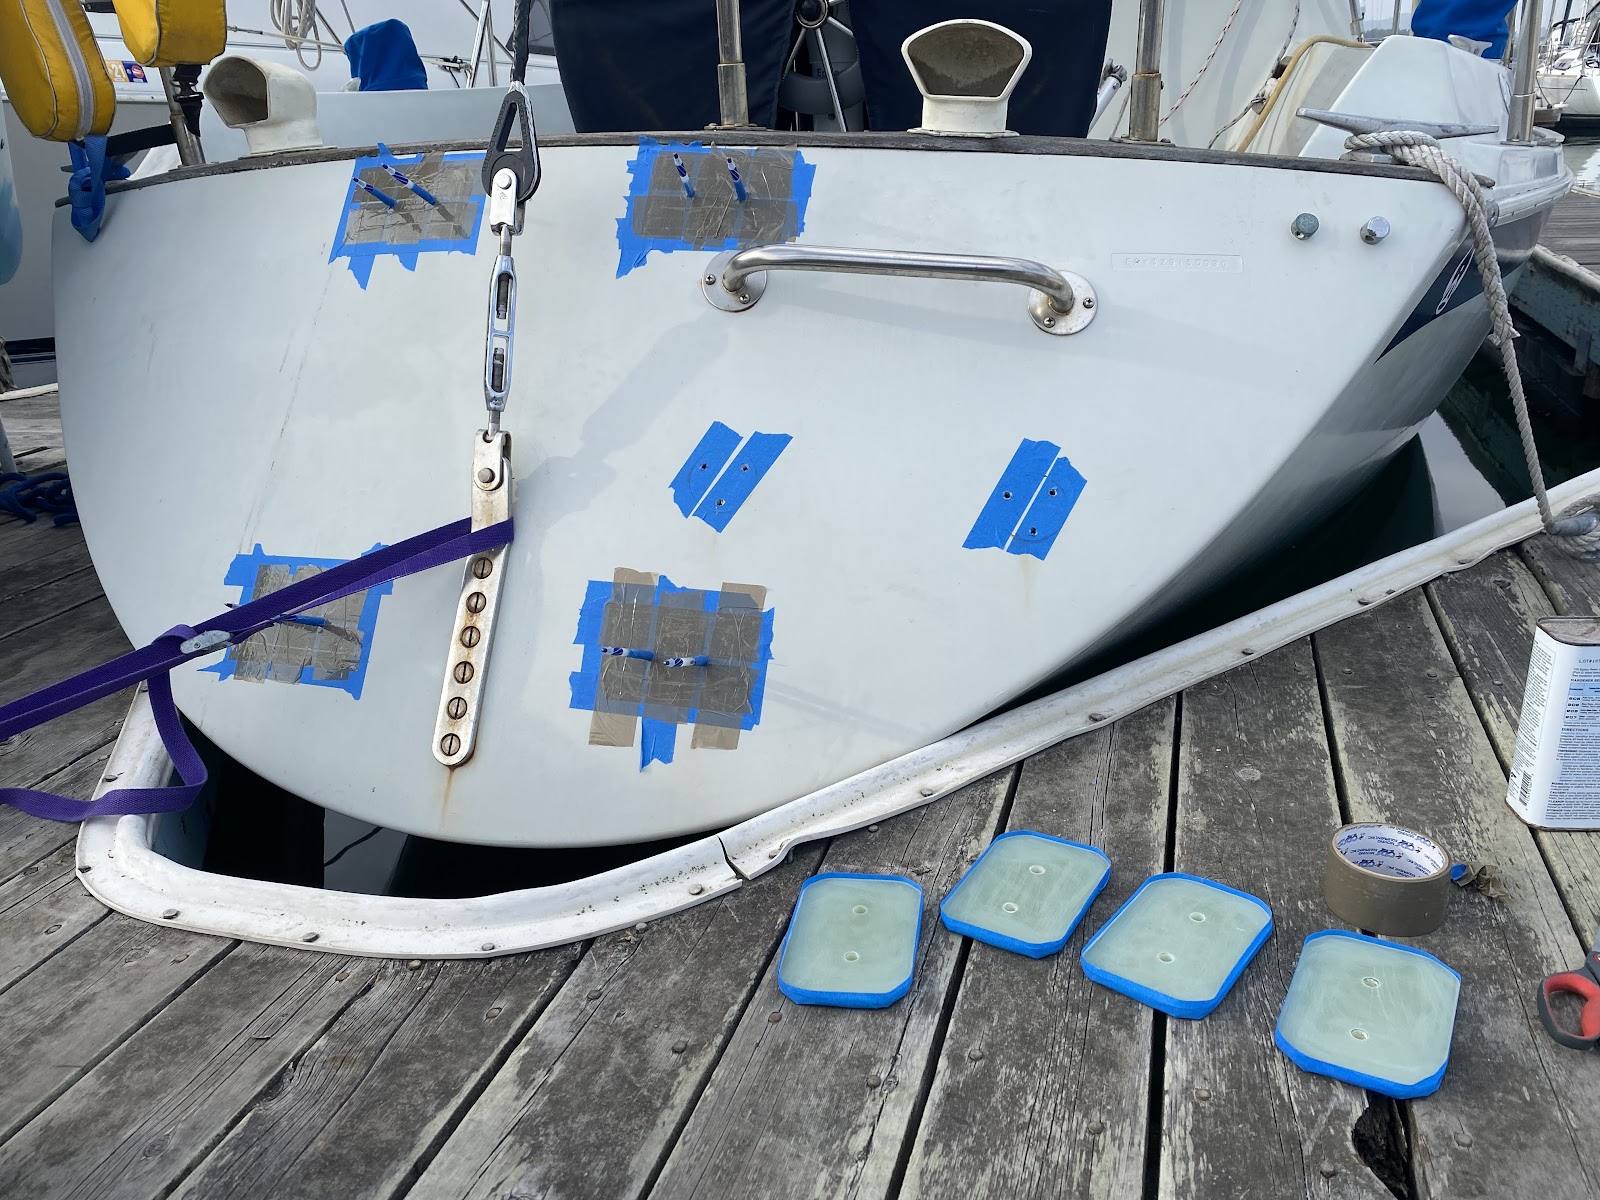
Finally, for the exterior-mounted plates, I wanted them to be contoured to the boat with a layer of thickened epoxy, but I also wanted them to be removable (and thus not epoxied to the boat) so I needed a ‘release layer’. I used masking tape, followed by plastic packing tape. I taped a little rim of masking tape on the G10 plates to help retain the thickened epoxy.
I mixed up another batch of mayonnaise/peanut-butter thick epoxy, smeared it into each plate and then squished the exterior plates down onto the taped, curved surface of the transom to form the shape.
The next day I was able to pop each one off fairly easily, with only a little gentle help from every sailor’s best tool, a framing hammer from Home Depot.

I really only used the nail puller side to get under an edge. The cobbled “release tape” combo I put down worked very well. The only part that stuck was where epoxy had seeped in around my sacrificial ballpoint pens. I re-drilled these areas.
Tape was peeled. Gushed cured epoxy was filed off with a four-in-hand file. I’ll have more later about painting and fitting thes backer plates on.
Of the work involved in installing the windvane, fabricating these custom backer plates has constituted a majority of the time and effort. But now I have some very sturdy mounting points for the Aries.