Summary
After some research and some comments and suggestions from others, I wound up buying a used Aries wind vane that I found on eBay. I modified the lengths of several of the aluminum tubes that comprise the vane support structure and was able to make the unit I purchased fit my boat.
Background
The official web site for Aries is found here.
The key ‘intellectual property’ of the Aries are a couple of large cast aluminum pieces that hold the vane (wooden flapper) and the servo-rudder (water steering paddle). The system was originally designed by Nick Franklin in the UK, and then the company was sold to a guy in Denmark, who subsequently sold the company to Lean Nelis in Holland. Lean is a nice guy who has answered several questions for me.
The mixed British-European heritage helps to explain the SAE/metric parts I have found on vane.
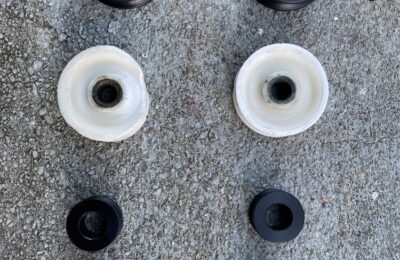
Metric: The bolts that attach the vane to the transom (M10 – 1.5 pitch) and the various brackets together.
SAE/Inch: The diameter of the aluminum support tubes is 1.5” O.D. with 0.25” wall thickness. In a video found below, Mathiesen, the Danish owner of the Aries points out that the 70’s era unit he is rebuilding in the film has SAE/inch grub screws (set screws) and that stripping them can be very problematic. The current written instructions indicate a 6mm allen wrench, so this may vary based on the age of the Aries.
Purchase Process
I bought my Aries on eBay. The seller had mounted the unit to, if I recall correctly, a forty-something foot ketch. Maybe a Formosa? My hope was that since his boat was bigger than mine, I would be able to shorten the tubing and make it work for my boat without having to add anything. This turned out to be true.
Until this purchase I had never bought anything for more than a couple of hundred dollars on eBay. Prior to bidding I wrote the seller with a few questions. He answered promptly and in good detail. I bid a dollar more than the opening bid price and three days later it was mine. The seller built a beautiful crate for shipping up to me from San Diego. It arrived in perfect shape.
In person, the first thing one observes is that the Aries is a beast. I mean that by weight, mostly. The main assembly weighs 77 lbs. The Aries is sized for boats 28-55 feet and it does seem that if you bolted one to a 27 footer, it would induce a ‘wheelie.’The tradeoff for the weight is expected to be bulletproof strength and reliability.
Installation
The manufacturer’s installation instructions are well-documented. Here is a link to the written instructions.
Here is an official video documenting the process:
https://www.youtube.com/watch?v=kKIKiUk6Jcc
Here is another video documenting the rehabilitation of an Aries wind vane.
https://www.youtube.com/watch?v=xgpSv0jL2gY&t=8s
The structure has two upper tubes and lower tubes. The basic process outlined is to set the height of the upper tubes and install them, hang the vane in the appropriate location, then solve for the right location of the lower tubes and drill those holes. This process is partly enabled by the vane buyer’s provision of boat measurements to the manufacturer. If you buy a vane new, you get one pre-fitted for your boat’s dimensions.
The installer in the first video accomplishes everything while teetering in a small rowboat behind the subject sailboat.
I have no such confidence in my own ability to measure accurately while teetering, but fortunately my slip was nearly purpose-built for installing a wind vane. You just have to do a slip-flip and tie your boat stern-to.
On Sure Shot
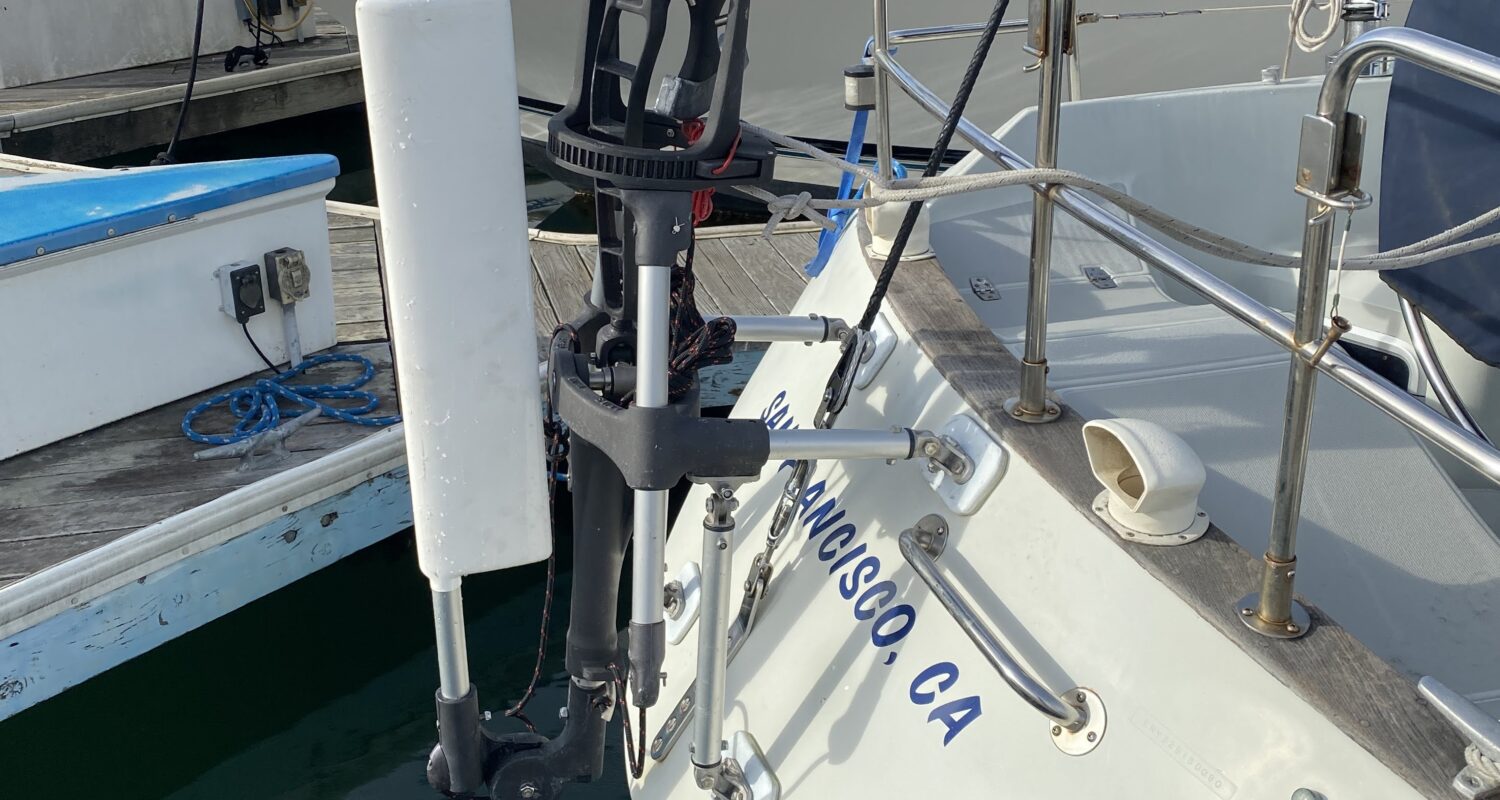
The vane is meant to be installed at the center of the transom and in order to do that and meet the minimum distance requirements for the upper tubes, I had to remove my swim ladder. I documented this as well as my fabrication of backer plates in a previous post.
My first step was to locate the appropriate height of the upper tubes on my transom. The appropriate height suggested in the instructions is one such that the main frame would fit just below the aft deck. I used a sophisticated method of measurement called ‘eyeballing’ such that the steering ropes would be more or less level with the shaft of my helm wheel.
I am mixing up my story line a little here as I performed this eye-balling process in order to locate my drill-hole locations for my transom backer plates.
Next, I checked the fitment of the two sets of tubes that had been sent by the previous owner. I had a pair of long tubes and a pair of short tubes. I tried the long tubes first:

These were far longer than I needed. One wants to keep the vane as close as possible to the transom for reasons of access, cantilevered weight, and not adding excessive length to the boat.
The pair of shorter tubes fit perfectly to use as the upper mounts. Fortune smiles.
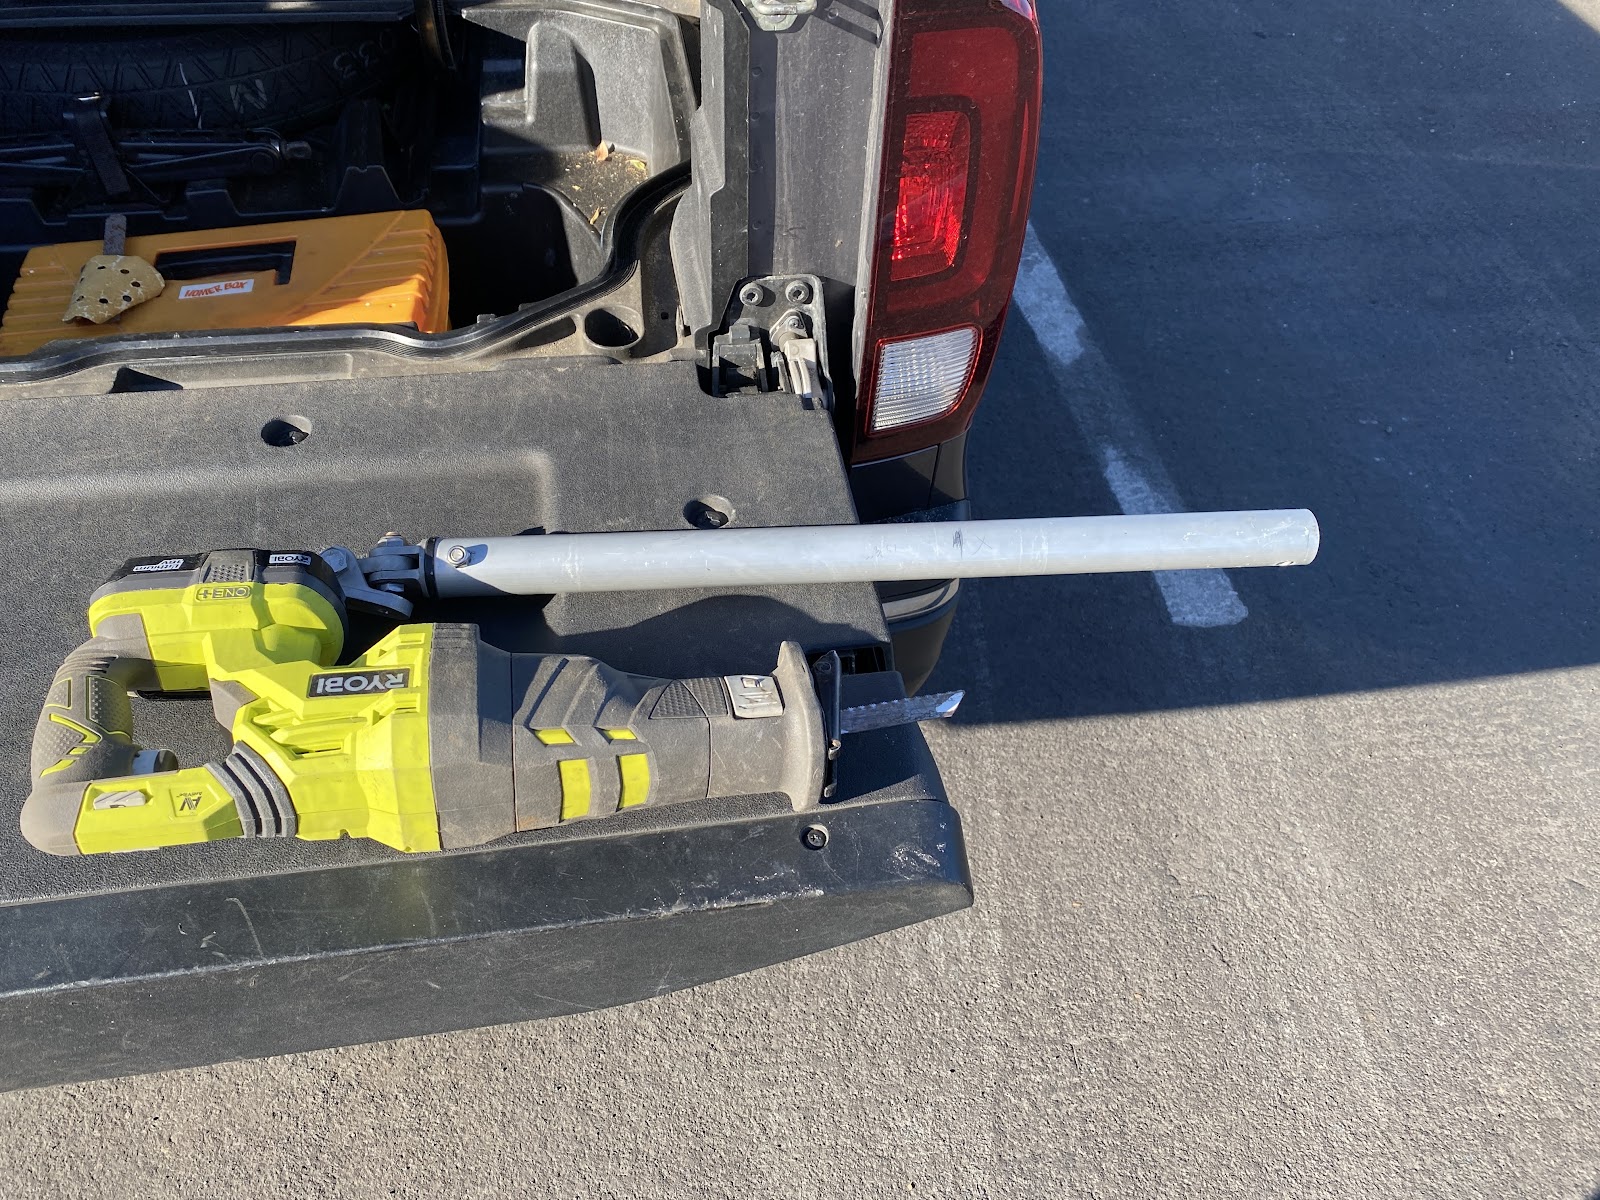
That left the ‘long pair’ of tubes to use as the lower struts. They were too long, so I brought them back to my precision tooling shop and made an appropriate modification. I used a size 12 running shoe vise.
This worked. The dry-fit vane is relatively easy to access and relatively plumb.
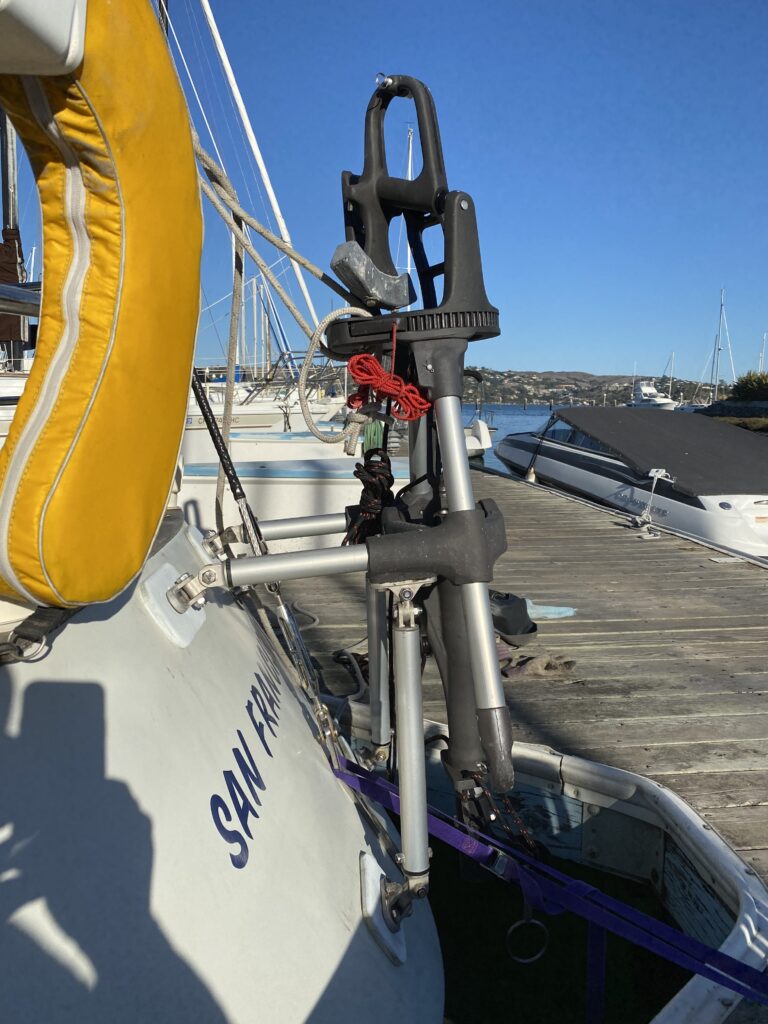
I was missing a few of the metric washers and nuts I needed to bolt the brackets to the transom – I had the bolts but not the nuts. Large format metric stainless fasteners in small quantities? I worried they would be tough to find, but after calling around I found what I needed at Center Hardware on 3rd Street.
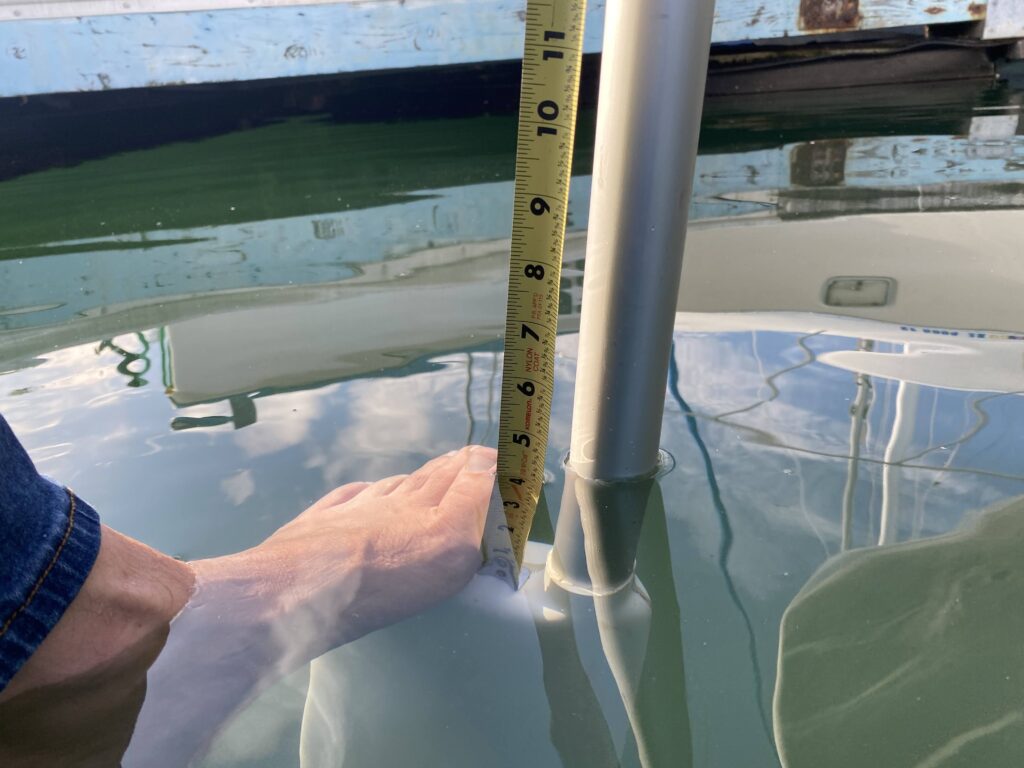
The final step is to adjust the height of the servo rudder. The instructions indicate that the top part of the servo rudder should be nearly 4” out of the water when the boat is at rest.
The rudder itself is a hinged shaft. (One can buy the hinge component from Aries separately if desired.)
The hinge allows one to ‘kick up’ the servo rudder when not in use. As I received my servo rudder (from the previous vane owner with the 44’ ketch) it was too long for my boat. The top of the rudder was about 4” underwater:
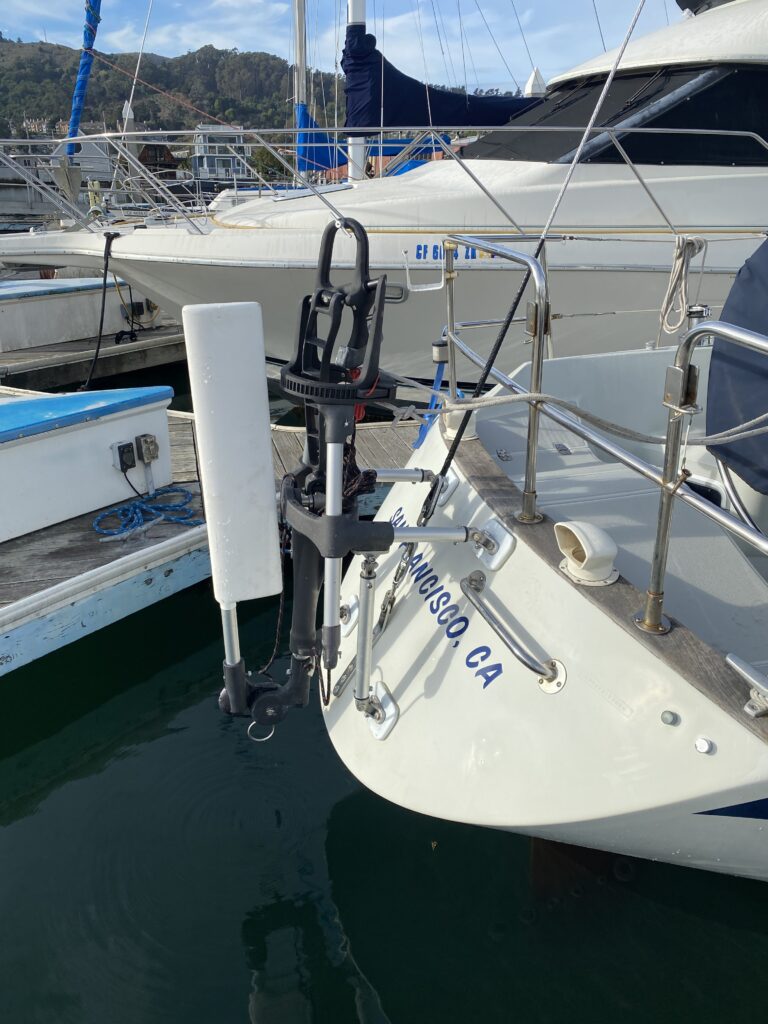
So, again to the precision tooling shop to shorten the rudder shaft. Shorten the length and re-install. Voila, an Aries on an Ericson 32:
Lessons Learned / Tooling
If this explanation makes this seem like a job to be done in an afternoon, it was not, at least for me. I’ve been cavalier about the cutting of the strut-tubes. This was done with a good deal of care. I didn’t want to screw up and cut things too short.
The other challenge is drilling holes in the right place in the strut tubes. I had to put new holes in the vertical struts, and one in the servo-rudder shaft. What I really wanted was a big drill press to do this work.
My dad has a drill press and a big barn. I live three hours away from him, and its covid-year so I didn’t want to drive up there.
Harbor Freight has a small drill press for $70. Come on! How do they do that? Seems really cheap/good value for such a tool. But I know what would happen – I would buy it, use it for this job, then I have no place to keep it, so it would sit under my kids’ tree house for a year until it got rusty enough to stop working. I decided not to buy it.
Instead, I found something called a drill guide. Here’s the one I bought on-line.
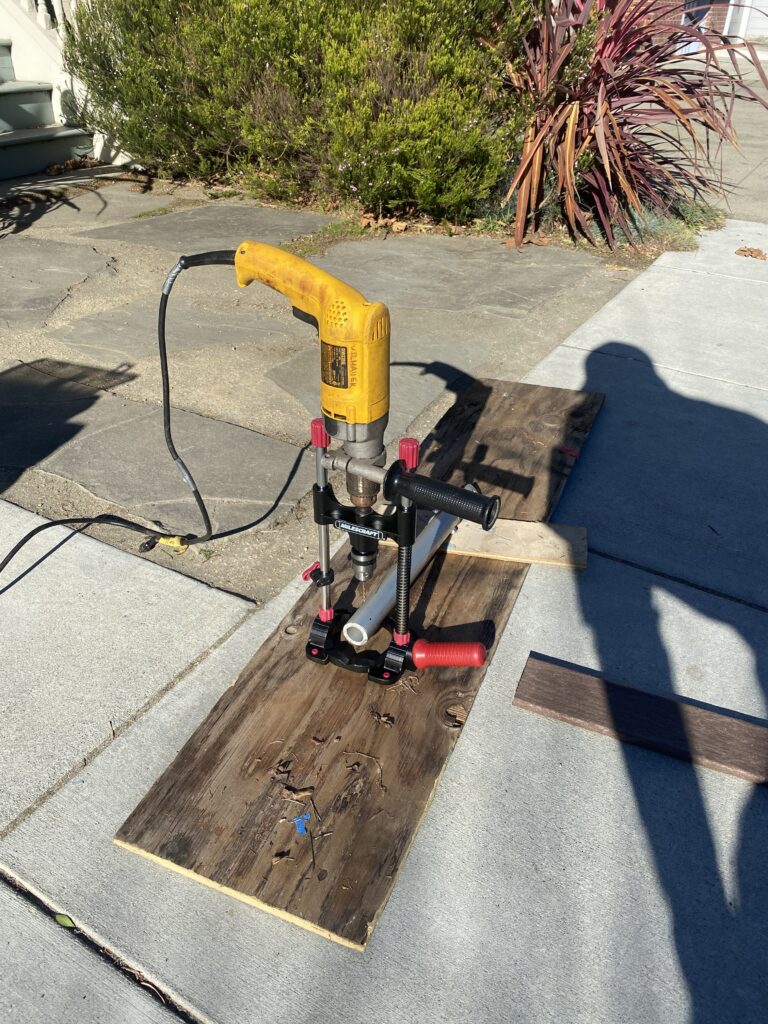
I did not have good luck with it. It’s meant to keep your drill steady and straight and has some pre-set angles for angled drilling. It might work well if it were properly screwed down to a workbench, but if I had such a workbench, I would have used the drill press.
I faked my way through it with the holes for the support struts. The holes I drilled were functional. For the servo-rudder however, I kind of botched it. Despite the ‘obvious precision’ of my jig set-up:
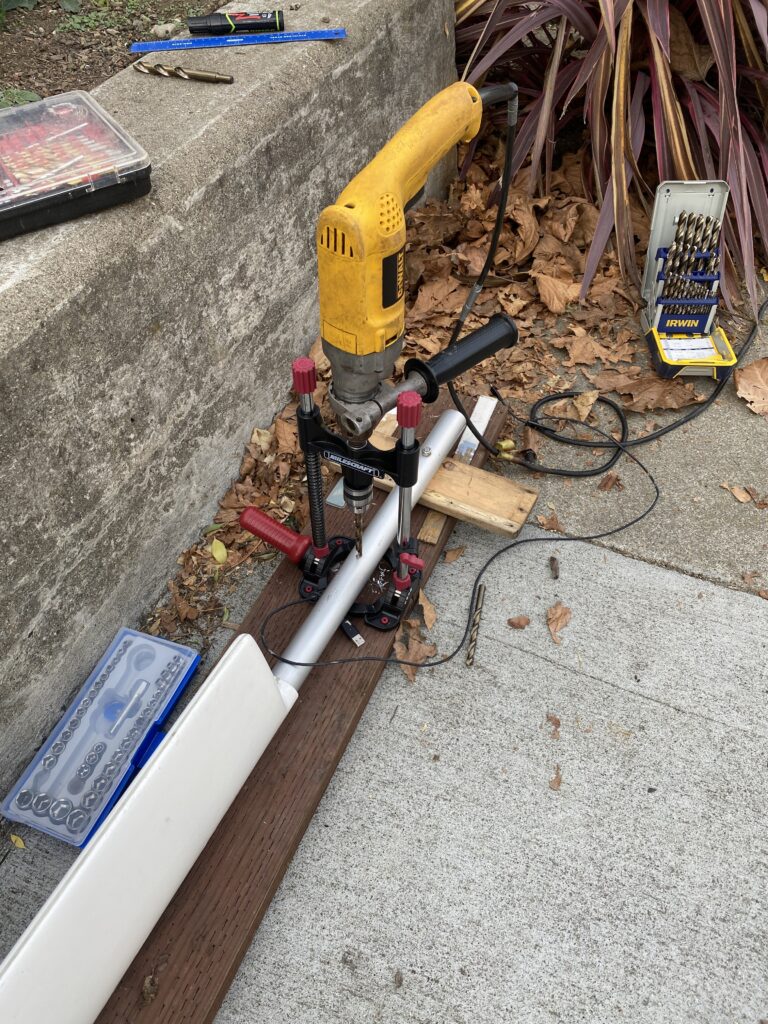
My hole was off by 5-10 degrees, and the last thing I want is a mis-aligned servo rudder that sails my boat like a three-legged dog across the ocean. I called around for a machine shop with little luck. I wound up taking it to a welder who had a proper shop and a drill press. Ricardo’s Welding on Cortland. Ask for Luis. It turned out much better than my DIY version.
If I had it all to do over again, I would have purchased the Harbor Freight small press, a press vise to go with it, and then given the set away on Craigslist for $30 when I was done.
Next Steps
I have more steps to do for the final installation:
-Clean up the transom
-Paint my backer plates (I’ve chosen Interlux Off-white 4381 – might be close to the gelcoat)
-Seal the plates and backers (I ordered some Sika 291 – what Guy Stevens had mentioned elsewhere)
-Tighten all the bracket bolts on the vane
-Complete the rigging to the drum on the helm wheel
Then of course, go sailing with it.