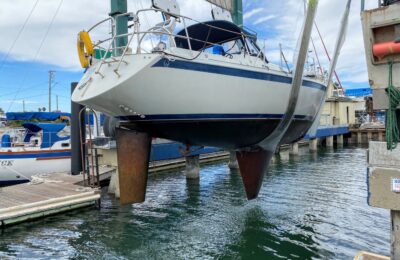
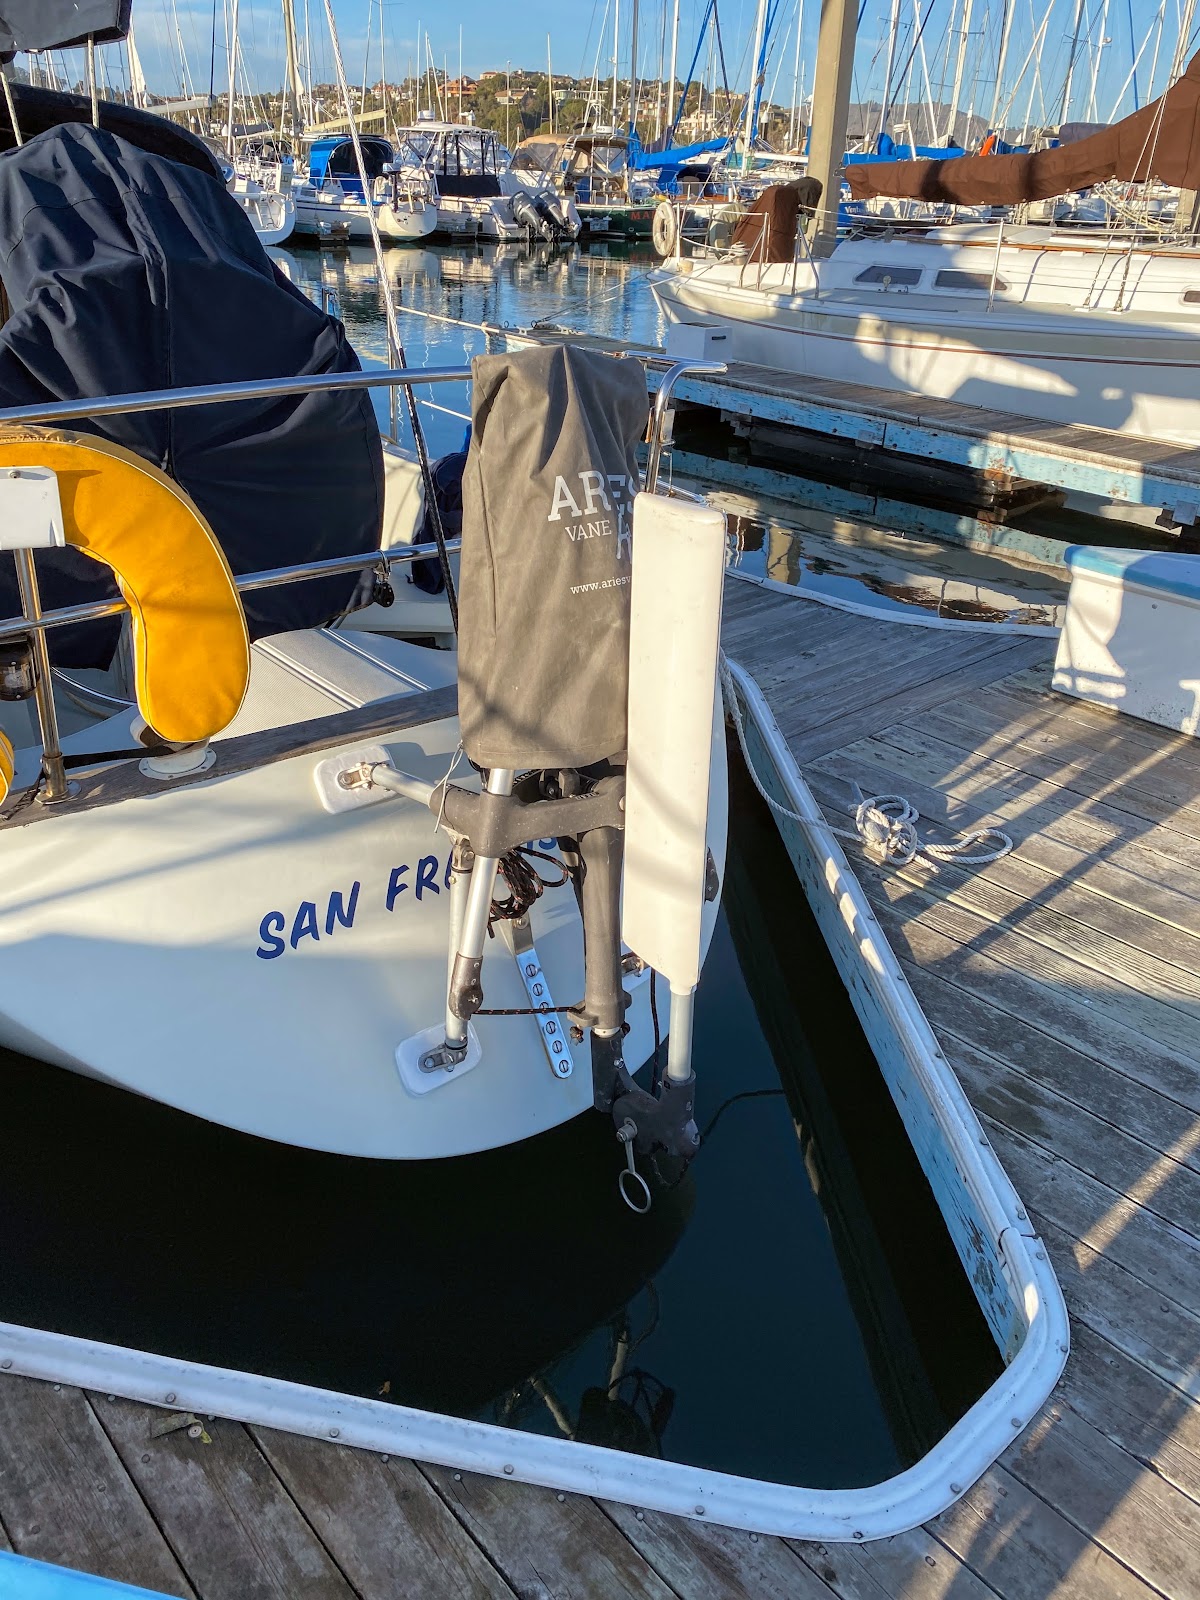
Summary: I completed my final installation of my Aries wind vane and went for a test sail. So far so good.
Where I left off last month, I had cut the struts on my wind vane to fit my boat and done a test fitting. A few more steps remained before my “permanent” installation would be complete.
One step was to paint the backer plates I had fabricated. I had never before used Interlux Brightside paint and I was amazed by the quality of the finish when complete. Interlux is the manufacturer, and ‘Brightside’ is the name of the specific product, which is a one part polyurethane paint. It’s somewhat difficult with the normal latex paint with which I am most familiar to paint something in a gloss finish and not to be left with brush strokes. Not with the Interlux paint – it’s very expensive, but lays down ever so nicely in a smooth uniform coat. The brush lines just melt away.
The color I chose was Interlux 4381 “Off White” If your transom color is the same as mine, you’ll want an even “offer” white, as the backer plates wound up a much brighter white than the transom.
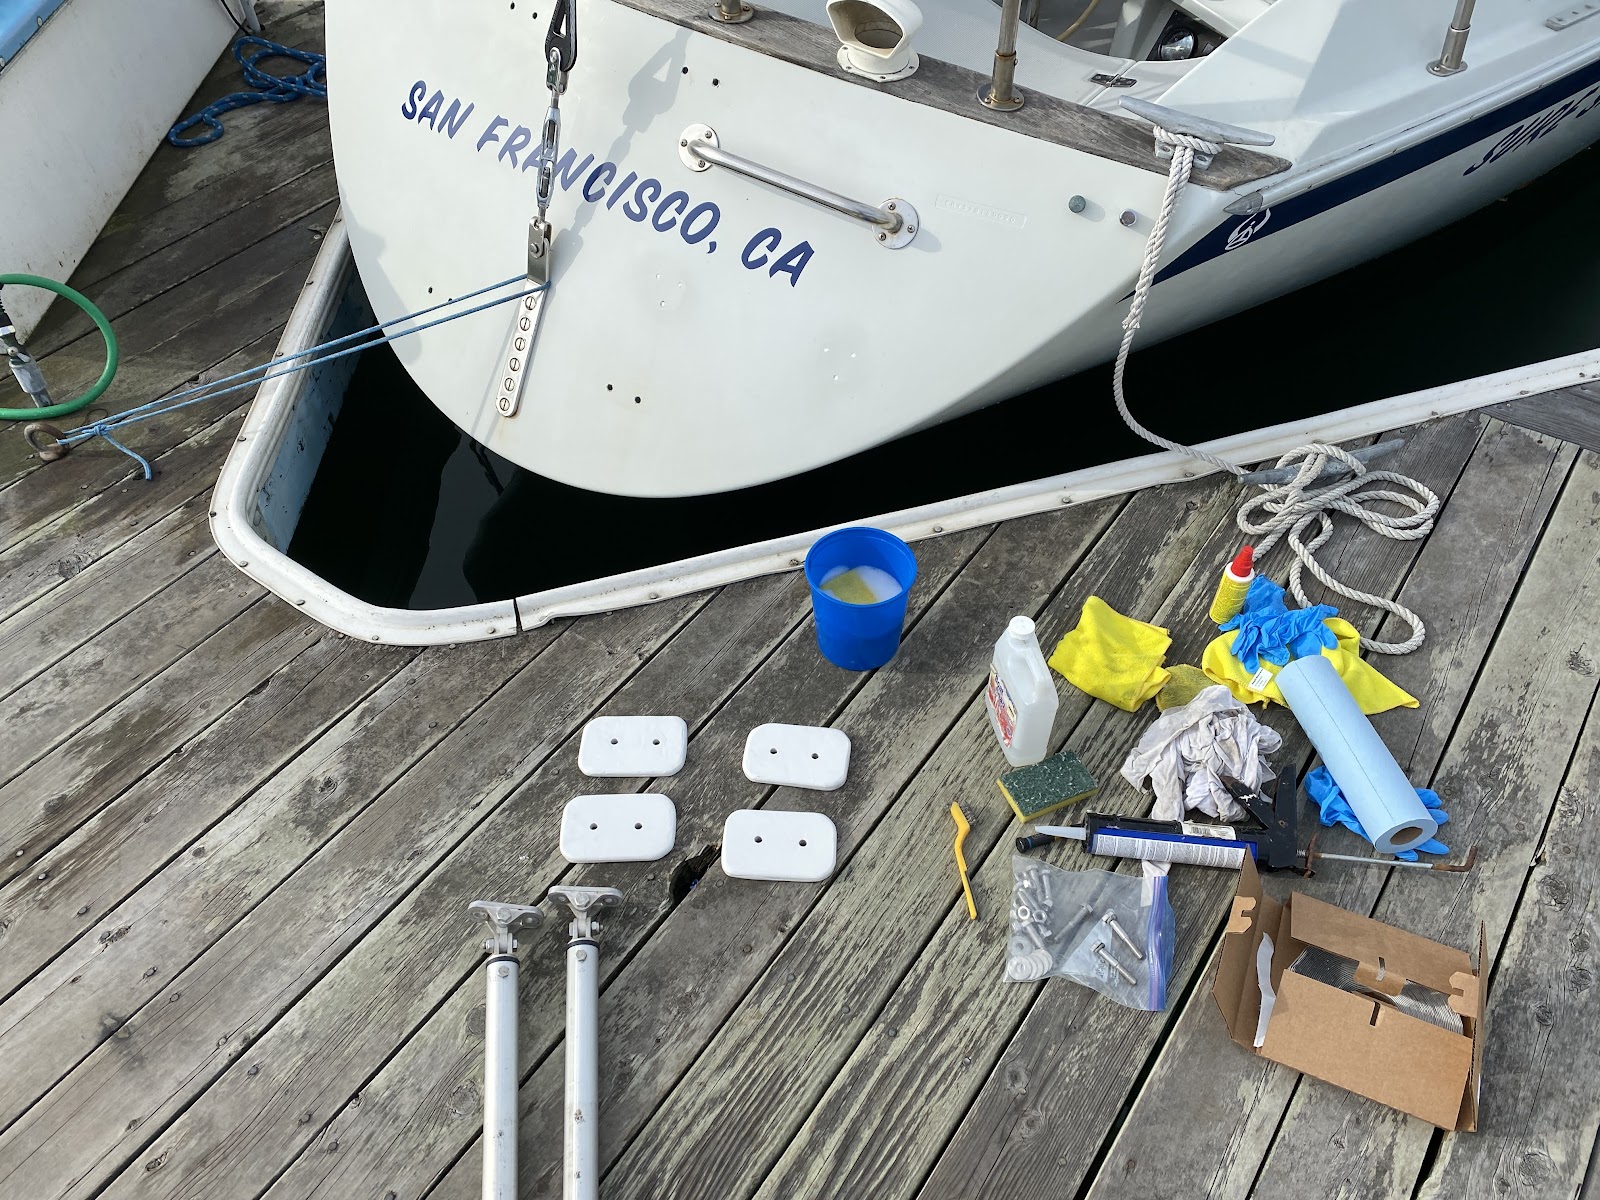
I lined everything up for the transom install. Following the Aries instructionsI wanted to caulk the interface between the metal braces and my backer plate and the backer plates and my hull. An experienced sailor had recommended Sika 291, a marine sealant for similar tasks. What’s the difference between Sika 291 and 3M 5200 or 4200? To be honest, I’m not really sure. The Sika instructions state that once 291 has cured, it can only be removed ‘mechanically’ which implies it will be difficult to remove. Let’s hope it doesn’t come to that.
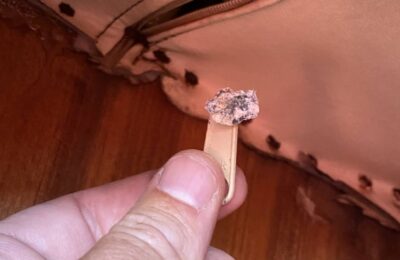
Finally, between the bolt heads and the metal Aries brackets I pushed in a thin band of butyl tape. I used this product from Maine Sail. Here it is, glued in:
The next step was to rig the connection between the vane and the wheel hub.
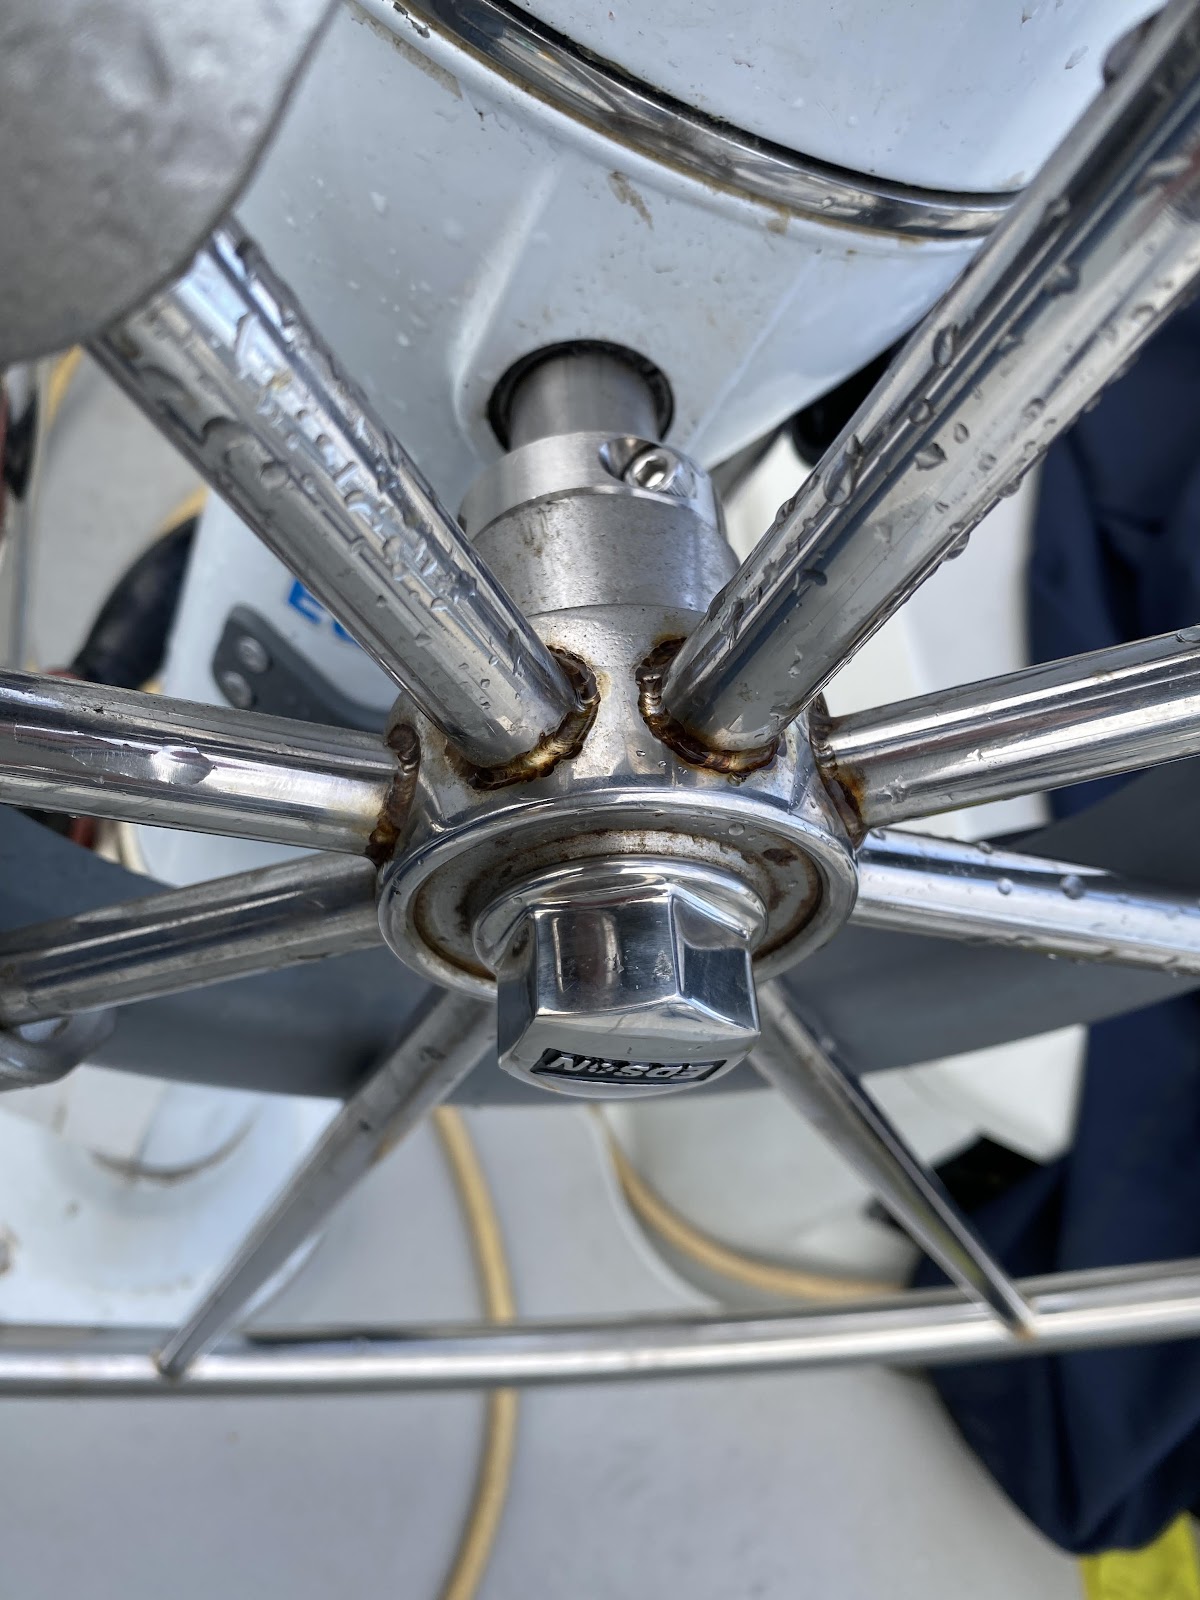
The Aries Wheel hub covers up the center wheel nut on my Edson wheel. Removing the wheel hub requires the unbolting of up to sixteen small nuts and bolts, so I want to avoid the situation where the whole wheel falls off the helm with my Aries hub attached and I am left without a way to steer the boat.
I bought a large metal nut from Edson, and a shaft collar from McMaster Carr to prevent the wheel from sliding on the steering shaft and coming undone.
The Aries Wheel drive fits perfectly within the cutout of the wheel pilot drive of a Raymarine EV100 autopilot. I don’t know if this is by design (and I could have filed down the plastic Raymarine clamps had the Aries hub been a bit too large, but instead, it was as if they were meant to work together.

The Aries Wheel Hub is held to the wheel spokes either by U-bolts or by a similar device. The previous owner of my vane had used eye straps, but the ones I inherited were too small of a diameter, so I purchased some Harken 137 straps, some off the shelf at Svendsen’s in Alameda, and others on-line from Defender. These accommodate the ⅝” diameter spokes of my wheel.
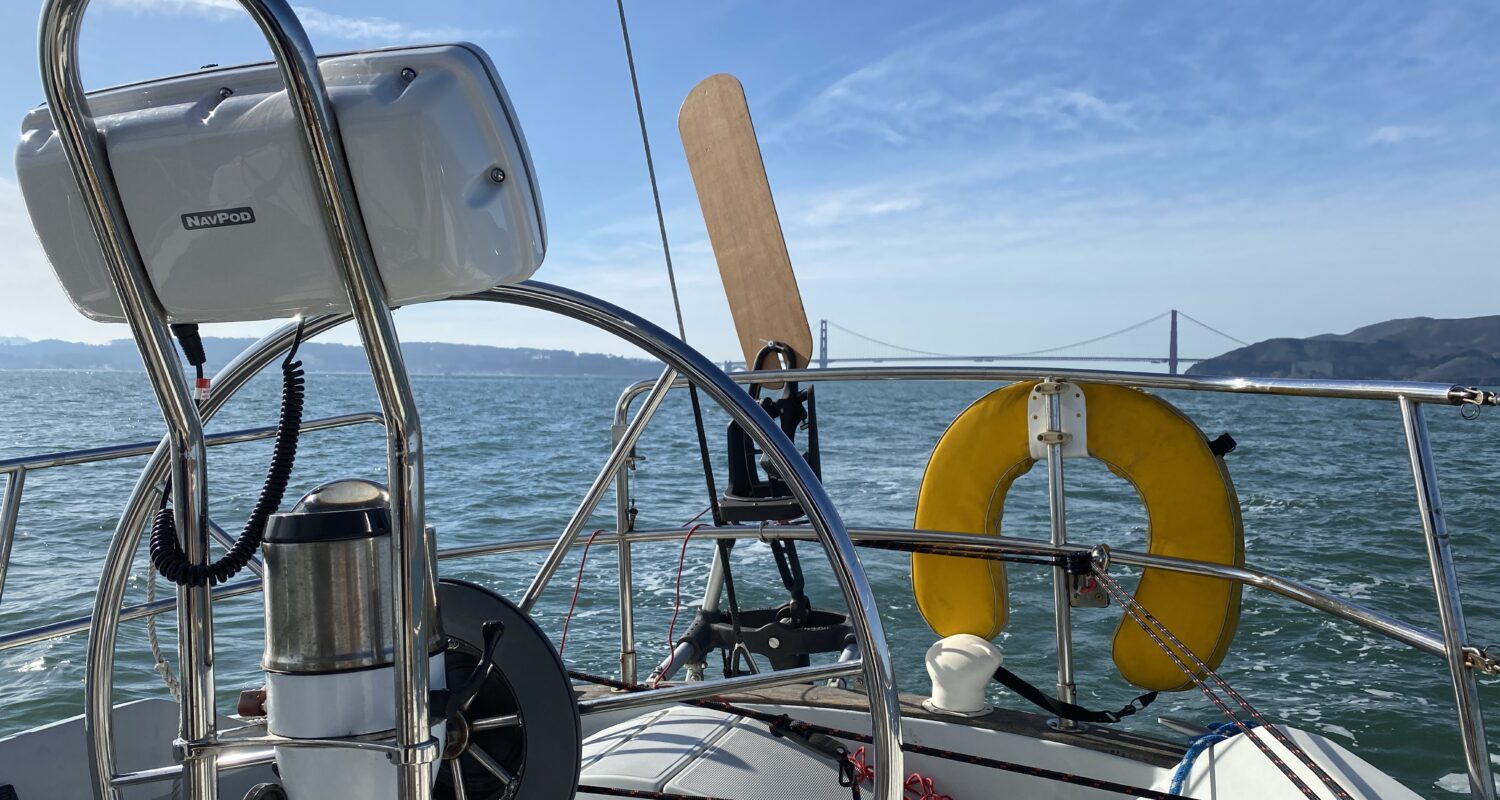
Also among my inherited gear were several blocks and lines to connect the vane to the wheel hub. The routing looks like this:

The set of blocks adjacent to the wheel are temporarily installed, lashed to a cleat. I also inherited a couple of cheek blocks that I can fasten to the coaming once I am happy with how everything is working.
Test Sail
After wading through winter break with family and Covid restrictions etc., I finally made it out on the water for a test sail. With all of one morning out on the water, here is what I have learned about using the Aries wind vane.
To engage the vane steering, do the following:
- With the Aries wheel hub disengaged: Get the boat moving in the direction you want to go, with appropriately trimmed sails and a balanced helm. Get as close as you can to having the boat sail itself in a balanced way.
- You’ll need to turn your attention to the vane, so either lock the wheel with a brake, or keep a hand on it. Or just cheat and turn on your electric autopilot. Given my test of different techniques, autopilot cheating turned out to be the most effective.
- Using the snaffle ratchet lines, turn the vane blade to face into the wind. When the flapper blade is balanced in the wind, the servo pendulum will ride in the middle of the boat.
- Once you have achieved this zen state, where the boat is traveling in the direction you want to go, and the vane is balanced and even, lock the Aries wheel hub clutch/clamp. Enjoy the silence. I achieved this state for about 20 minutes of my 2 hour test sail.
Other things people have said about wind vanes that I found to be true:
Vanes work better with more wind. The flapper blade on the back of your boat is like another little sail one has to keep trimmed properly. Sails need wind. The flapper needs wind. I had only 8 knots of wind for a few moments on my test sail. Those moments were the best for the vane.
Other challenges I am working on include how to raise the servo pendulum blade when not in use?
My blade shaft has a hinge in it and it can fold up for storage. If it isn’t folded up, the blade winds up pinned against one side of the frame when motoring. The hinge to fold up the blade doesn’t work particularly well unless one can climb over the stern pulpit and lower his foot into the water and lift it up.
The wet foot method is fine on a warm day at the dock. Probably a bad idea in big waves out in the ocean.
Here are a few clips of the vane in action: