Time dedicated: About 7 hours – two yesterday pulling wires and five today messing with fixtures.
Edit: 8/5/2020 – Costs:
$165 combined on two light fixtures from marinebeam.com.
$64 on new tinned wire from a major on-line retailer.
$81 on the LMR240 coaxial that the boatyard. (does not include the to-be-installed PL259 connectors.)
$52 a new Shakespeare 5215 antenna.
——–
$362 to date, materials.
“You should consider those consumables” said my boatyard project manager as he examined my (presumably) original mast wires for my anchor light and coaxial. He meant I should buy new ones. Seemed reasonable, given the original condition. I was ready to replace the VHF antenna and lights already.
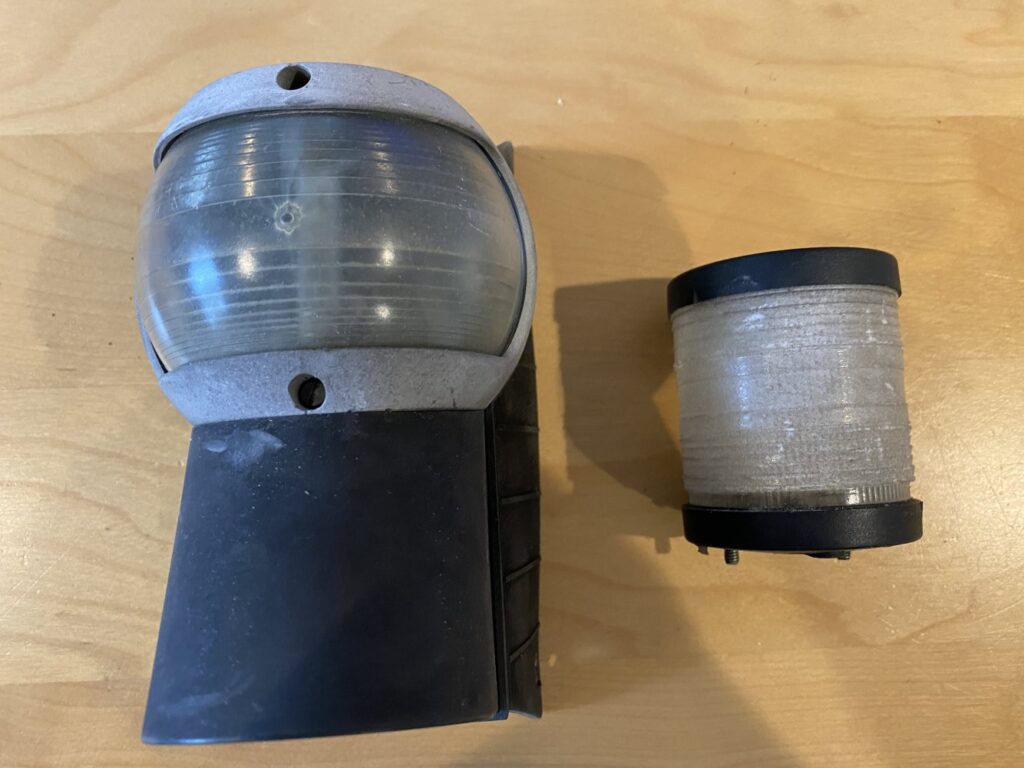
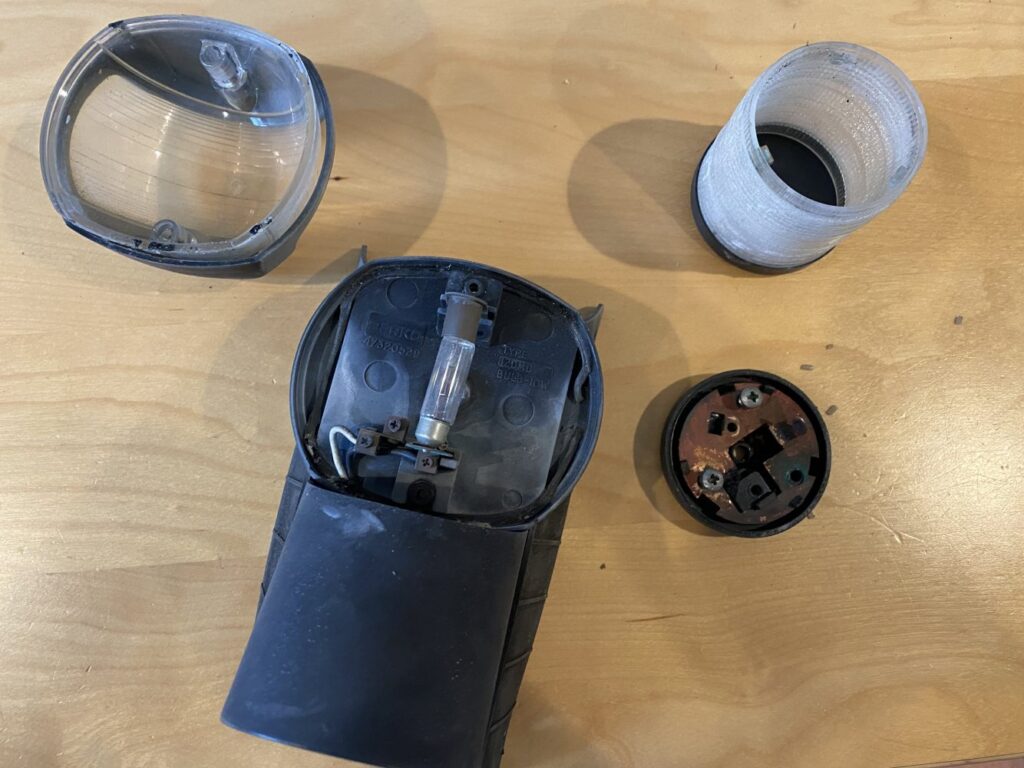
The light fixtures I removed had incandescent bulbs, and I believe were original to the boat:
I pulled all of the new wires yesterday. It took some time, though I am pleased to say that the only ‘lost in the mast’ situation occurred when my old wire detached from my new wire close enough to the bottom of the mast that I could reach my arm in and retrieve the new wire end. That taught me a lesson, so when I pulled my new top-o-the-mast combo through with VHF coax, anchor light, and wind meter wire, I tied and taped carefully.
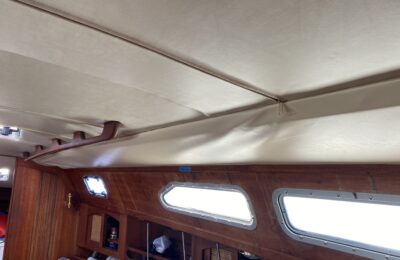
In my 32-200 the wire exits the mast at the ceiling so that wires can be routed under the leatherette headliner. The designers, being clever, terminated the PVC wire conduit inside the mast below the the mast wire exit so that any water running down the conduit would wind up in the bilge and not in the leatherette headliner. This means to replace the lines one has to pull the new wires down to the bottom of the mast (out of the low conduit) and then back up to the mast exit. Here is my moment of mast-wire-exit glory with the fat-pack.
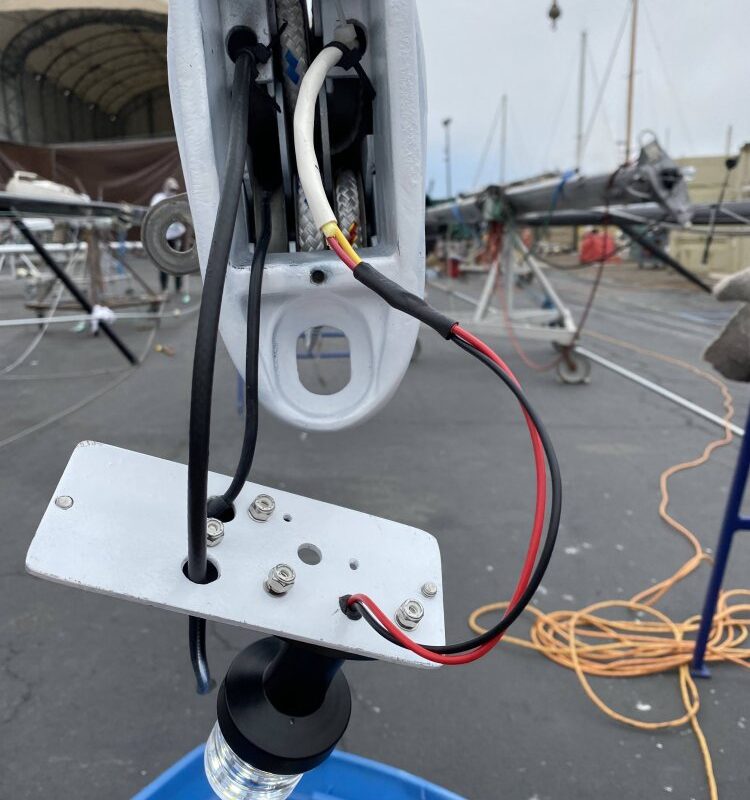
My new fixtures have solder connections and I was concerned that I didn’t want my junior-varsity solder job to be holding the new wires fifty feet in the air. I asked a question about it in the forum. The professional rigger working next to me in the boatyard today was kind enough to answer my request for a suggestion about how to support these wires. He suggested putting zip ties with 1″ tails around the wires, above some guide holes my mast has. “Tie a knot in it without tying a knot.”
Done. I needed to modify my masthead top plate to install my new light and my anemometer footing. I drew footprints
and drilled holes. I even put in a vinyl grommet to prevent wire chafe from the anchor light wires.
Tested the fixture before I attempted any soldering. I used this handy 12V transformer with screw-in female ports.
Soldered. Each wire was covered with heatshrink individually, then an additional cover over both.
Lots of silicon around the holes, and hopefully neither I nor anyone else will have to mess with this plate or the attachments for a decade.
On to the steaming/deck light combo. Triplex tinned 18 gauge. Not a lot of room for wire connections since the fixture mounts flush to the leading surface of the mast. I tried to get another zip-tie keeper in, but there wasn’t enough room within the fixture.
Tested, soldered, heat-shrunk.
I tapped some new screw holes to mount the fixture. I need to go back tomorrow with tef-gel for the threads, and silicon for the gaps at the top of the fixture.