Solar panels meet the standard: “any sufficiently advanced technology is indistinguishable from magic.” Really. You just lay these man-made things out in the sun and they squirt electricity out of attached wires. How good is that? Why don’t we all have these always and everywhere?
Our most sophisticated energy plants are nuclear, and how do we use the atom-split energy? To boil water and turn steam turbines. Hmph.
Solar panels for a boat or RV are cheap to procure and easy to install. The basic parts are the panels, wires from the panel, a controller (which is nothing more than a black-box that converts the electricity from the panels into the correct voltage for your batteries) and then wires from the controller to your battery system, with fuses in between to keep things safe.
Where to mount the panels?
To optimize the solar production, the best choice is to put a rigid panel on a bar or strut system aft of the boom, and to incorporate a method to be able to adjust the angle of the panel to keep it facing the sun. In an ideal world no shadow would ever cross the panel’s direct alignment with the sun. The “Sailing Britaly” youtube channel has what I think is a clever solution for this sort of rig. His supports utilize a universal joint that permits the panels to rotate to face the sun for optimal performance:
Hugo “The Sailing Frenchman” another YouTube channel/guy had a carbon strut rig for his panels on in his recent Mini-Transatlantic race series:

Other choices include mounting the panels on the surface of the boat deck, or not mounting the panels at all and pulling them out by hand when needed.
Another good option is to mount the panels on hinged supports off of the stern pushpit. The panels can be folded down when not in use and deployed when solar energy is to be collected.
I do not have a davit or a bimini arch system at the stern of my cockpit, and I prefer not to have one, so the optimal aft rack mount was out of the question. I did want a semi-permanent installation so having panels I could pull out was not exactly the solution either. I thought I would proceed with a stern-pushpit-mounted system.
I ordered a Renogy kit from Amazon for $280 that included:
100W rigid panel
MPPT Charge Controller
Wires and fuses
Bluetooth dongle (to monitor the system from my phone)
When all the stuff arrived, the size of the rigid panel seemed bigger than I wanted to manage off my stern rails. Sharp corners would protrude and it is a decently large surface area to potentially be bashed by a wave.
I reconsidered where to put my panels. Rodd “MaineSail” Collins has a related article about how to mount semi-flexible panels on a bimini. I had come around to the idea of putting my sunbrella dodger back on my boat, despite the fact that it limits visibility and impairs the use of my outer winches. The comfort (from sun and spray) that structure affords is pretty nice when under way (or when having lunch in the cockpit at the dock.
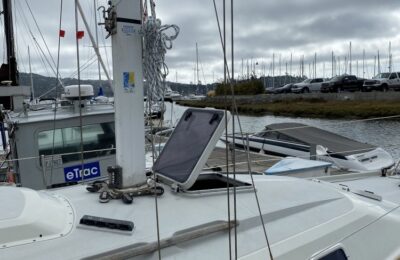
I mounted the dodger and took some rough estimates. I ordered two flexible square-ish panels to use instead of the rigid panel that came with my kit.
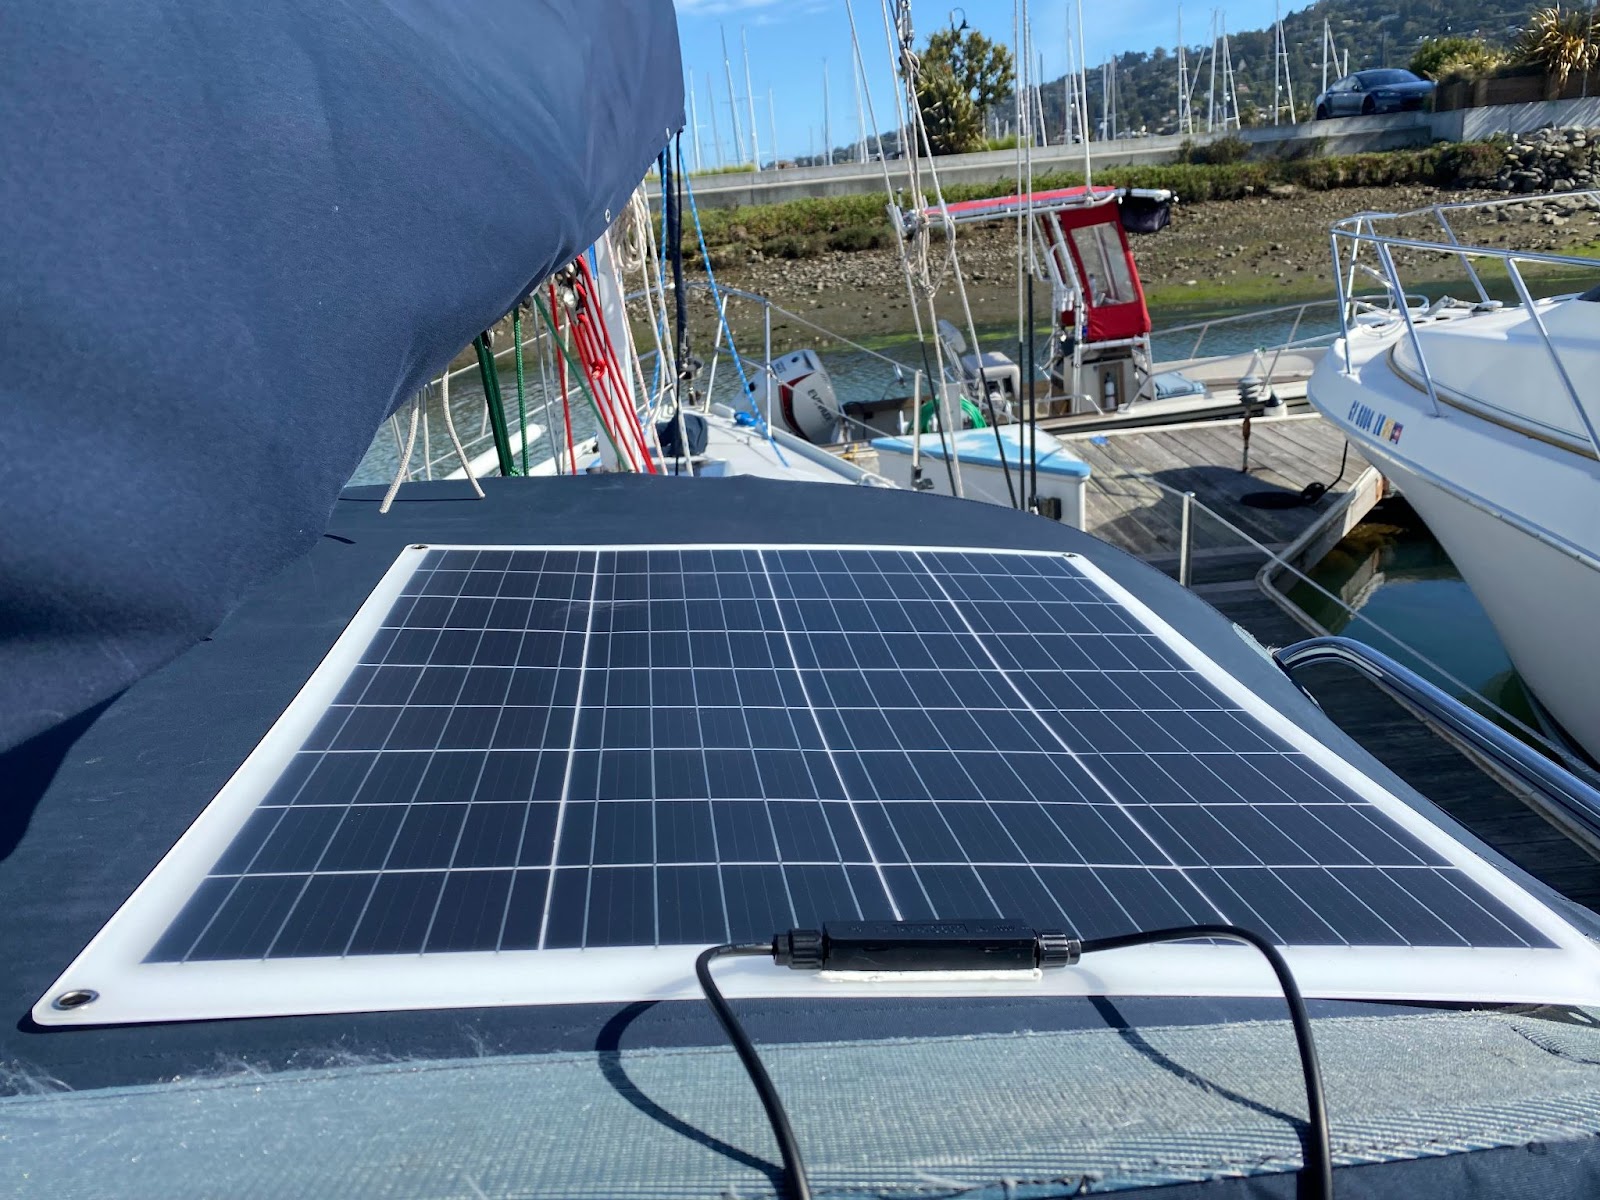
I had some extra navy sunbrella laying around and decided that making a velcro-attached system would be my best bet. The fabric of which my dodger consists is somewhat tired and worn, and the idea of punching holes in it to insert grommets seemed like a poor one. I began sewing strips on my SailRite machine.
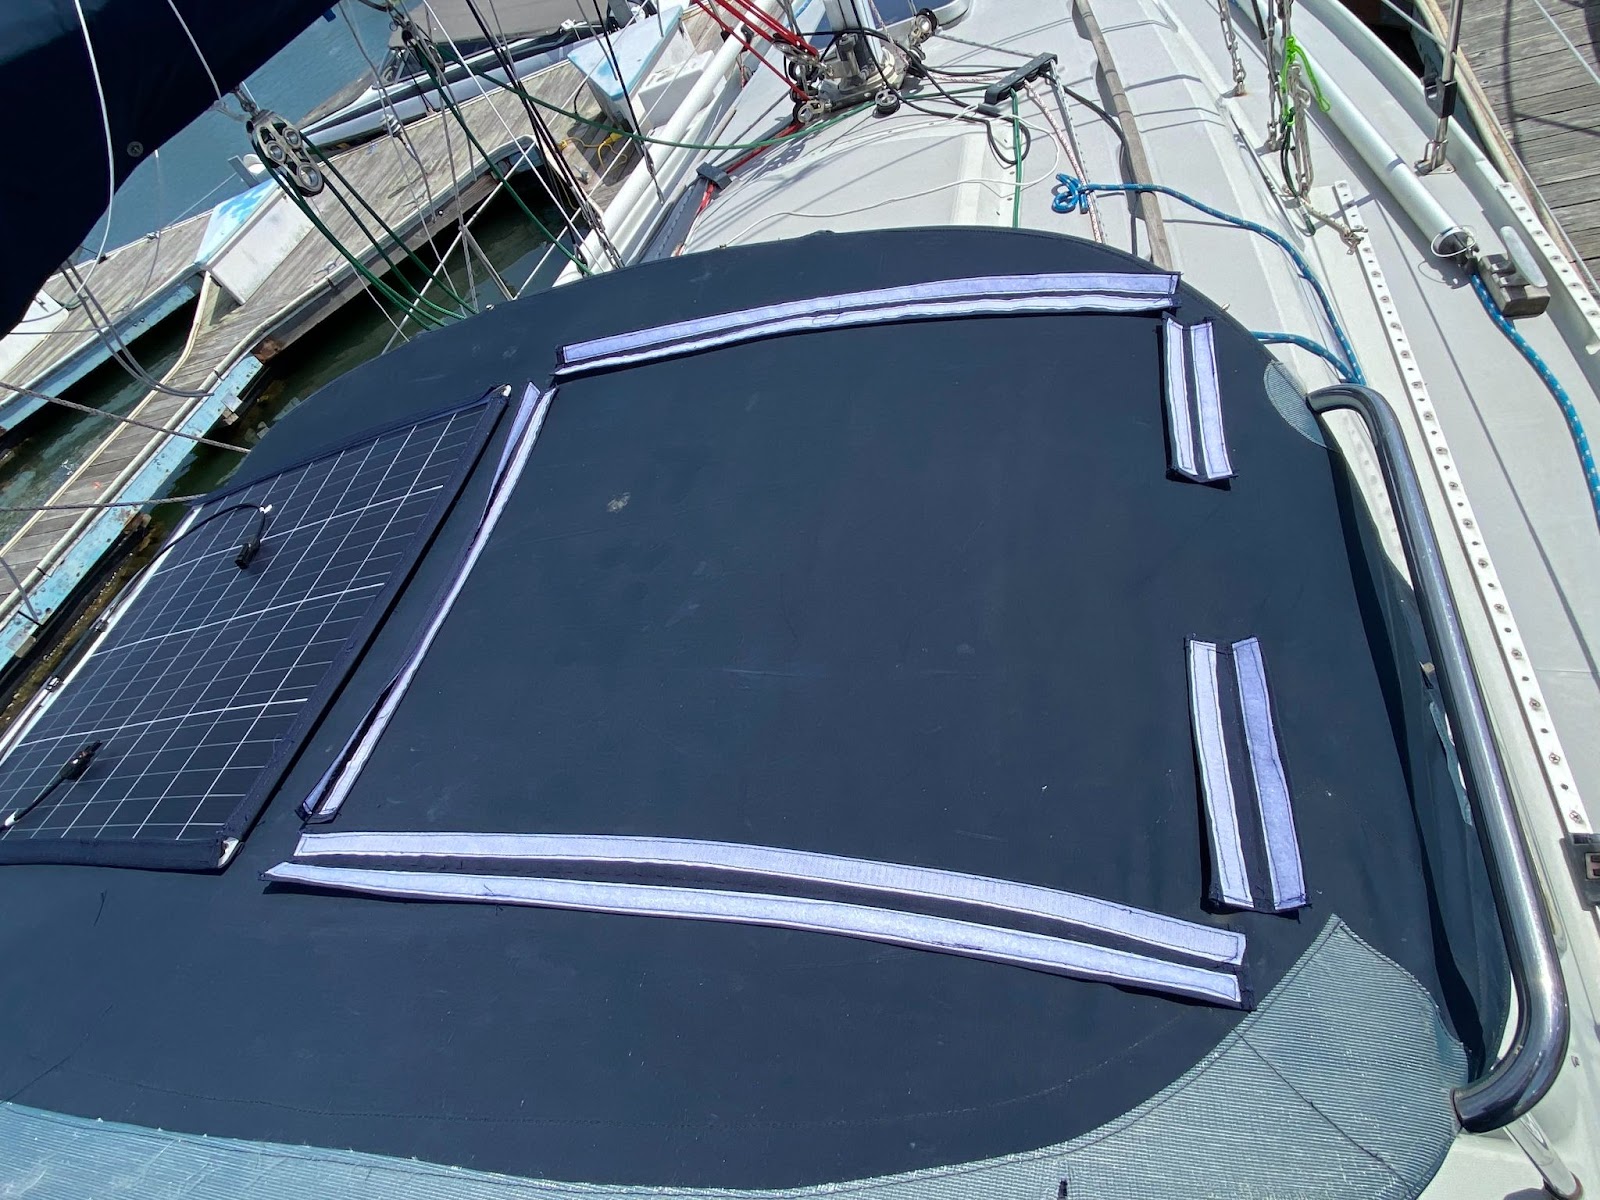
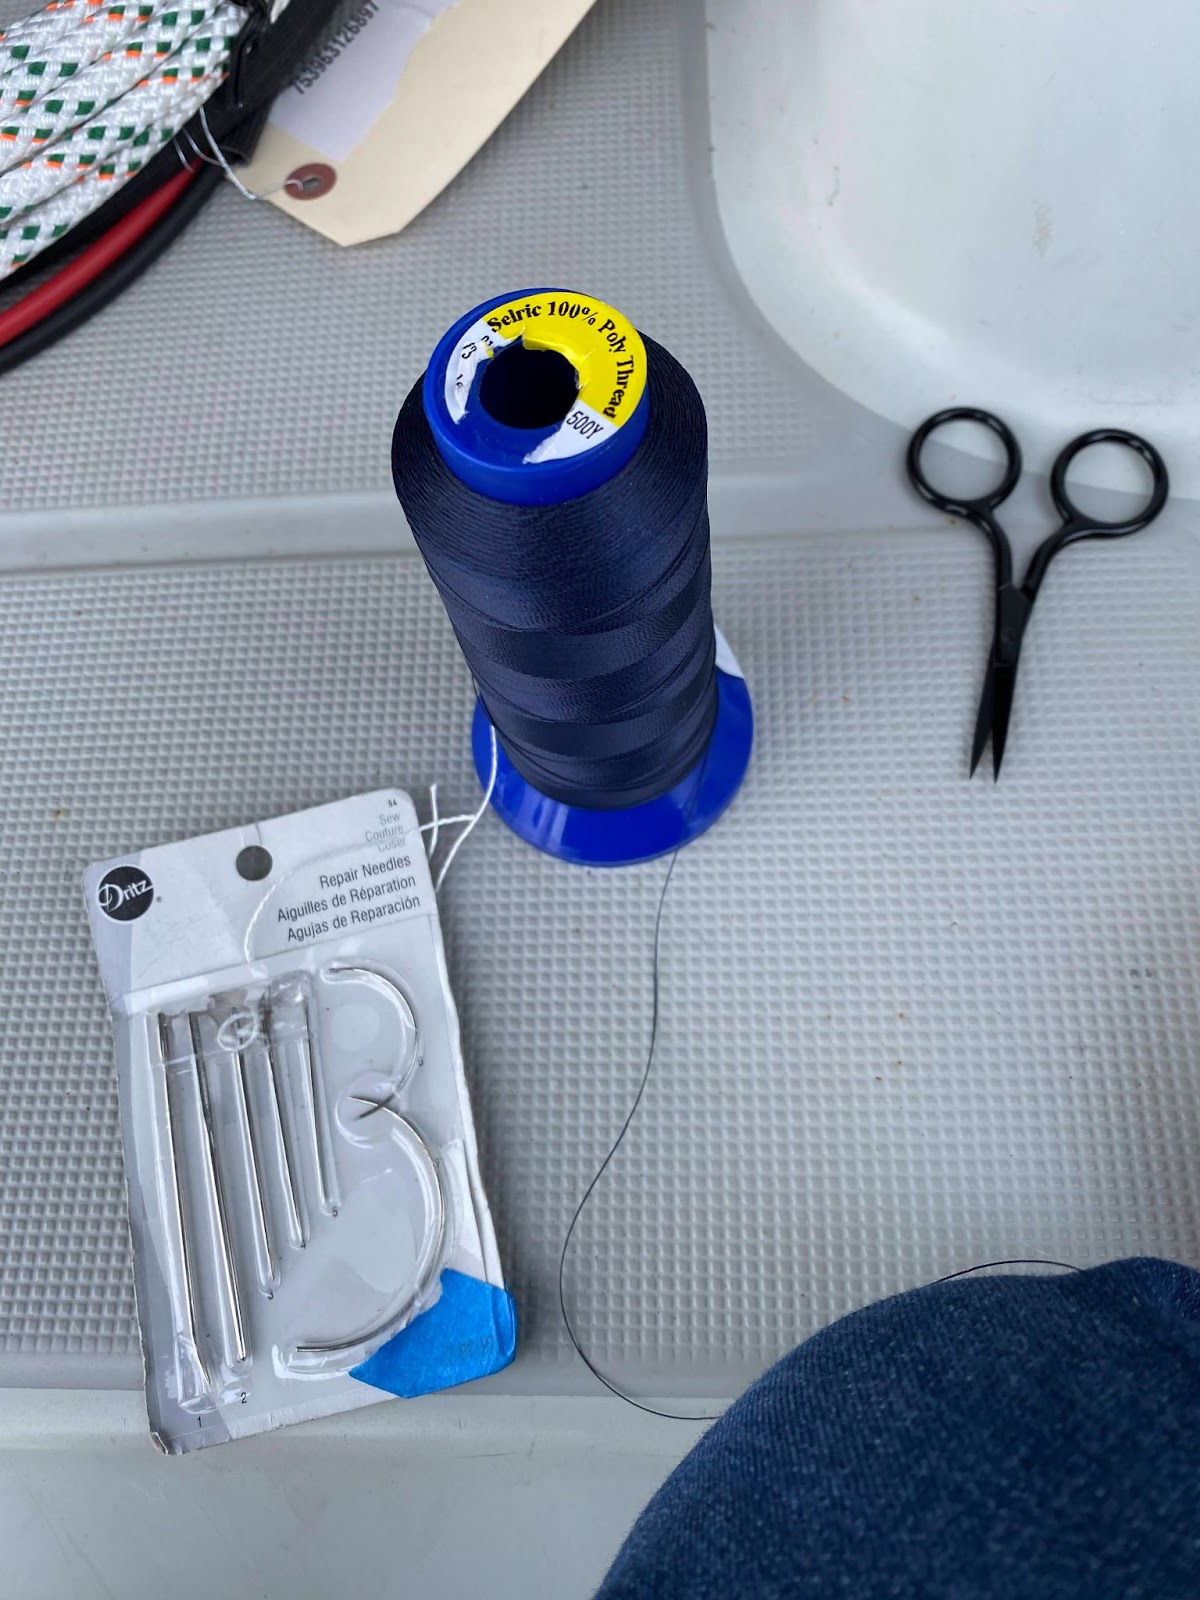
The really time consuming part was sewing these strips by hand onto the dodger itself. To get everything to lay straight and in the correct orientation would have been too much for my setup with the machine at home. The throat of the machine could not accommodate the rolled up vinyl windows etc. It took some time but in the end I was able to get the panels almost exactly where I wanted them. I used the same UV resistant thread I have used for my other projects.
From the dodger, the panel outputs connect in a Y-fitting and the positive/negative wires pass into the hull through a BlueSeas clam seal to the headliner in the head and then pass back into the starboard lazarette. In the locker, the charge controller nestles between my shore charger and AutoPilot controller.

The bluetooth dongle included with my kit attaches to the controller and has a nice app for the iPhone. Here’s an example with one of my two panels connected:
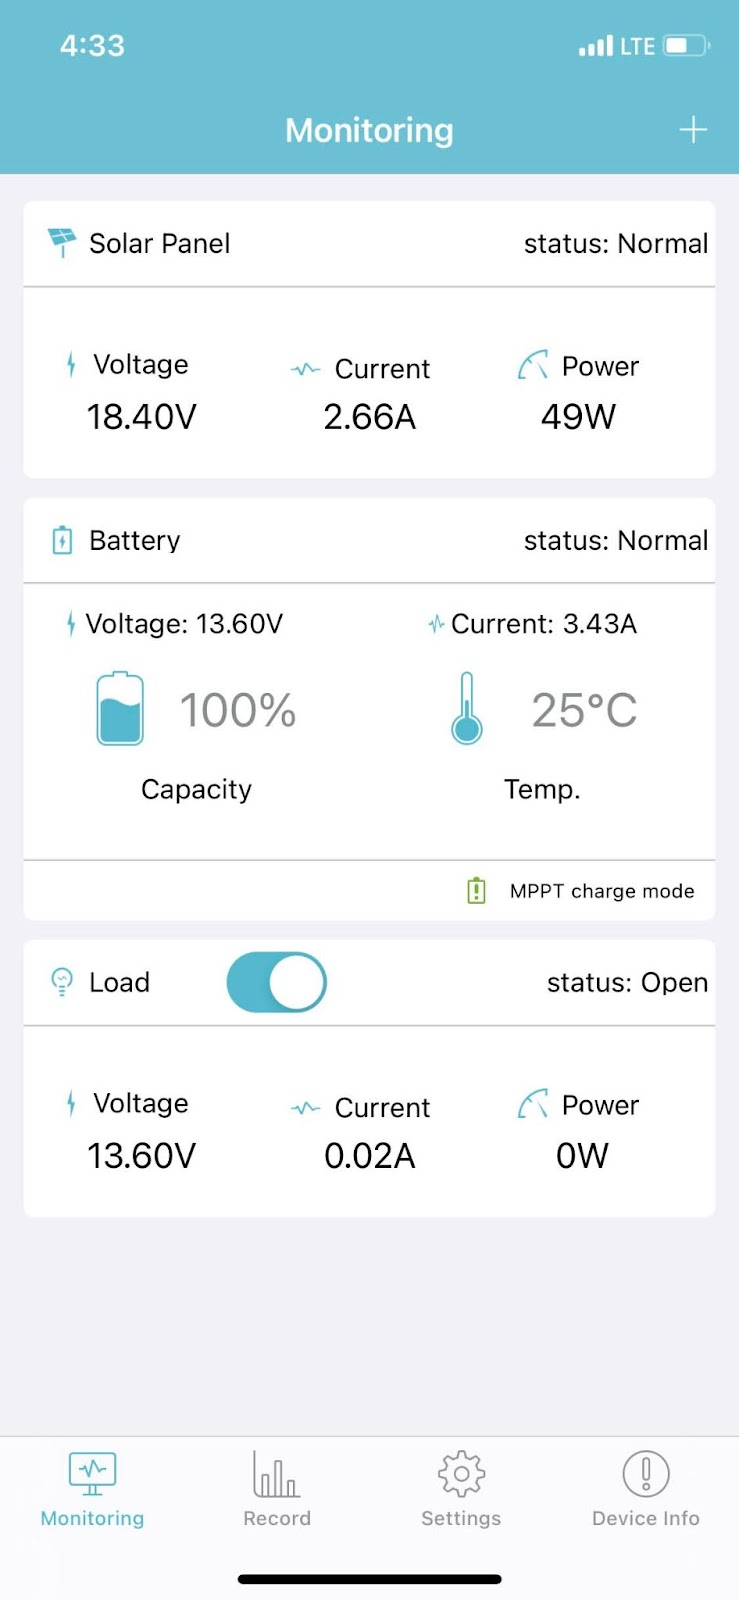
Given the fixed mounting position of the panels and the fact that one or both are always apt to be under my boom, I expect to never be near the theoretical 2*100 watt productive capacity of my system. That doesn’t matter. If I have one panel in the sun, producing 4-5 amps, that is plenty of accretive power. With my instruments on (radio, AIS, NMEA2K network) my standard draw is about -2.6amps. So, if I am neutral to slightly accreting power in the daytime, then this will lessen my need for a long alternator charging session when the sun rises.
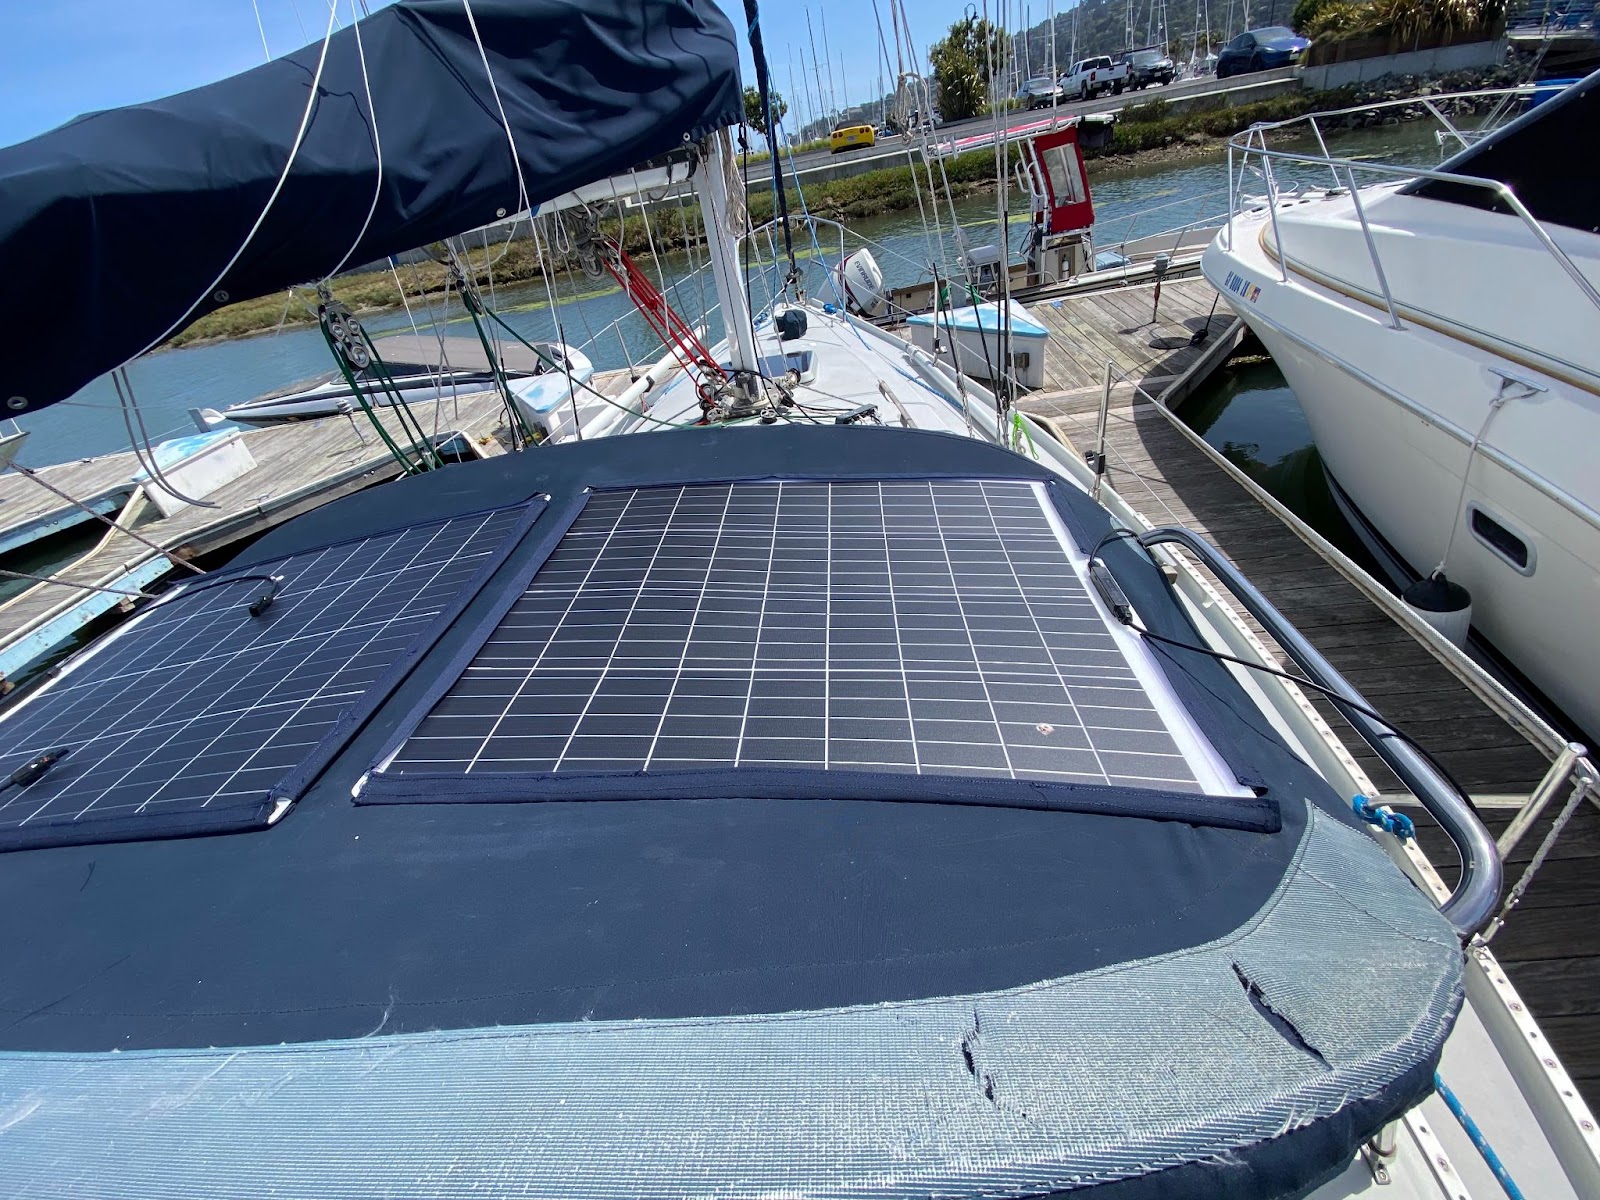
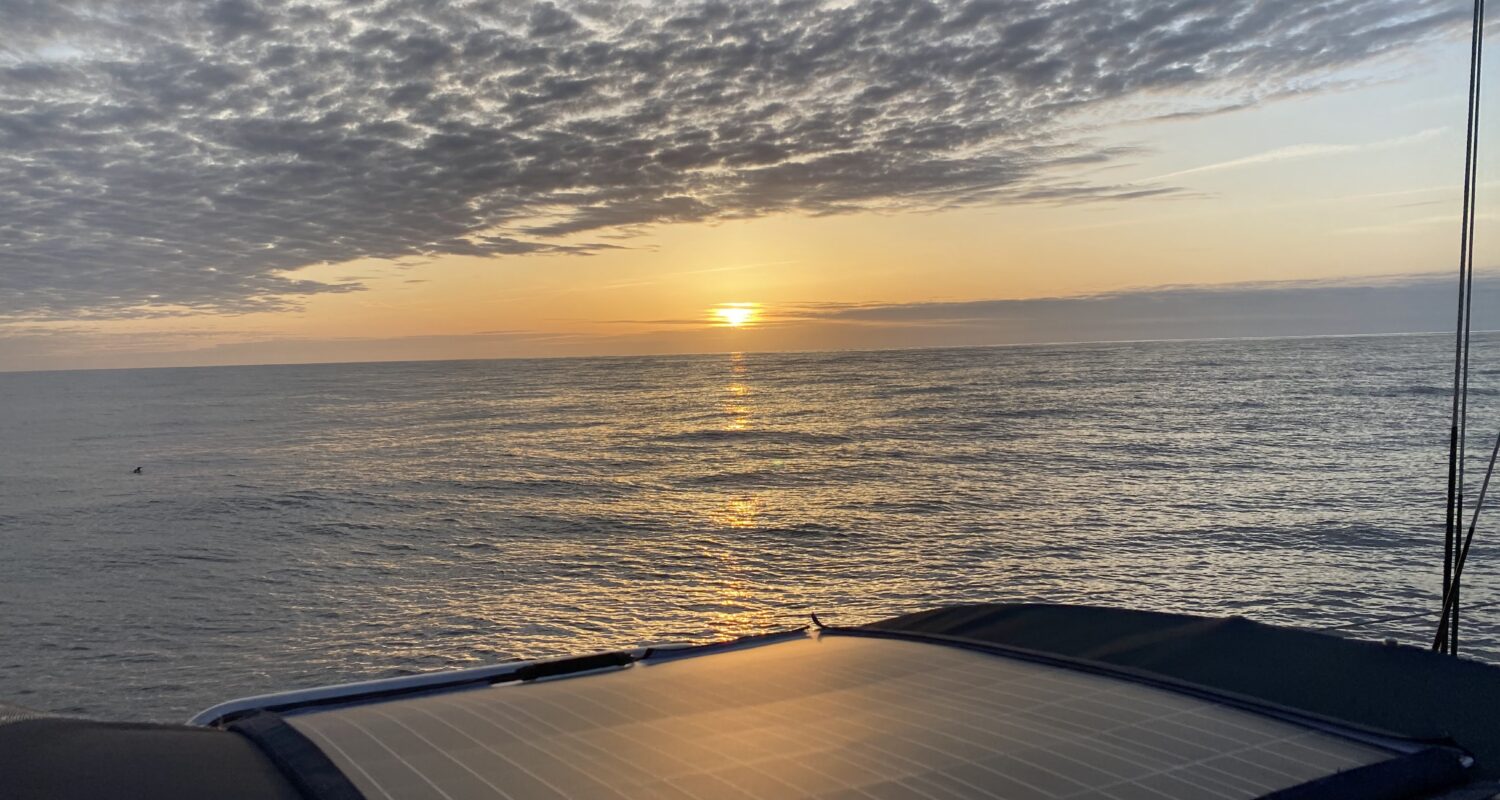
With my 3rd reef in, taking 30 knots on the nose in cowboy small-craft-advisory conditions coming out of the Golden Gate recently, the panels did not flap or flog and show no evidence of flying away.

Electronic Costs (Amazon) were:
$315 Renogy kit (Controller, fixed panel, bluetooth dongle, connecting wires)
$240 Flexible 100w panels
$20 Y connector and wires to join panels
—————
$575 total
Sunbrella fabric was left over from other jobs. The sewing took about 5-7 hours and was the bulk of the labor. Another $20 for adhesive velcro.