After ordering the Sailtrack and installing it, the final step is to have the Sailtrack slides affixed to one’s mainsail.
Any rational person would take this task to a sail loft and have them do the work. I bought a used sailboat, so I’ve already failed the rational person test.
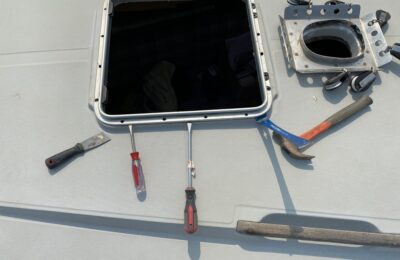
The slides on my inherited mainsail were of the plastic slug type, attached with 1/2″ nylon webbing around very narrow SS bands:
The webbing bands were sewn too narrow to permit the passage of the wider Sailtrack slide pins, so I had to replace them.
Sailrite has a couple of types of 1/2″ webbing available – flat or tubular, nylon or polyester. The polyester degrades less in ultra-violet light, and the tubular form is stronger, so I chose tubular polyester. $0.30 per foot.
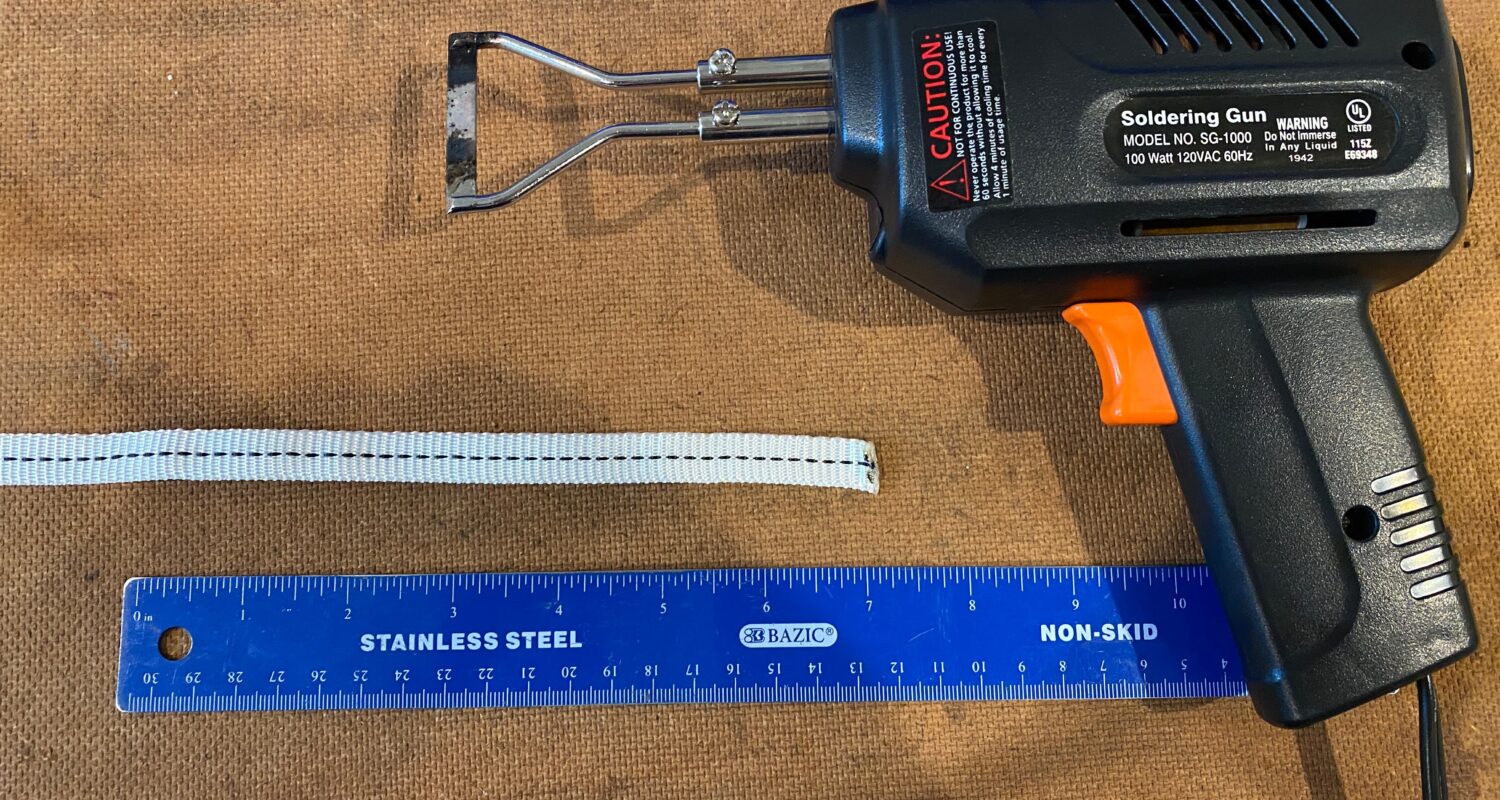
Earlier this summer, I bought a $30 rope cutting gun. I also got a $23 Sailor’s palm and some Robline whipping twine.
Here’s a Sailrite video with an attachment approach that mirrors the sewn connections of my old slides. In the video the webbing is sewn directly onto the sail body. For my sail, the webbing passes through a grommet looping upon itself. The finishing stitch that starts at 5:09 9 in the video is what I used and what the sailmaker used for the original webbing loops.
Ripping out the old slides was less trivial than one might think. I made good use of a seam-ripper I found in our household sewing box.
My next step was a test run of a slide. My old webbing lengths were 7.25″ long, so I added a half-inch for the larger diameter Tides Slides.
Add a dot of superglue on the webbing to ‘capture’ the slide at one end of the webbing. I believe this temporary attachment is called ‘basting.’
Then, thread the twine through-and-through, making figure 8’s per the Sailrite video.
Cut off the waxed twine at the end and melt the strands into a ‘button’ again as per the Sailrite video.
I had seventeen of these slides to install. Tides Marine gives you different types of slides for connection points near battens or reefing points.
I have partial battens, so didn’t have to worry about those, and used the slightly larger slides near my reefing cringles.
Probably 8 minutes per slide, once I had my mini-assembly line going. Couple hours of work if it was all done in a row, but was intermingled with the obligations of pandemic zoom school distractions, and lunch, so about 5 hours. If one of these fails, I’ll know who to call with my complaints.
Eventually I’ll get my mast back in my boat and get to test them out.