Summary
I replaced an 18 gallon freshwater tank in my sailboat. Determine the correct part number from your existing tank to be replaced, or review the substantial Ronco catalog of tanks. Take pictures of the fittings on your existing tank and send them to Ronco to ensure exact replacement.
Introduction
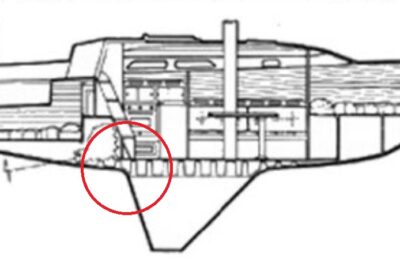
The previous owner of my boat warned me not to use the forward starboard freshwater tank because it leaked. I ignored the tank successfully for some time, but want to have the ability to carry a lot of water if I really want to. My Ericson 1990 32-200 can carry over 60 gallons of water, which was a surprisingly large amount for a 32 foot boat in the 1980’s when it was designed. There is an approximately 30 gallon tank under the port bench. This one works fine.

In the aft starboard section of the boat is a second water tank that I have never seen because it is bolted in underneath a hot water tank (5 gallons?), and a holding tank. I still haven’t had real reason to remove those other tanks, but plan to measure the carrying capacity of the freshwater tank at a later date.
The third problematic tank is located forward, under the starboard bench seat.

Disassembling the bench to access the tank is a matter of removing some stainless steel screws and some wood braces that keep the water tank from sliding around. I found that the tank body was intact, but the threaded fittings had grown brittle and split open. Whether these failures was due to overzealous tightening by previous owners, or small oscillations tugging on the connected hoses while sailing I could not determine, but several of the fittings had failed.
While the outside of the tank looks somewhat dirty, the inside of the tank was clean and had no bad odor. I was pleasantly surprised by the absence of any mildew or mold in the original tank.

The tank itself is a very peculiar shape, in order to fit well into the bench in my cabin along the curved, sloping wall of the hull. I assumed this must have been a custom part that Ericson Yachts had made to order by Ronco. I took careful measurements and drew up a diagram.

This was folly. The tank from which I took the careful measurements had a part number printed on it. I wound up with the same answer (It’s a Ronco B166) after reviewing their substantial product list. I could have saved myself time by simply finding the part number on the old tank.
The form of the tank is a given, but the types and locations of the connectors can be specified by the purchaser. For the given tank price, a purchaser is allowed three connections. One can add more, but there is an additional fee. My tank has a 1.5” threaded connector for the fill hose from the deck plate, a 0.5” connector for the connection to the boat’s freshwater system, and an 0.5” connector for an overflow line that leads to the head sink.
I emailed in my diagram and then had the Ronco salesperson on the phone. I wanted to convey that the large 1.5” connector for the fill line did not extend past the outer perimeter of the tank. She asked if I wanted the connector mounted “flush” and I said yes, and this was a mistake. She meant, “Do you want the threaded fitting mounted such that the threads extend into the cavity of the tank?” That is not what my old tank had.
$216 plus $30 shipping.
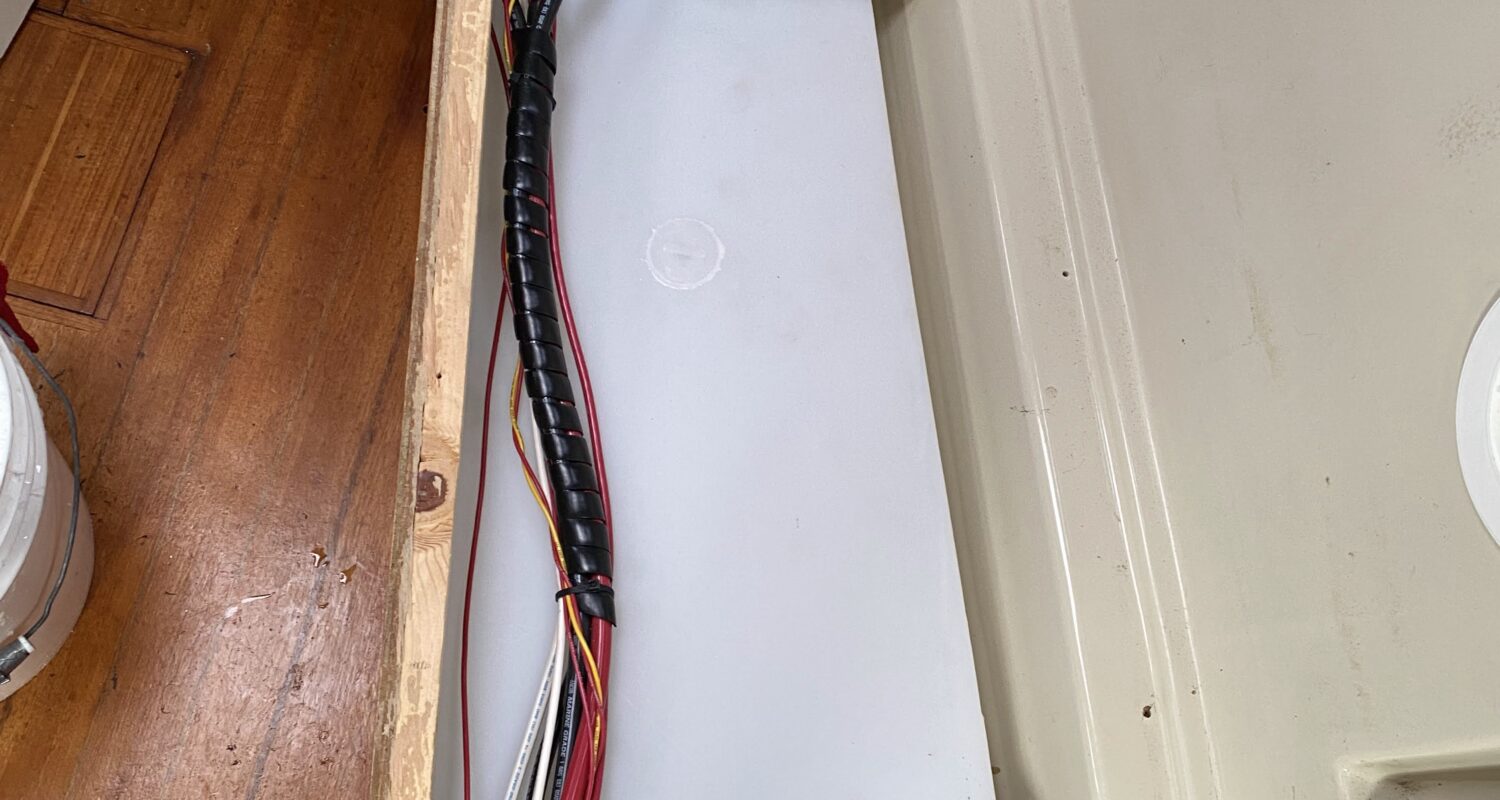
My new tank arrived, constructed much more heavily than the old tank. The tanks are presumed so durable by Ronco that they ship only in a film of Saran Wrap:

Here’s the detail of the fill line with the threads pointed into the tank cavity:

This meant that my 90 degree hose barb fitting would not reach the necessary depth of the threads:

I tried a couple of different things. I bought another polyethylene fitting, and tried to glue it to the inward-facing fitting. Polyethylene is a difficult surface for adhesives. I tried a LocTite plastic-oriented superglue product. After gluing, I broke off the fitting while wrestling the tank back into place. I tried a JB Weld 2-part plastic epoxy product and the same thing happened.
The eventually successful approach was to use a couple adaptors from the plumbing aisle at Home Depot. One ABS and one PVC with a slip fitting in between. There is a special green-colored glue sold in the plumbing aisle for bonding the two plastics together.

This extension pushed the fill hose forward from where it connected in the factory installation. I used my Dremel oscillating tool to carve out a larger hole through the seat molding through which the hose passes to prevent pinching. Whoa gosh, no one wants a pinched hose.

Fill ‘er up and test the connections for leaks. By the time I got to this point I had had the tank in and out a half-dozen times. I had to dremel out an additional chunk when I realized the tank needed to move even farther forward for me to reinstall the braces that go on top of the tank.

Everything seems to be working so far.
Conclusion
Find the part number of your existing Ronco tank and order the same one. Carefully measure your fittings and send pictures in with your order to avoid my hassle with the mis-mounted threaded connector. Easy job otherwise.