Summary: I bought a fancy sewing machine and made winch covers out of Sunbrella canvas by following a how-to video from Sailrite. It costs some time and money at the front end, but this small project was doable (about 3-4 hours of sewing time) and it’s nice to have another arrow in the quiver of boat repair/maintenance.
————————————————————-
After some time, I have taken a long draught of the Kool Aid and purchased a Sailrite sewing machine for canvas work. If you have whiled-away a few hours on the internet with an algorithm-fed interest in sailboat improvement and repair, you will have been exposed to any number of DIY’ers making and repairing fabric projects with a heavy duty sewing machine of one flavor or another from a company called SailRite.
The machines are not cheap: The “package” I purchased ran about $900. Plus shipping and tax I am in for about a boat buck. One could purchase a heavy duty consumer machine for about half that. I rationalized my purchase as a business expense to recreate a retractable canvas awning on a house I am renovating. We’ll see if I actually have the chops to do the work in a few months, or if I will surrender and pay twice the cost of the machine to my local canvas pro shop for a new awning.
In any case, without the multitude of very clear, very well-produced videos from Sailrite available on YouTube, the machine would be most useful to me as a doorstop. There is a great series on how to set up your machine. Then for individual projects, there are specific item how-to videos.
Some aesthetically-cretinous previous owner had purchased for my boat, a set of royal blue winch covers, when every other accent item of canvas on the boat is navy blue. “Royal with navy? Abomination.” he muttered, smoothing cravat and swirling brandy. So, new navy blue winch covers were my target.
Here is a handy video from Sailrite explaining the winch cover fabrication process:
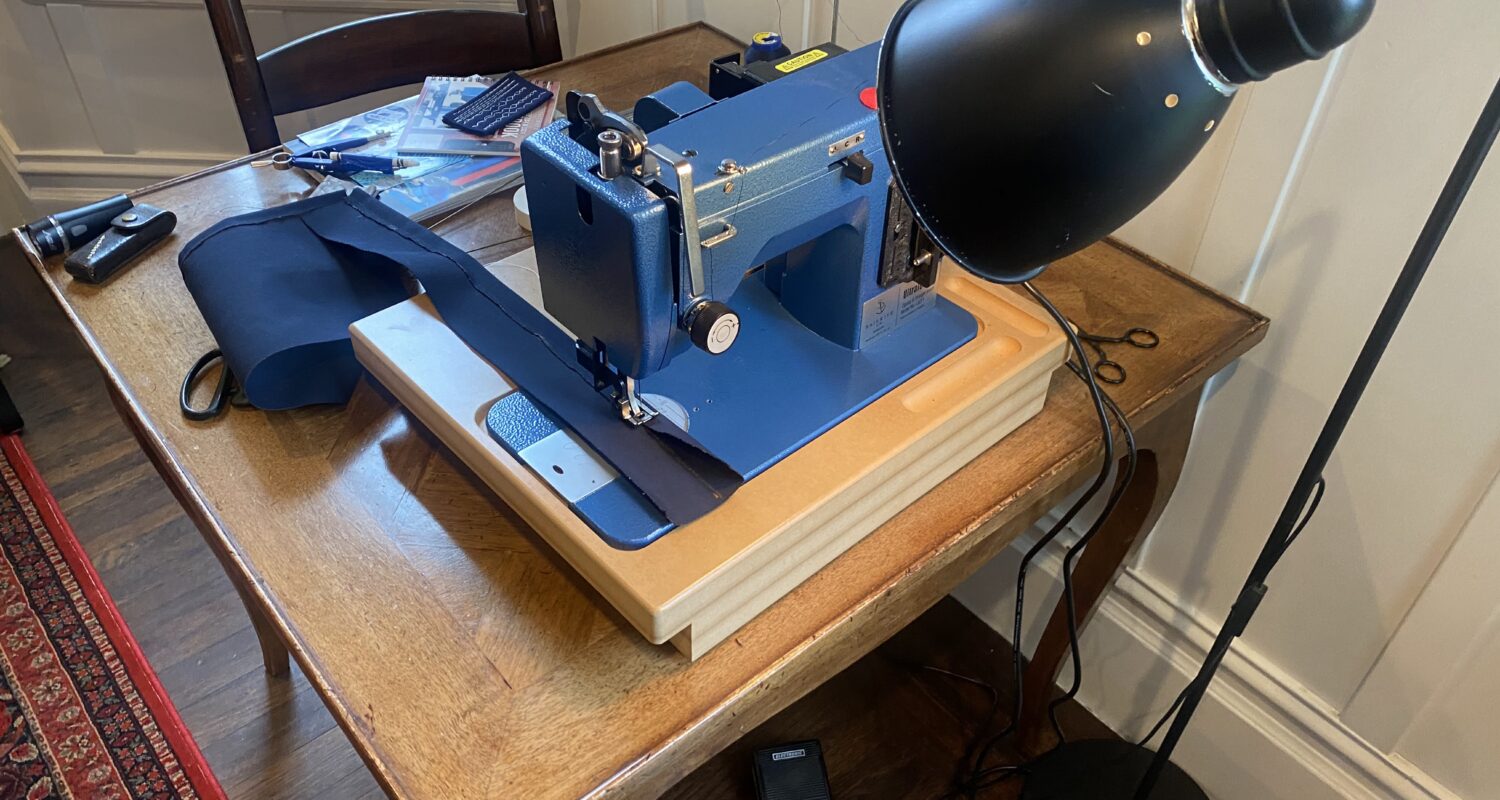
I set up the machine in my dining room. My rope-cutting gun (really large soldering gun) is visible.
Sailrite recommends using the rope gun (hot knife) to cut the Sunbrella fabric as it melts the cut edge and prevents fraying. This process also leaves a pungent smoky reminder of your work in the room.
The scissors/shears were there for trimming scrap.
Follow the step-by-step Sailrite video. Wind some bobbins, follow some seams. A bright light helps.
In all the Sailrite videos the demonstrations use a contrasting thread color (like white thread against a dark background). I knew the high contrast would betray my lack of experience to the observer of the finished project, so I chose navy thread. I’m still not sure about this decision. It obscures my mistakes, but it also makes it more difficult to see what the heck is going on with the machine stitching during the fabrication process.
And, once the elastic is in, all of the seams are complete (the tricky part is trying to join the circular top piece into the flat sides), Voila! (kind of a sad navy mushroom)
I made six: three big ones for my primaries and spinnaker winch, and three smaller ones for halyards, main sheet etc. (measuring instructions are part of the video).
Up next are new sheet bags for cockpit rope management.


