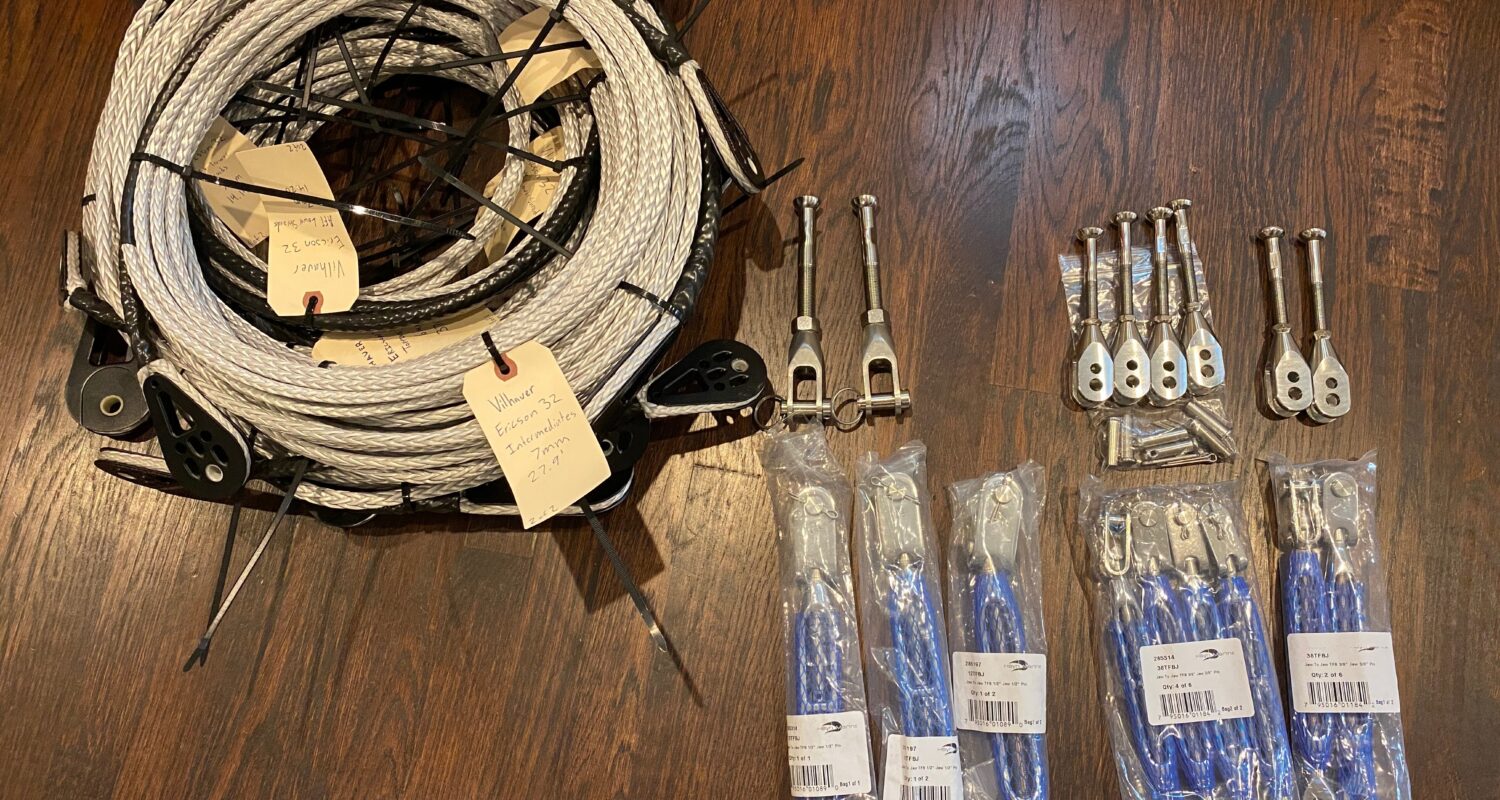
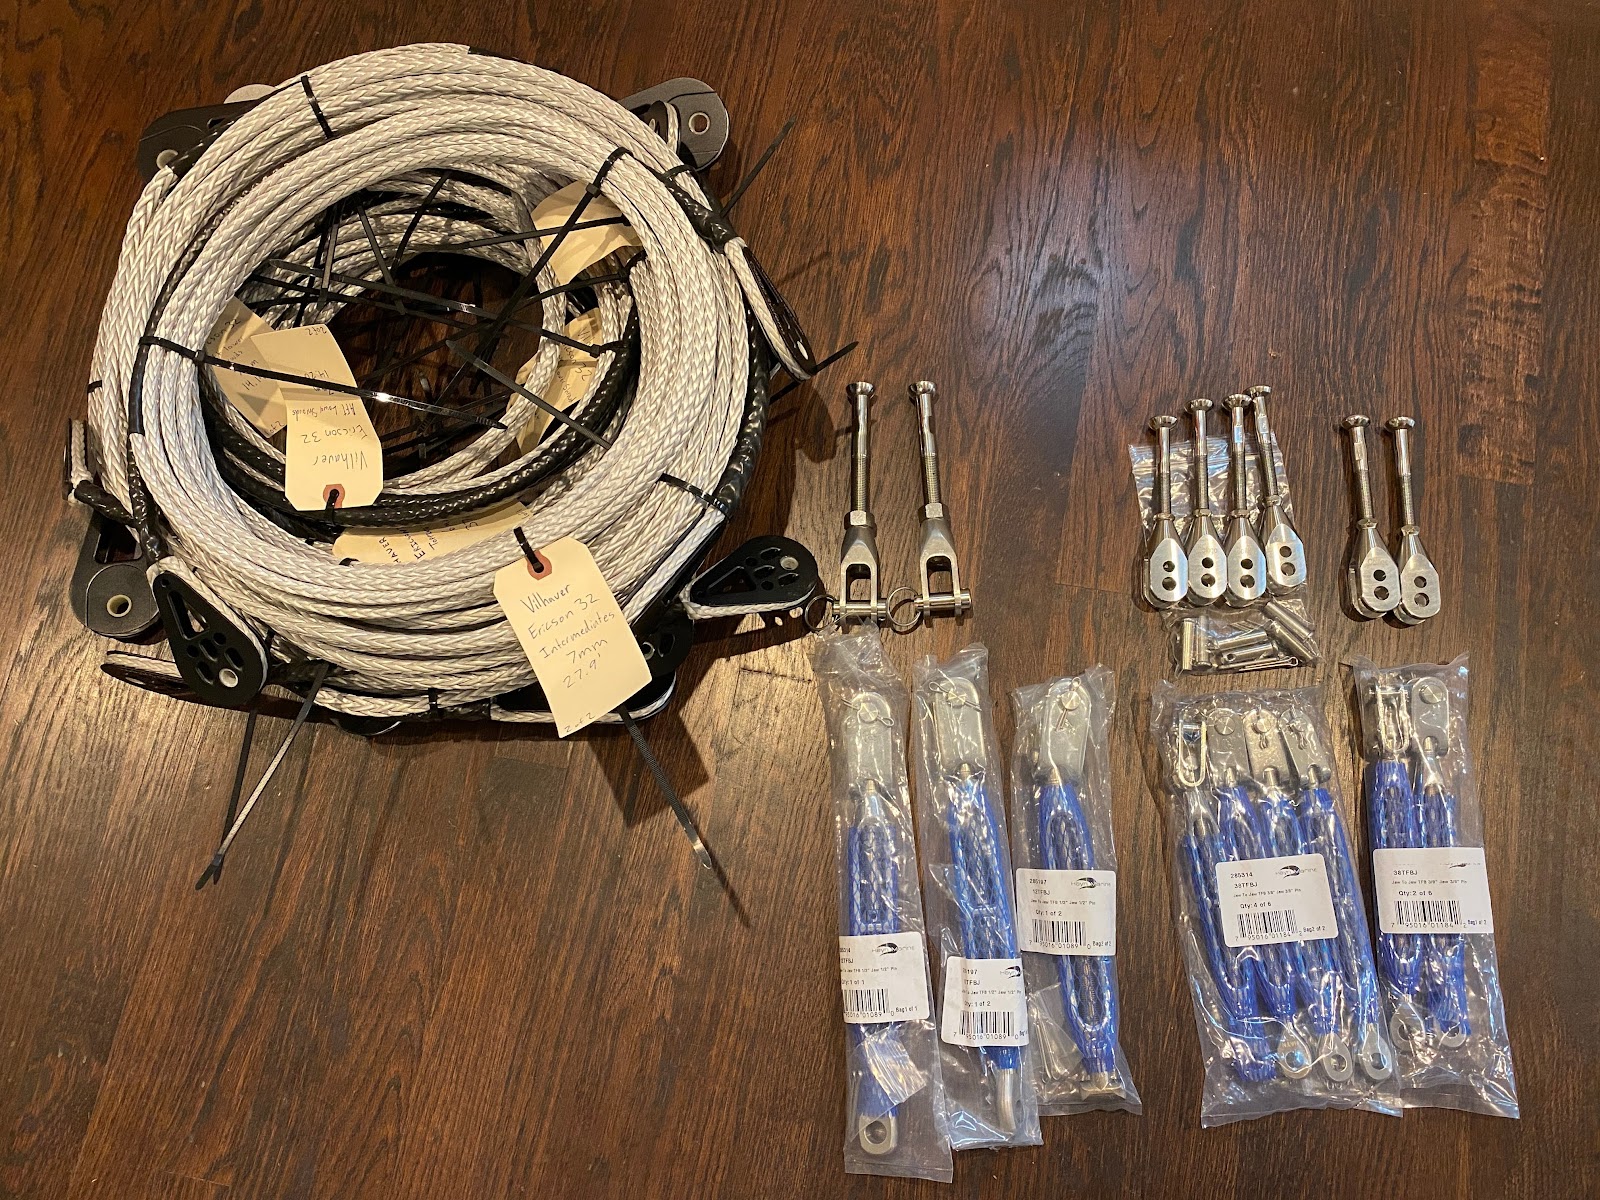
At somewhat long last, I received nearly all of the rigging I had ordered from Colligo. As I mentioned in a previous post, Colligo had delays sourcing some of the components needed for my rigging, and I cannot fault them for the delay given the pandemic circumstances.
The sturdy, professional, construction of the rigging is satisfying. The parts feel very durable and the rope feels very light. How light then? My old ‘pile of wire rigging’ weighed in around 40lbs.
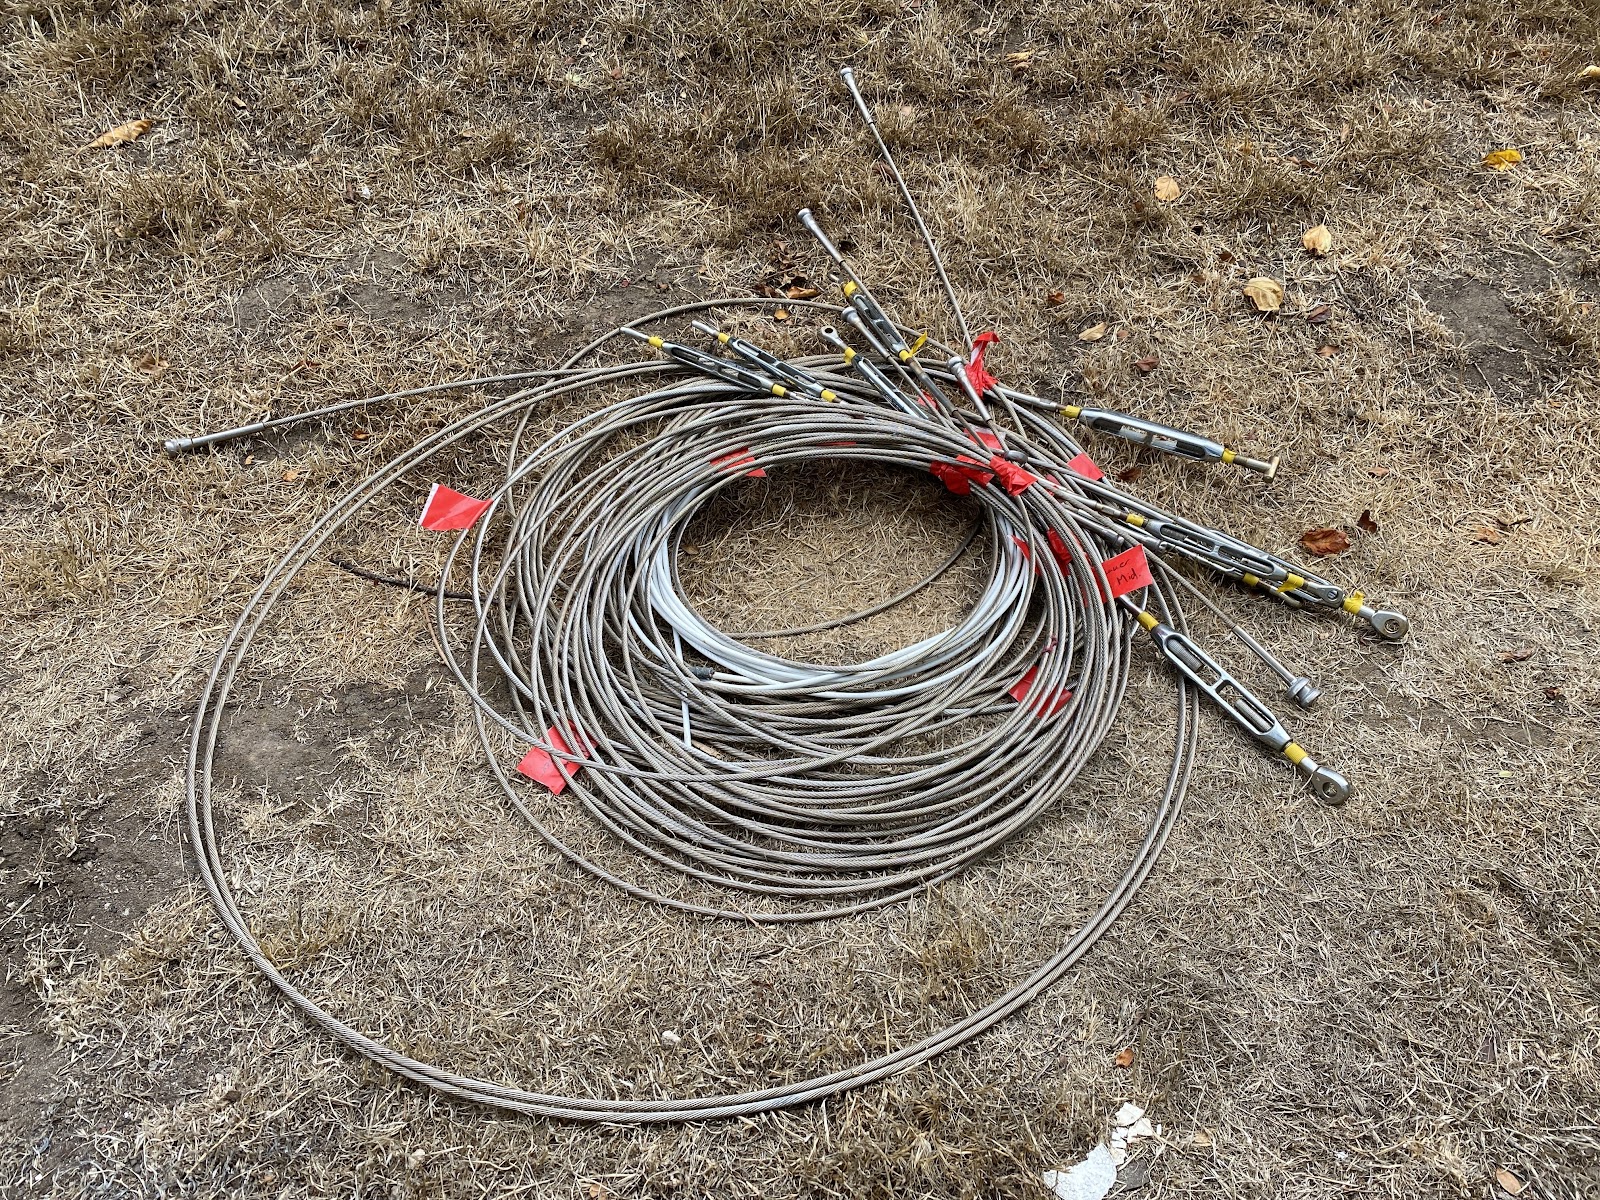
The new ‘pile of rigging’ weighs in at about 25lbs.
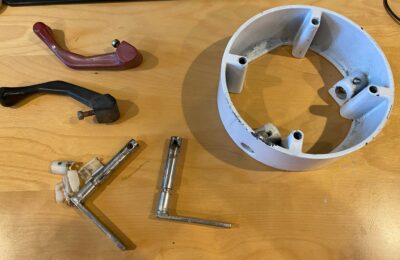
This new rigging weight figure could have been even lighter. At the connection points on my mast, each shroud uses a sem-spherical stemball fitting. An experience rigger encouraged me to check out Colligo’s ‘Cheeky Tang’ connectors that utilize through-bolts in the mast for connection.
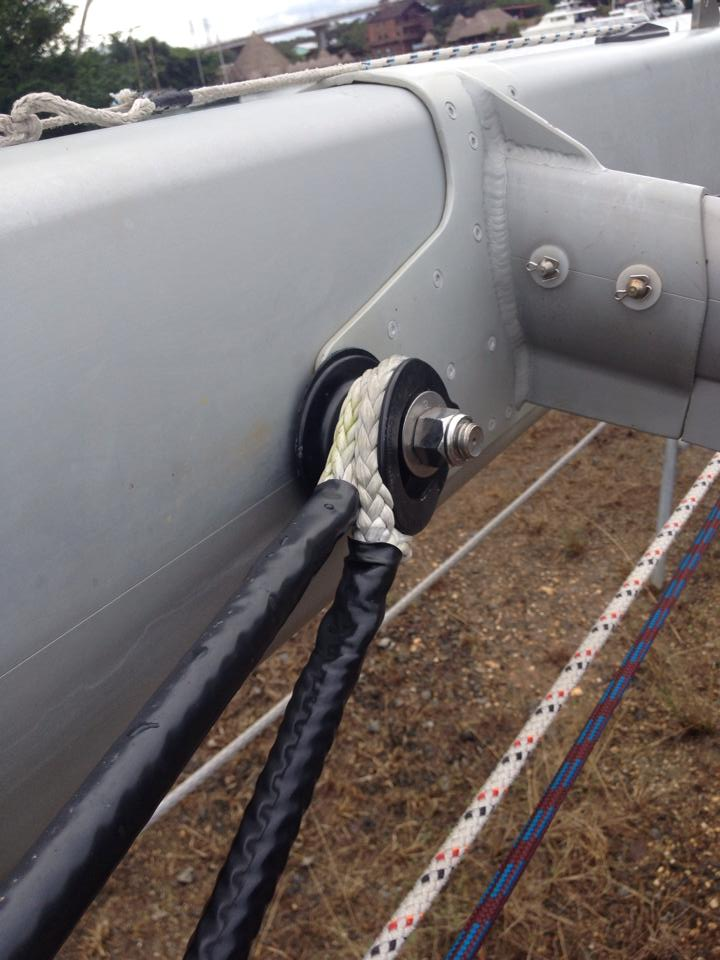
I chose not to use Cheeky Tangs, because I didn’t have through-bolts to begin with, and while I could have drilled holes in the mast and added through-bolts on a freestyle/hot-rod basis, I feel like I am far enough out at the edge of my competency level just ordering stock replacements for my existing rigging. The combined weight of the stemball fittings is about 4lbs (arrayed at the top, intermediate, and lower shroud connection points).
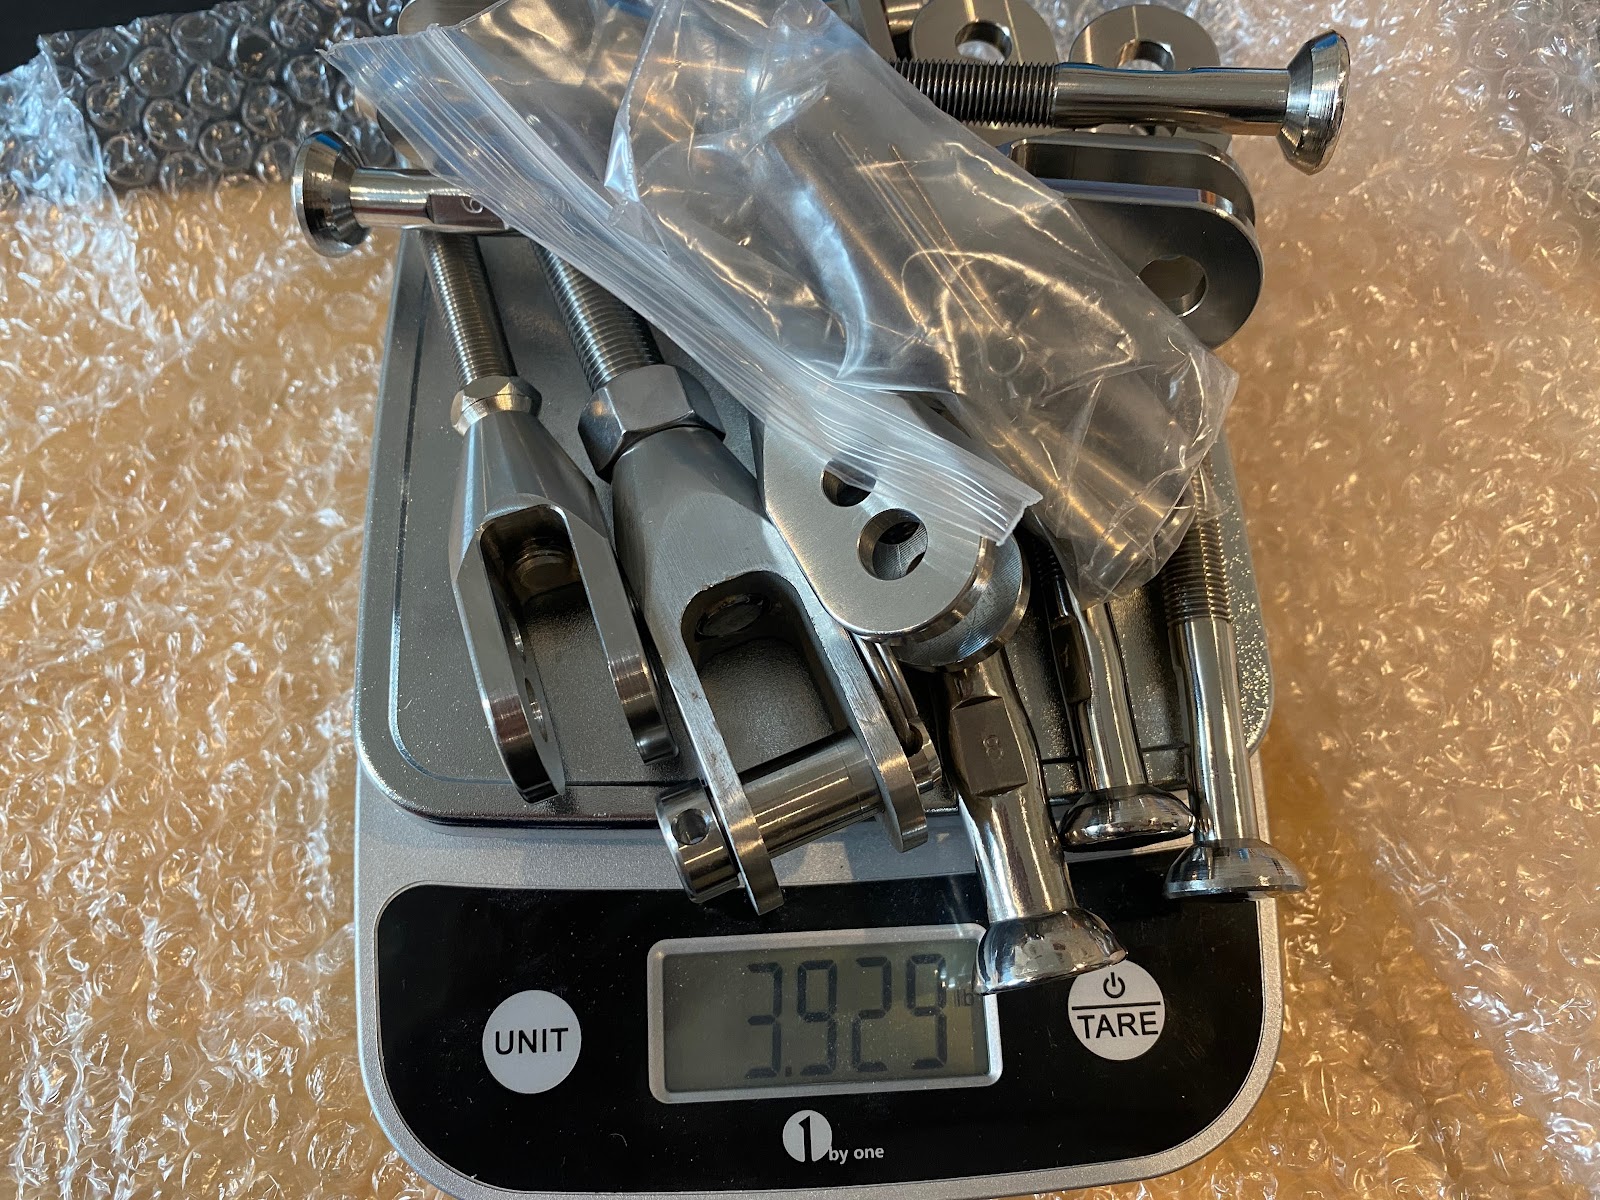
I expect with Cheeky Tangs and through-bolts,, that could have been well under 2 lbs.
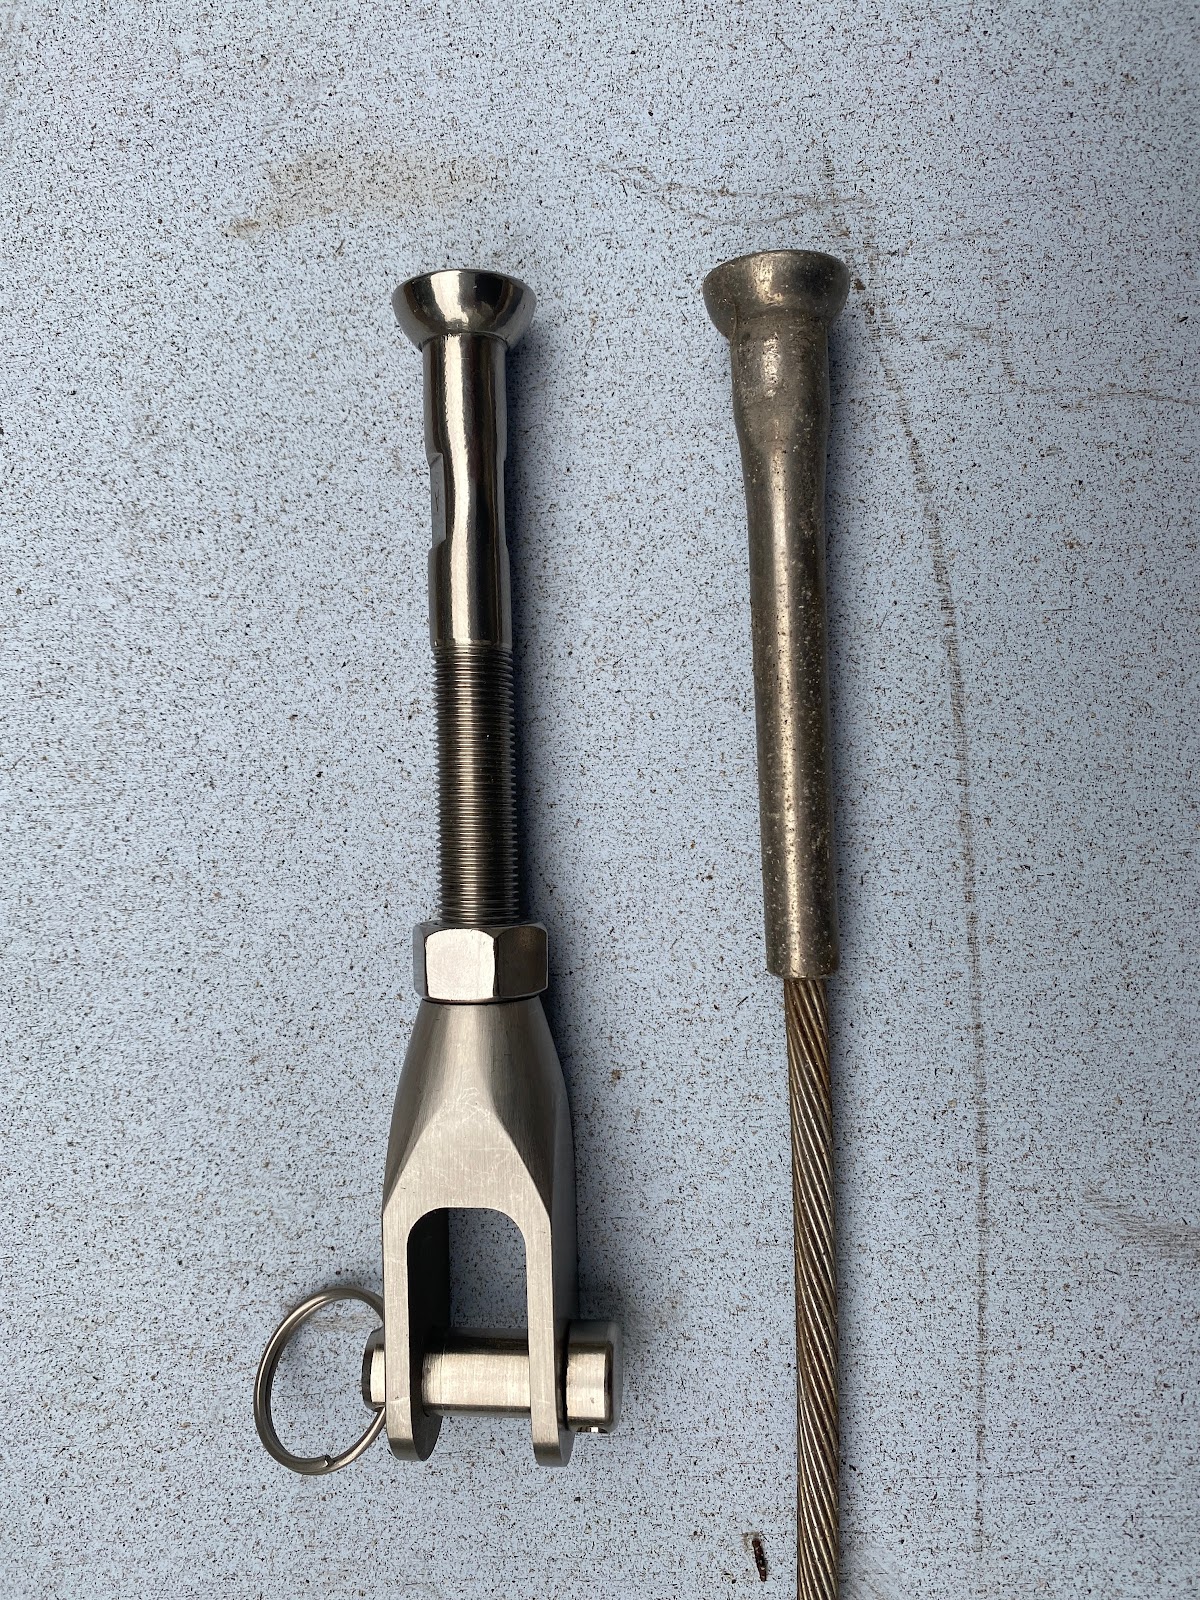
Lighter, then. How about stronger? My boat had ¼” 1*19 SS wire rope for the backstay and the upper shrouds. My internet research suggests this wire rope is rated at approximately 8,200 lbs tensile strength. Colligo replaced this wire rope with 9mm Dyneema Dux line, which is rated at approximately 21,800 lbs tensile strength. In theory this one rope could pull two E-32’s out of the water simultaneously, though I wouldn’t want to wager a lot on the scenario. But it’s really strong.
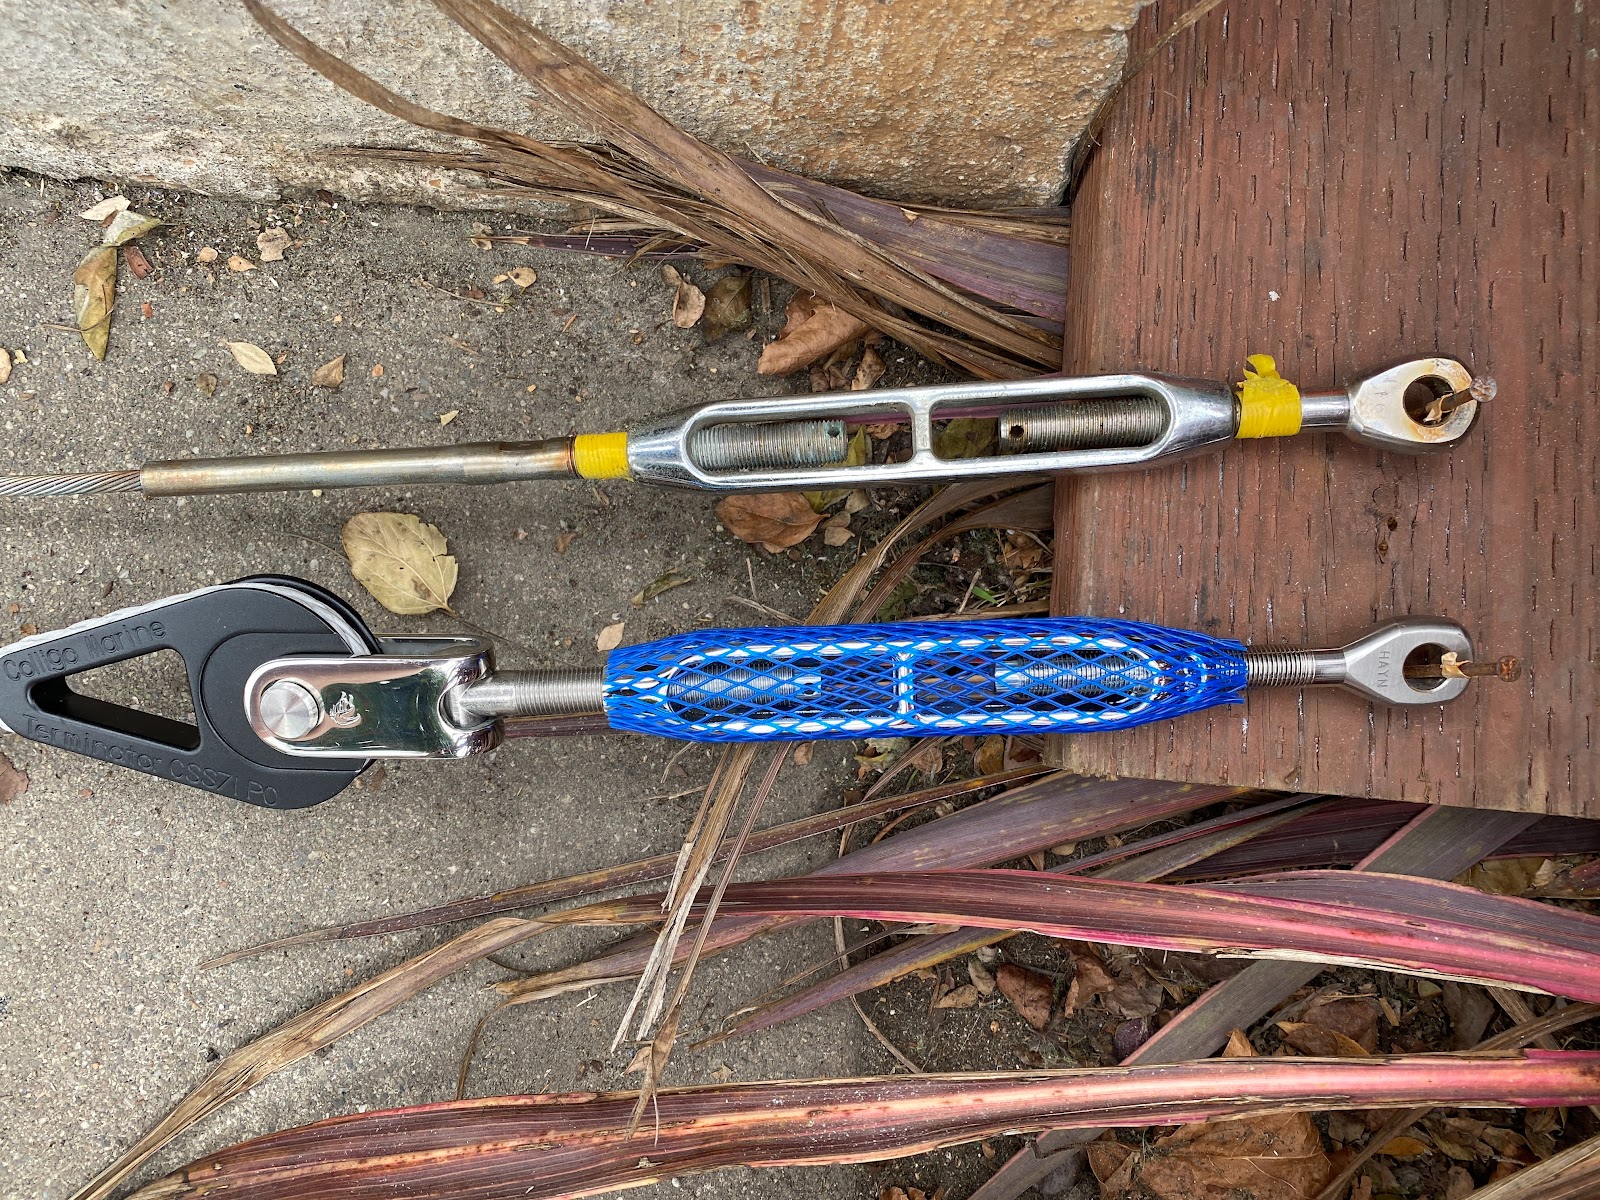
Here is one of my upper shrouds:
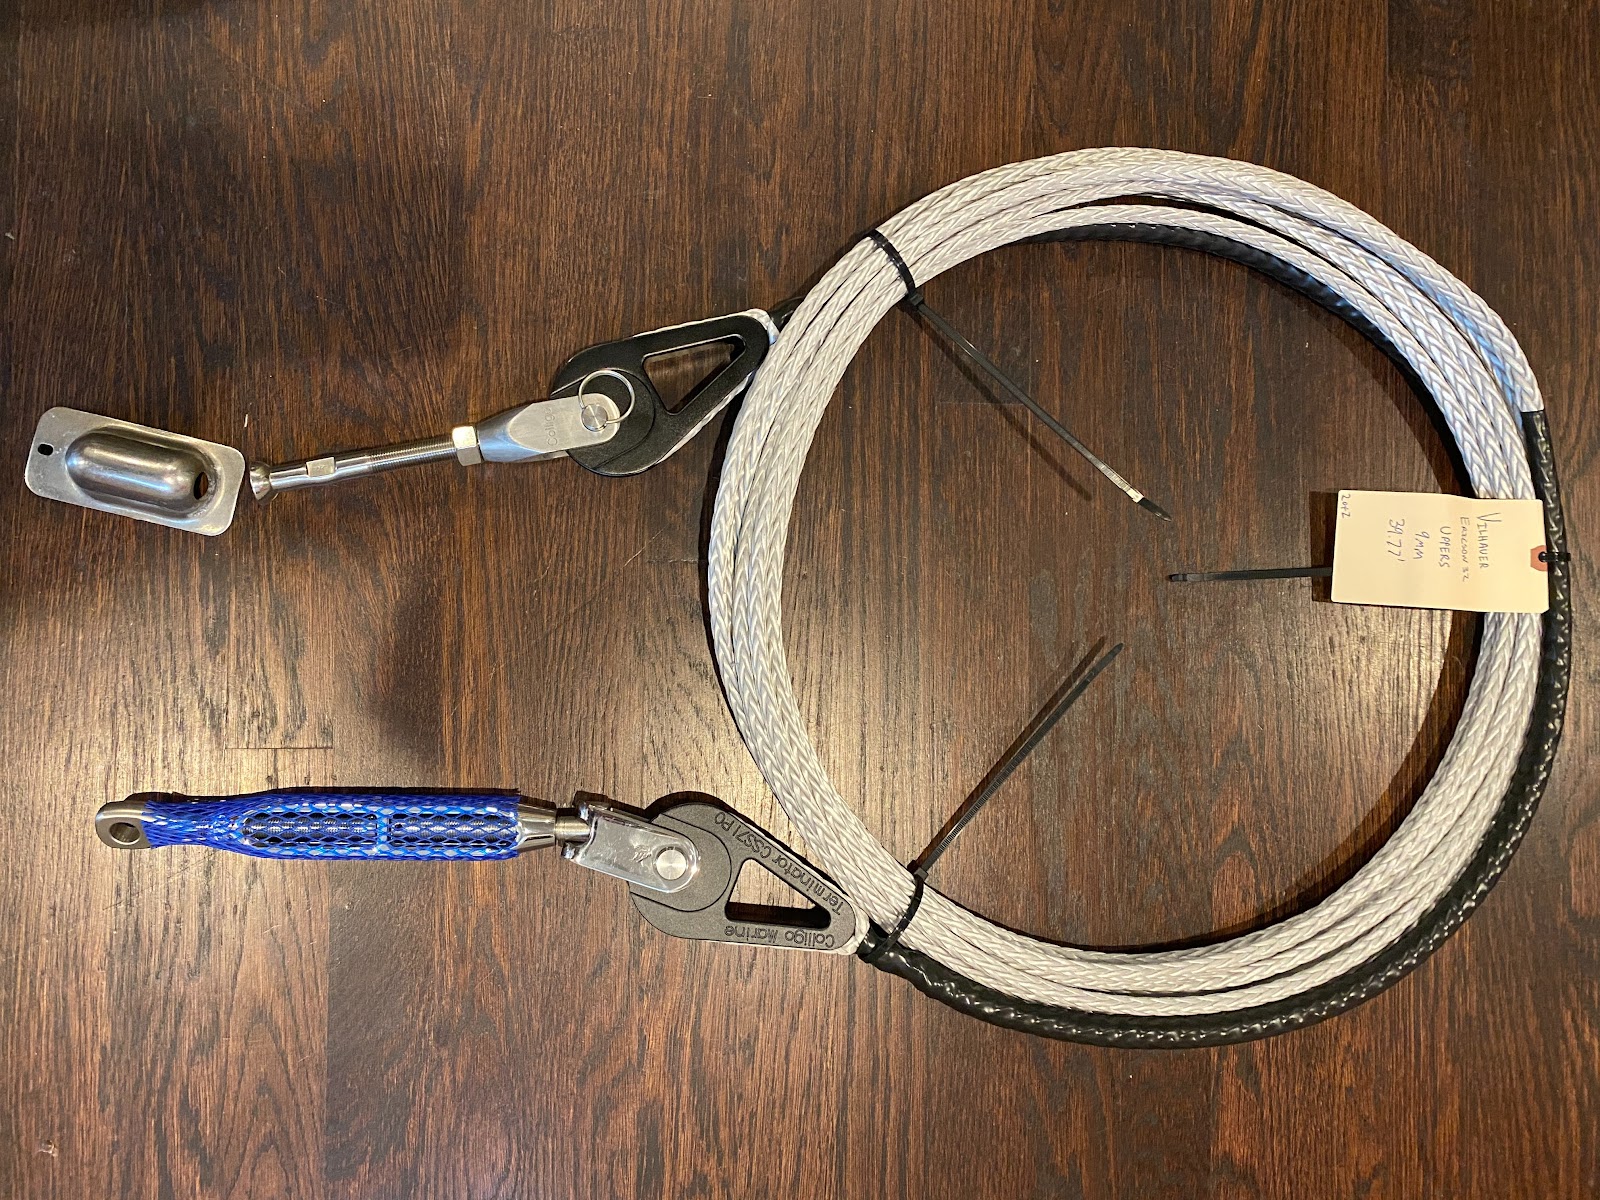
The top stemball compared to the previous wire rope stemball. Mottled background courtesy of wildfire ash.
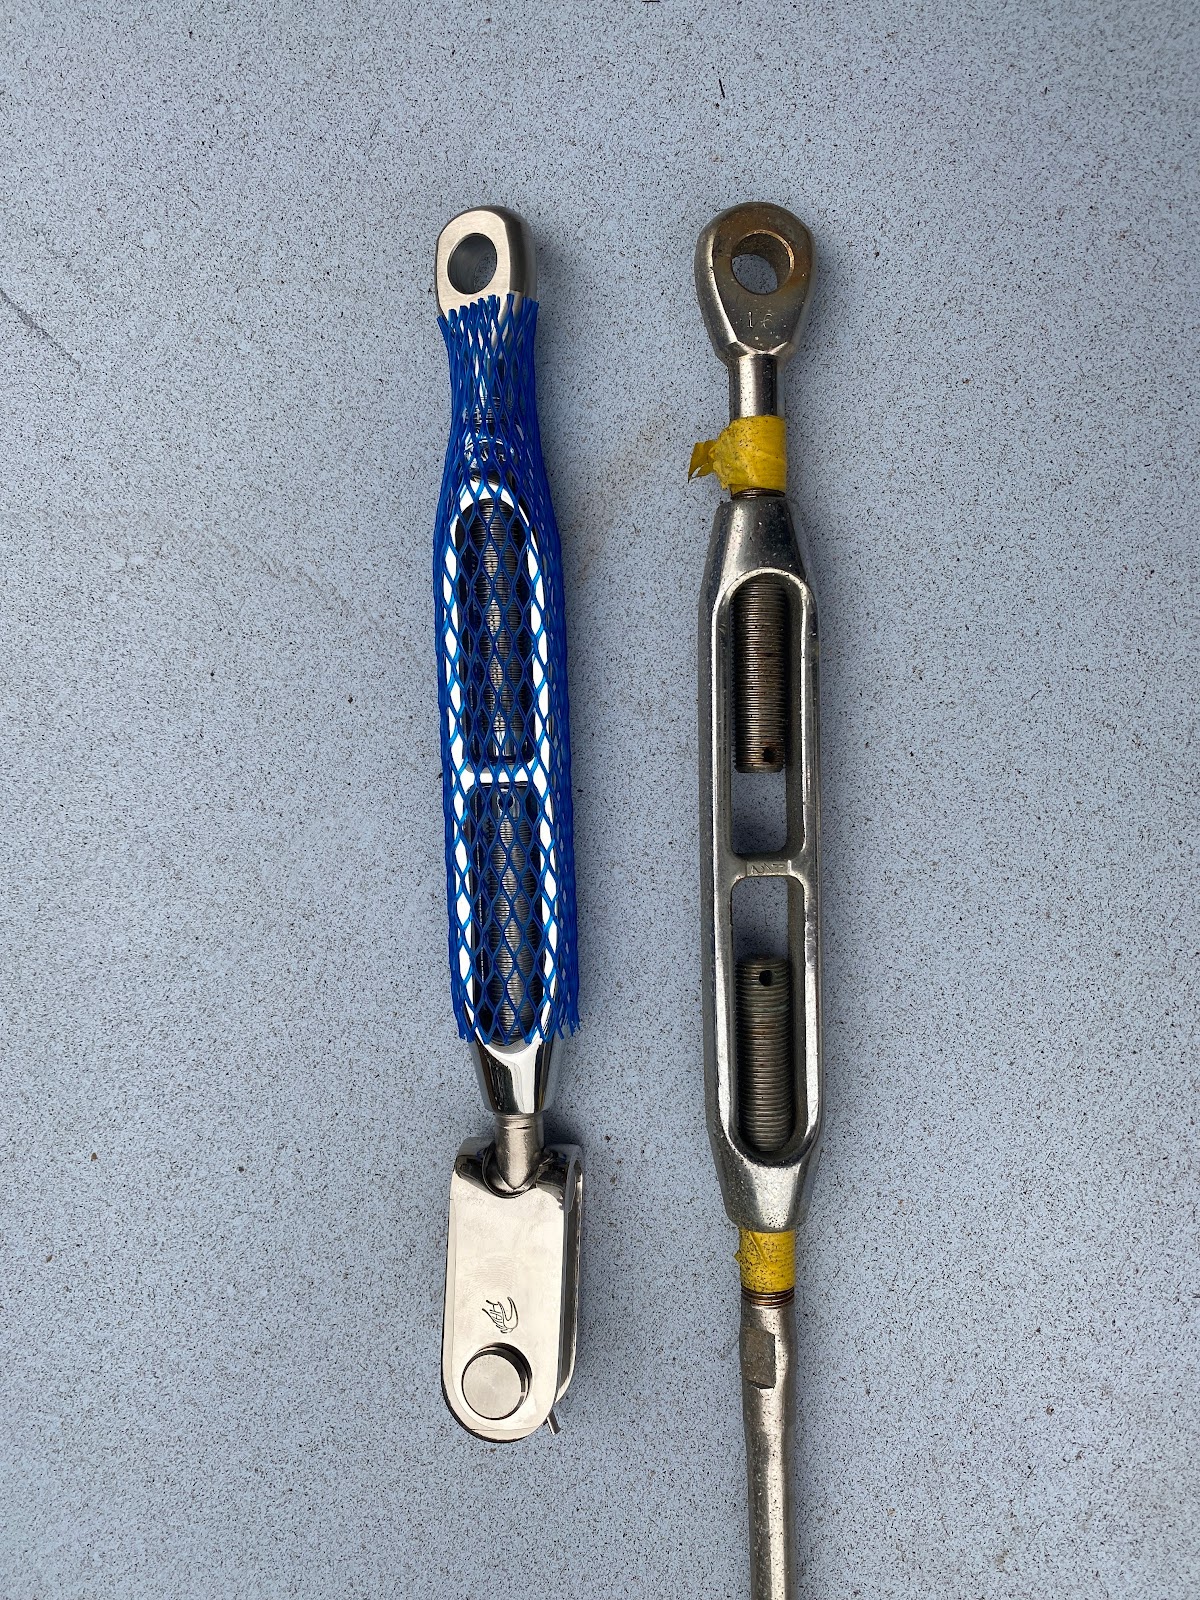
The new and old turnbuckles compared:
Challenges
My intermediate and lower shrouds ended in size “A7” stemballs, and I recorded this on my order form. I received from Colligo size A6 stemballs, and they would be too small for my application:
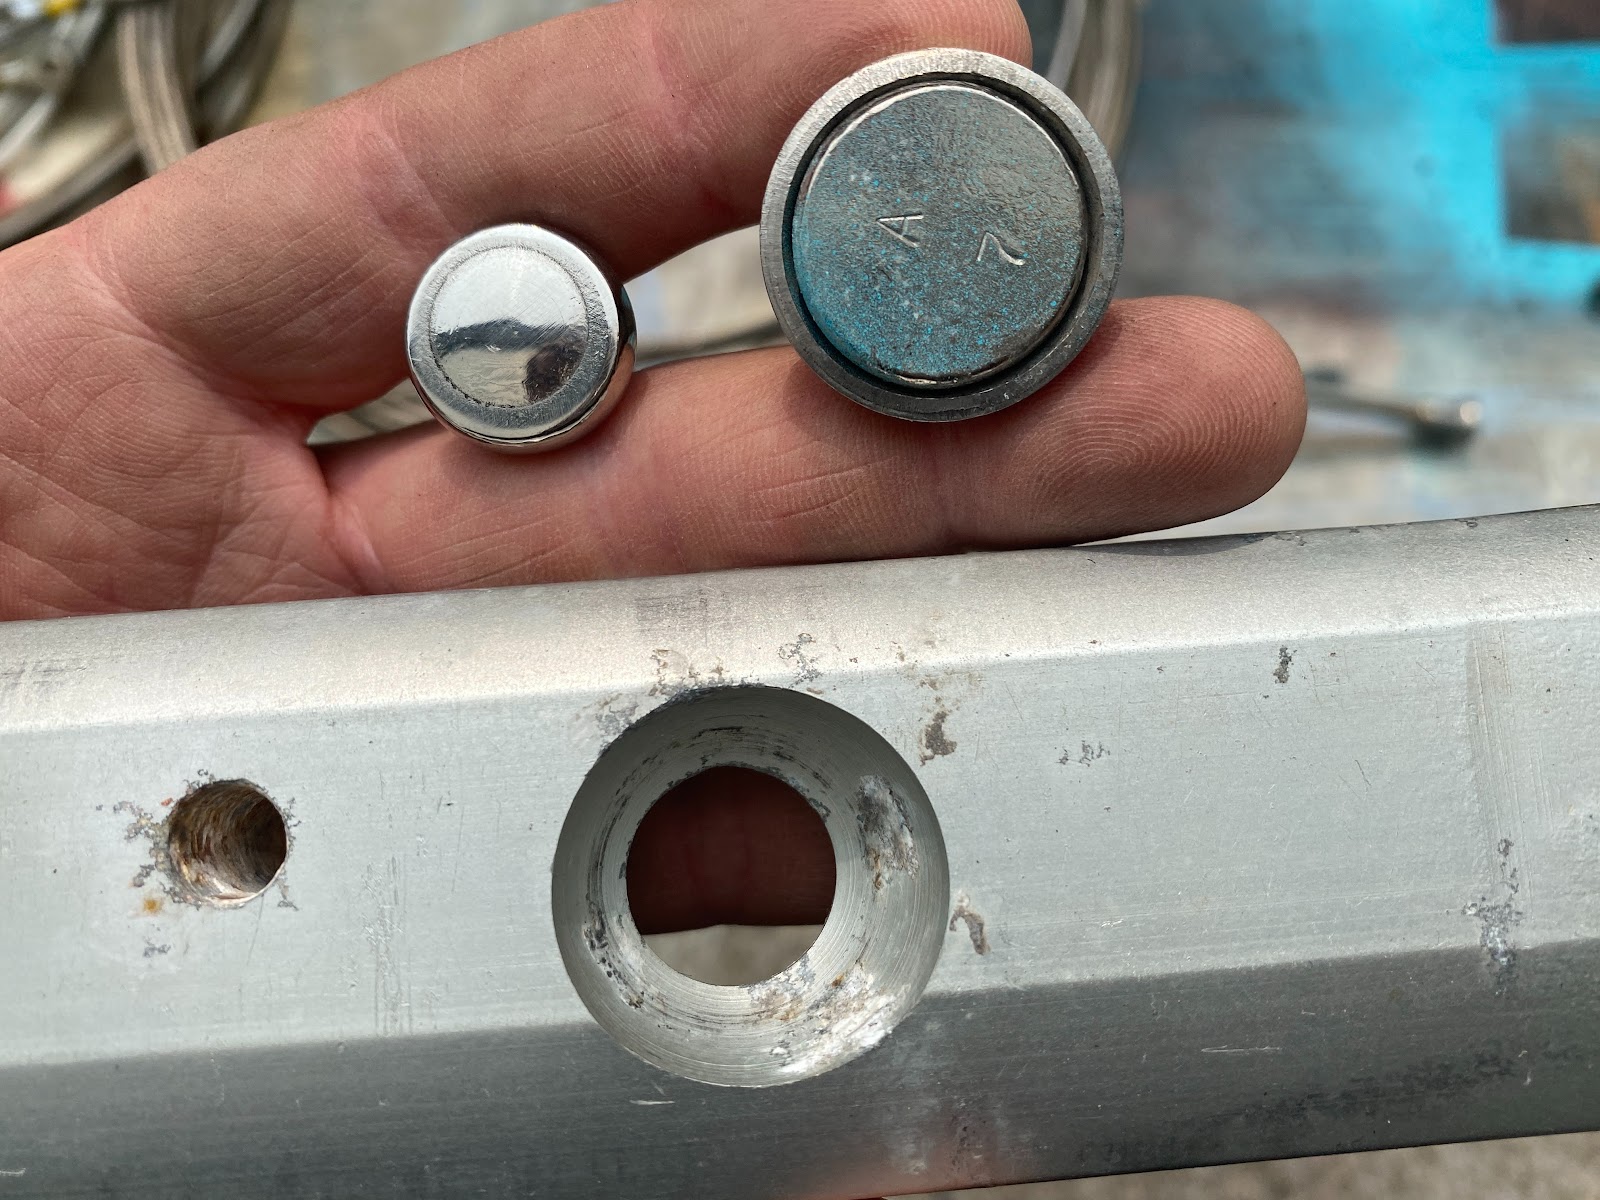
Colligo noted the problem, and agreed quickly to replace them. (Except, oof, I’ve been waiting 6 weeks for these parts, will I have to wait 6 more for the new stemballs?)
The A6 stemballs I received were (I believe) hand-milled and there was substantial variation in the size/shape of the heads. 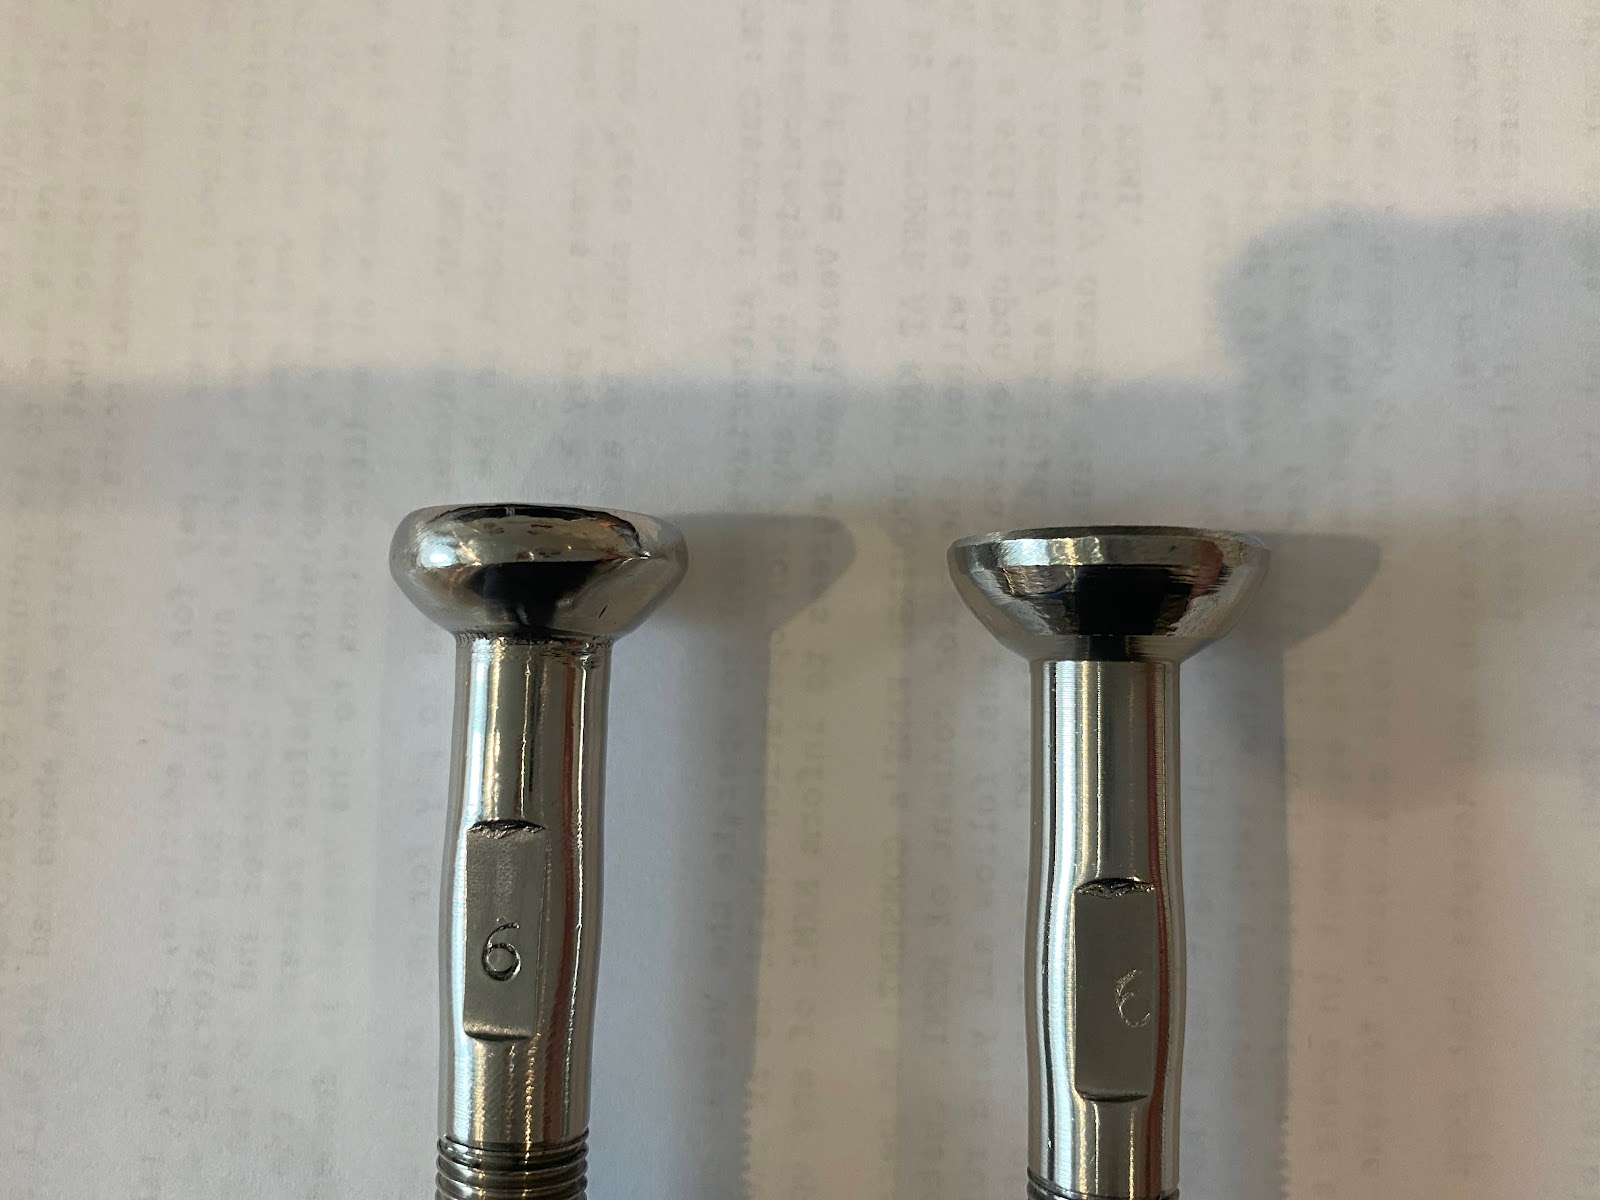
I hope the replacement A7’s are more consistent.
Finally, the great worry for me in this as DIY project, is that at the end I will have ordered the lengths incorrectly. Well, that and I’ve never tensioned standing rigging in a sailboat I couldn’t flip over in the water.
I have a “sophisticated” rig measuring set-up that I used for my measurement that involves a piece of 2*6 lumber and a nail, and laying the lines out on the sidewalk in front of my house. I modified my tool by adding a second nail and hoped to see the lengths side-by-side for my old and new rigging so that I could mark “witness lines” on the new turnbuckles. This would give me a good baseline value or reference point for tensioning the new rigging.
Unfortunately, using the bottom turnbuckles at the approximately the same bolt lengths left my new rigging about 2.5” short of the old rigging at the top end. Hmmm:

I could only pull about 20lbs of pressure without defeating my nail+2*6-with-a-bucket-of-water-weighing-it-down rig measuring set up.
I’m hope that some stretch in the now-spliced dynice lines and loosening the bottom turnbuckle substantially will allow me to get the shroud installed and properly tensioned, but as for now, I won’t be able to create those identical witness marks for turnbuckle tensioning.
And I won’t be able to get the stays and shrouds on my boat until I get the correctly-sized stemballs.