Summary: The Colligo standing rigging I ordered for my boat was difficult to get pinned in the initial set-up, but seems to be working just fine. I attribute my difficulty partly to my own inexperience and partly to the vagaries of using Dyneema line as rigging.
Introduction
I left the boatyard with my mast attached with forestay, backstay, and upper shrouds, so the first order of business was to get my lower shroud turnbuckles pinned in. Like George Costanza emerging from cold water in the Hamptons, I had some shrinkage to deal with.

My Colligo rigging seemed too short. I wrote about this in another post. Before I attached everything to the mast I should have measured what was delivered to me vs. what was shown in the engineering drawings I received from Colligo and that I subsequently approved. I didn’t do this measuring and I regret it somewhat, but I really just wanted to put the new lines on my boat and go sailing.
An experienced rigger on the Ericson forum said that one should expect some shrinkage of the lines as they were coiled in transit and shipped to me. He knows a lot more about rigging than I do, but I still don’t like the idea of being tasked with stretching out the supposedly unstretchable heat treated dyneema line.
There are two kinds of ‘elongation’ as regards lines. “Creep” refers neither to the Radiohead angst anthem nor the TLC ode to romantic exchanges on the down-low, but rather to the permanent elongation of a line. When your line creeps over time, it doesn’t snap back. Stretch refers to an elastic elongation from which the rope will shrink back to some degree. Evidently there are different types of ‘stretch.’ Here is a discussion of the topic in greater detail. The goal with initial dyneema rigging use/tuning is to get as much of the ‘creep’ out of the rope as possible.
But before one can tension his dyneema, he has to get the clevis pins for the turnbuckles seated. For my case, I needed to apply some tension to all of my new intermediate and lower shrouds. Initial version looked like this, with blocks:

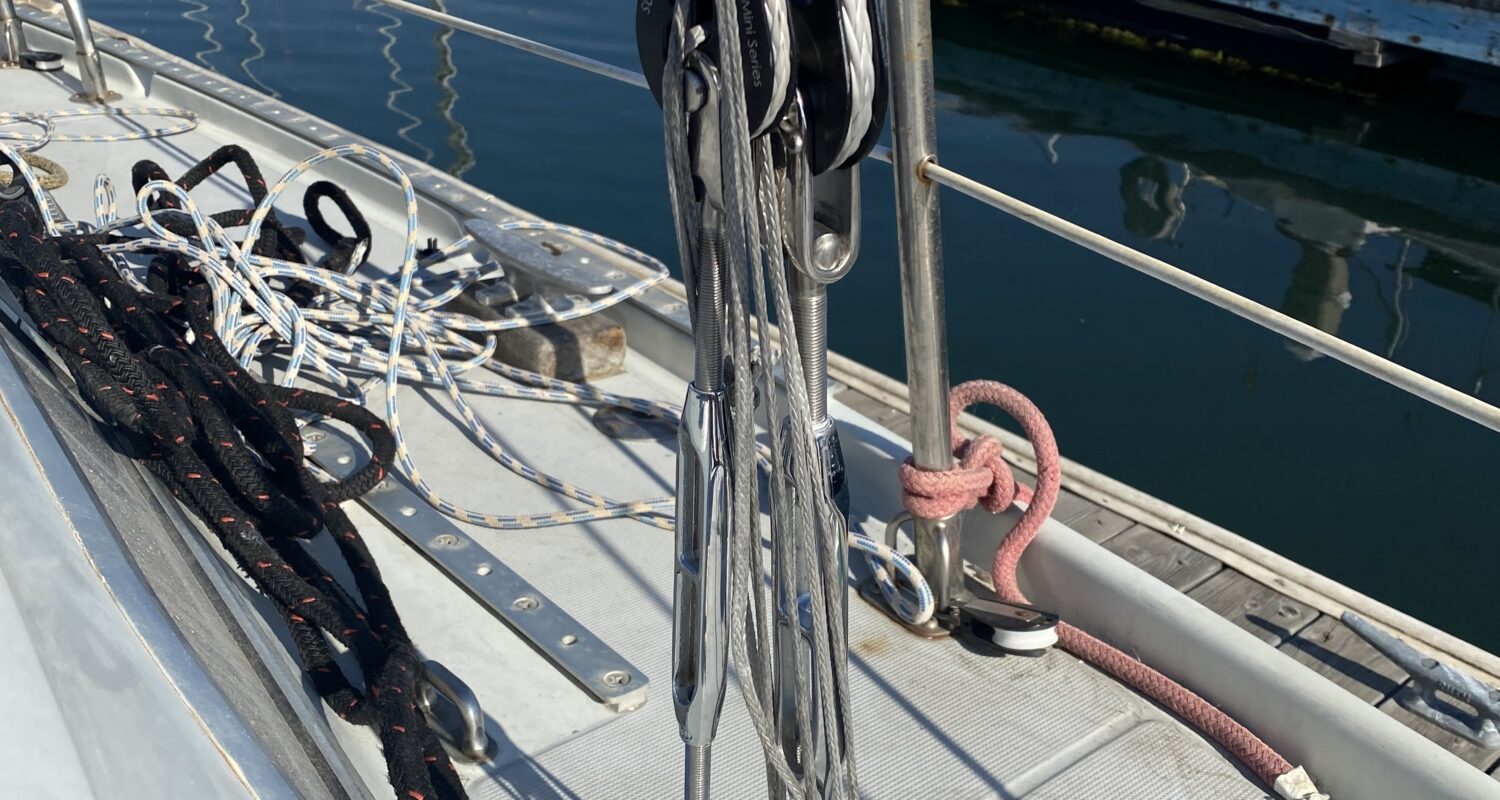
With the blocks set, I then applied stretching load with the main halyard. This worked okay, but I had six shrouds to try to stretch out and get pinned, and letting these sit for 48 hours one at a time would be a hassle. My next brainwave was to use the Colligo (dead-eye?) Terminators built-in penetrations for lashing. I bought some 1/8” dyneema. I tried the lashing approach:

This worked out alright for ‘stretching’ the lines so I went around and tensioned all six of my lower/intermediate shrouds in the same manner.

It would be ideal if one could keep the deadeye under tension with the lashing lines while simultaneously being able to pin the turnbuckle, but the lashing lines interfere with the turnbuckle holes. The advice from John Franta, who owns Colligo, was to lash directly on to the turnbuckle and then apply load.

This wound up being the best way to get the turnbuckles pinned, but it was quite a wrestling match. The last shroud I attached was one of my lower forward lines, and I had to load up both my jib and main halyards with dyneema lashings and winch the ever-loving out of them. If there was any creep in my Defender halyards, I think I have eliminated a lot of it.
Sure Shot and the Angry Inch

After about 6 hours over two days, I got all of the clevis pins seated. Next up was to see if I could get all of the turnbuckles tightened sufficiently to put a cotter pin through the tip of the bolts. In order to get the clevis pins seated, I had opened up the turnbuckles so that only two full turns of the threads were seated in the bolt portion. The lower aft shrouds are under tremendous load and I am hoping that I will be able to get them to loosen up a bit once I go for a sail.
This experience of trying to use the lashing penetrations to tension the standing rigging, was educational. People tension synthetic lashing essentially in two ways – either by lashings or by using turnbuckles. Trying to get the lashing tensioned evenly through multiple loops was very difficult, and then keeping that tension by tying the lines together with frapping adds another layer of complexity. The idea of trying to hang down on a leeward rail while yanking on an elaborate lashing system under-way seems like a recipe for frustration at best. I’m glad (at least so far) that I have turnbuckles to tighten and not a lashing pulley system.
I tightened my jib furler forestay, rigged the furling line, and got my jib sail raised and furled.
Next up was to attach the boom and my new Colligo topping lift line. Of all the rigging components I had purchased the topping lift had to be the simplest. The line was pinned at the masthead, but when I went to re-attach it to the back of the boom, it looked much too short, lifting up the back end of the boom. The boom should be parallel to the water.
The boom is not resting on my neighbor’s boat. In inadvertent illusion.

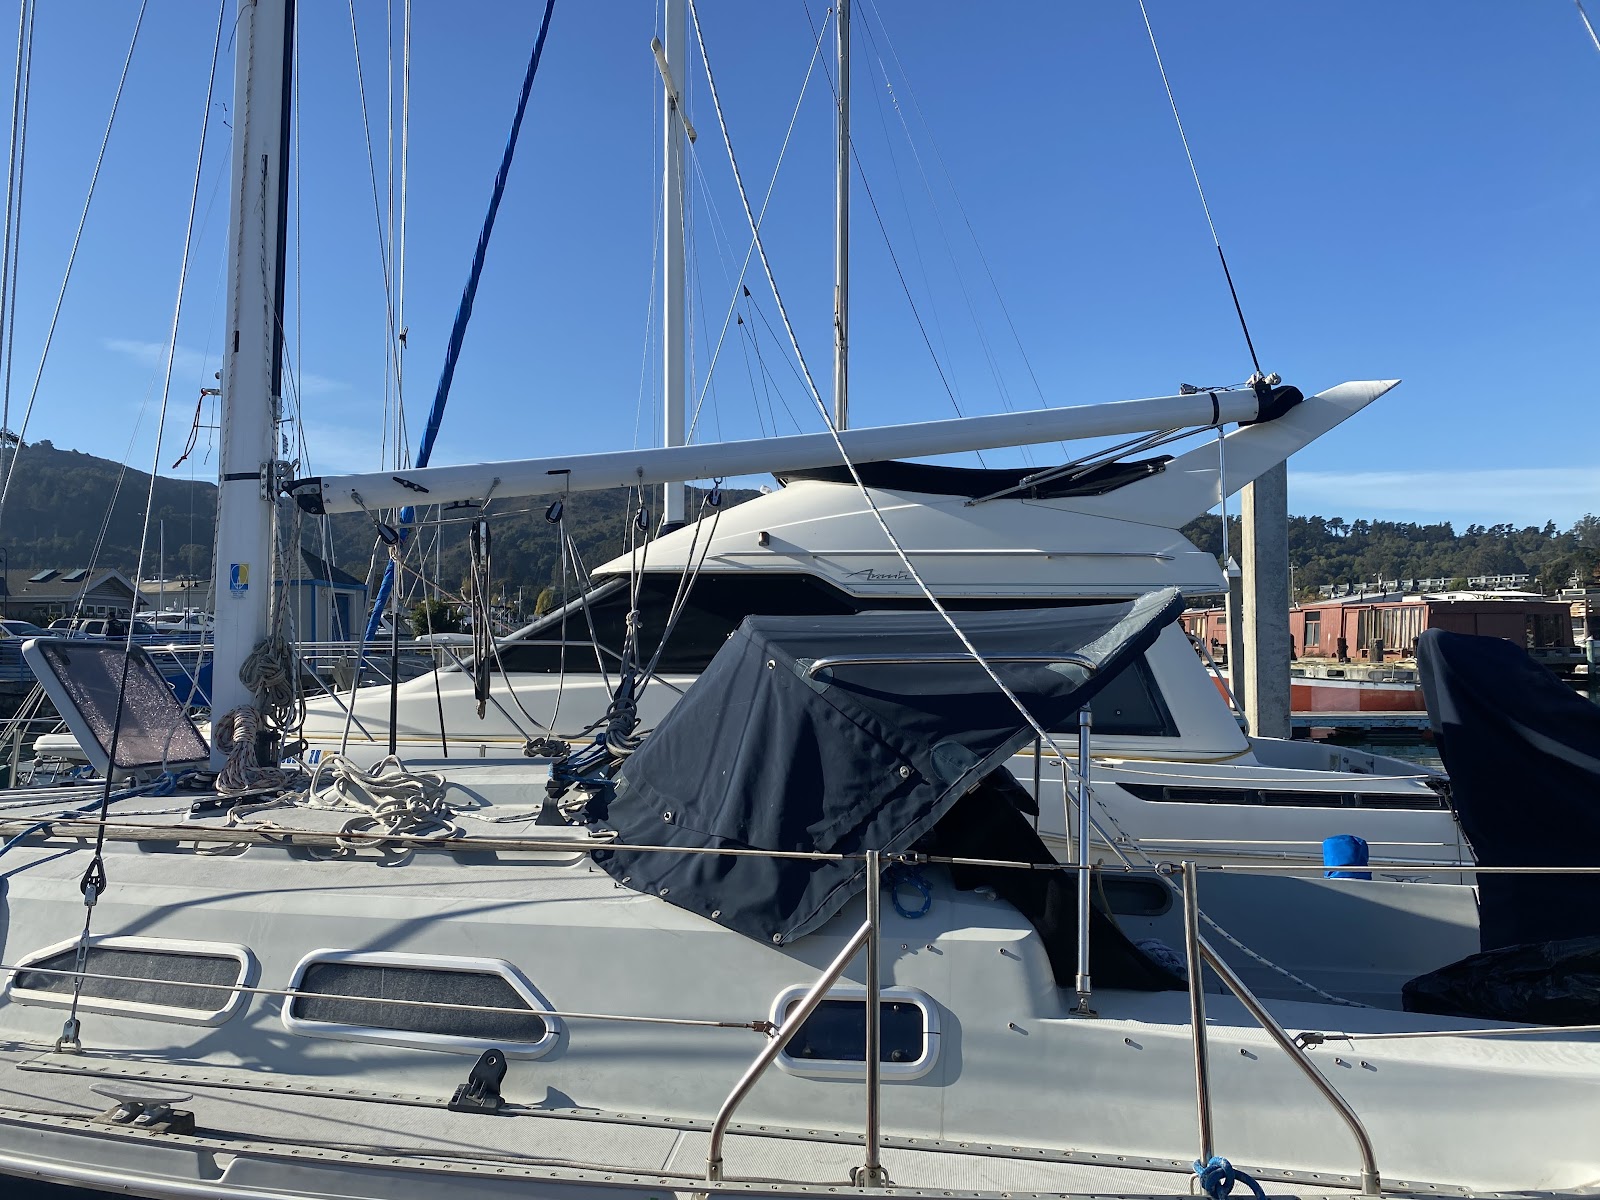
I was confounded by this situation. The topping lift line seemed WAY too short. Had I measured wrong for my order? Had the Colligo guys sent me something that was the wrong length?
The only solution, I decided (in ahem, haste) was to climb up the mast and remove the topping lift and then measure it. I made that climb on a lovely morning:

It took about 45 minutes round trip, and I was much more comfortable going up this time than I was the first time I used my MastClimber. I took the topping lift home and laid it out for measurement. It was about 1.5” shorter than what I ordered, but nowhere near enough of a difference to make up for how steeply my boom was slanted.
I asked for suggestions at the Ericson Yachts forum. Was it the rake of my mast? The bend? What was I missing?
Something obvious it turned out. I had attached the topping lift directly to the back of the boom instead of connecting it to the adjustment line that runs through the boom. Oy vey! A wasted trip up the mast. And another one to try to get the topping lift re-attached. Finally, however, I set the boom properly and even tied my first dyneema soft shackle as the smaller metal shackle from my original topping lift was too narrow for the thimble on my Colligo line.

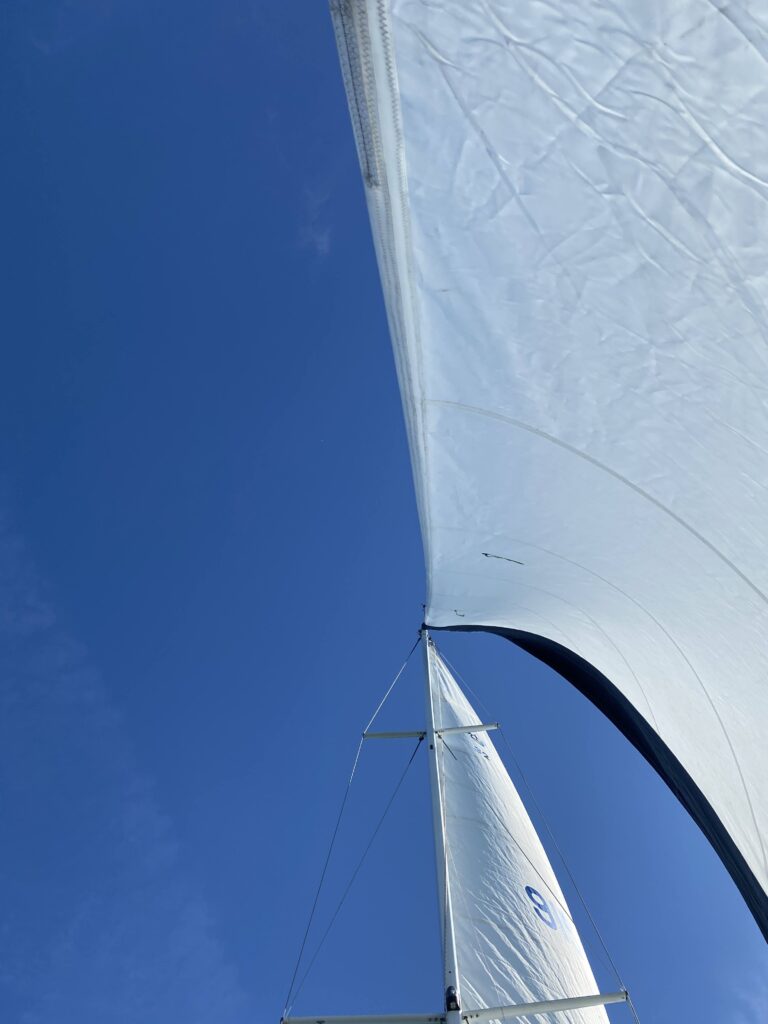
What was left was a shake-down cruise, a test sail.
I chose a nice day on the San Francisco Bay, 10-15 knots of wind. I started out with my jib alone and headed south toward Alcatraz from Sausalito. The wind was unusually out of the inland Northeast instead of the regular Pacific-borne Northwest, so I could sail down the Richardson Bay channel with my jib.

Farther out, I hoisted the Main, and trucked along. Everything was copacetic. The received wisdom I had was to check the leeward shrouds with the sails under load. I did that and found some looseness. I turned around and headed home and did the opposite (found some slack) on the opposite, then leeward side.
Most of the additional shroud tension I added happened post-sail, at the dock. I don’t really like the idea of working on the leeward rail, by myself in the bay, trying to remember which way tightens the turnbuckle and which direction blows it apart in my face. I think I have a little more initial creep-stretch to get out, then I will pin the turnbuckles. I may also need to add tension to my forestay. What do you think?
I think this whole process would have been a lot easier had I hired a rigger to measure and order, and install the rigging, but doing it myself might have made me a more-informed boat owner/sailor.