Total hours: 12-15 hours, on multiple days
Cost, $50 for butyl tape. $40 for Debond cleaner (only a little used on this job)
Early July, 2020
It took some detective work, but after a careful review of the evidence, I suspected I had a leak or two in my cabin.

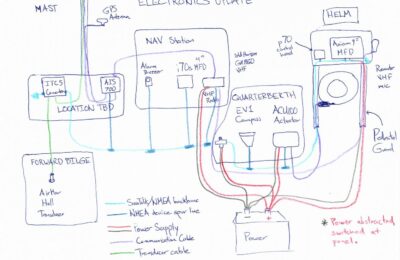
I looked around, here and there. This is my forward bulkhead between the main salon and the V-berth. The boat lists to starboard a little, and the port side has some water, but not nearly so much. This all pointed to a high central point like the mast, or the center hatch.
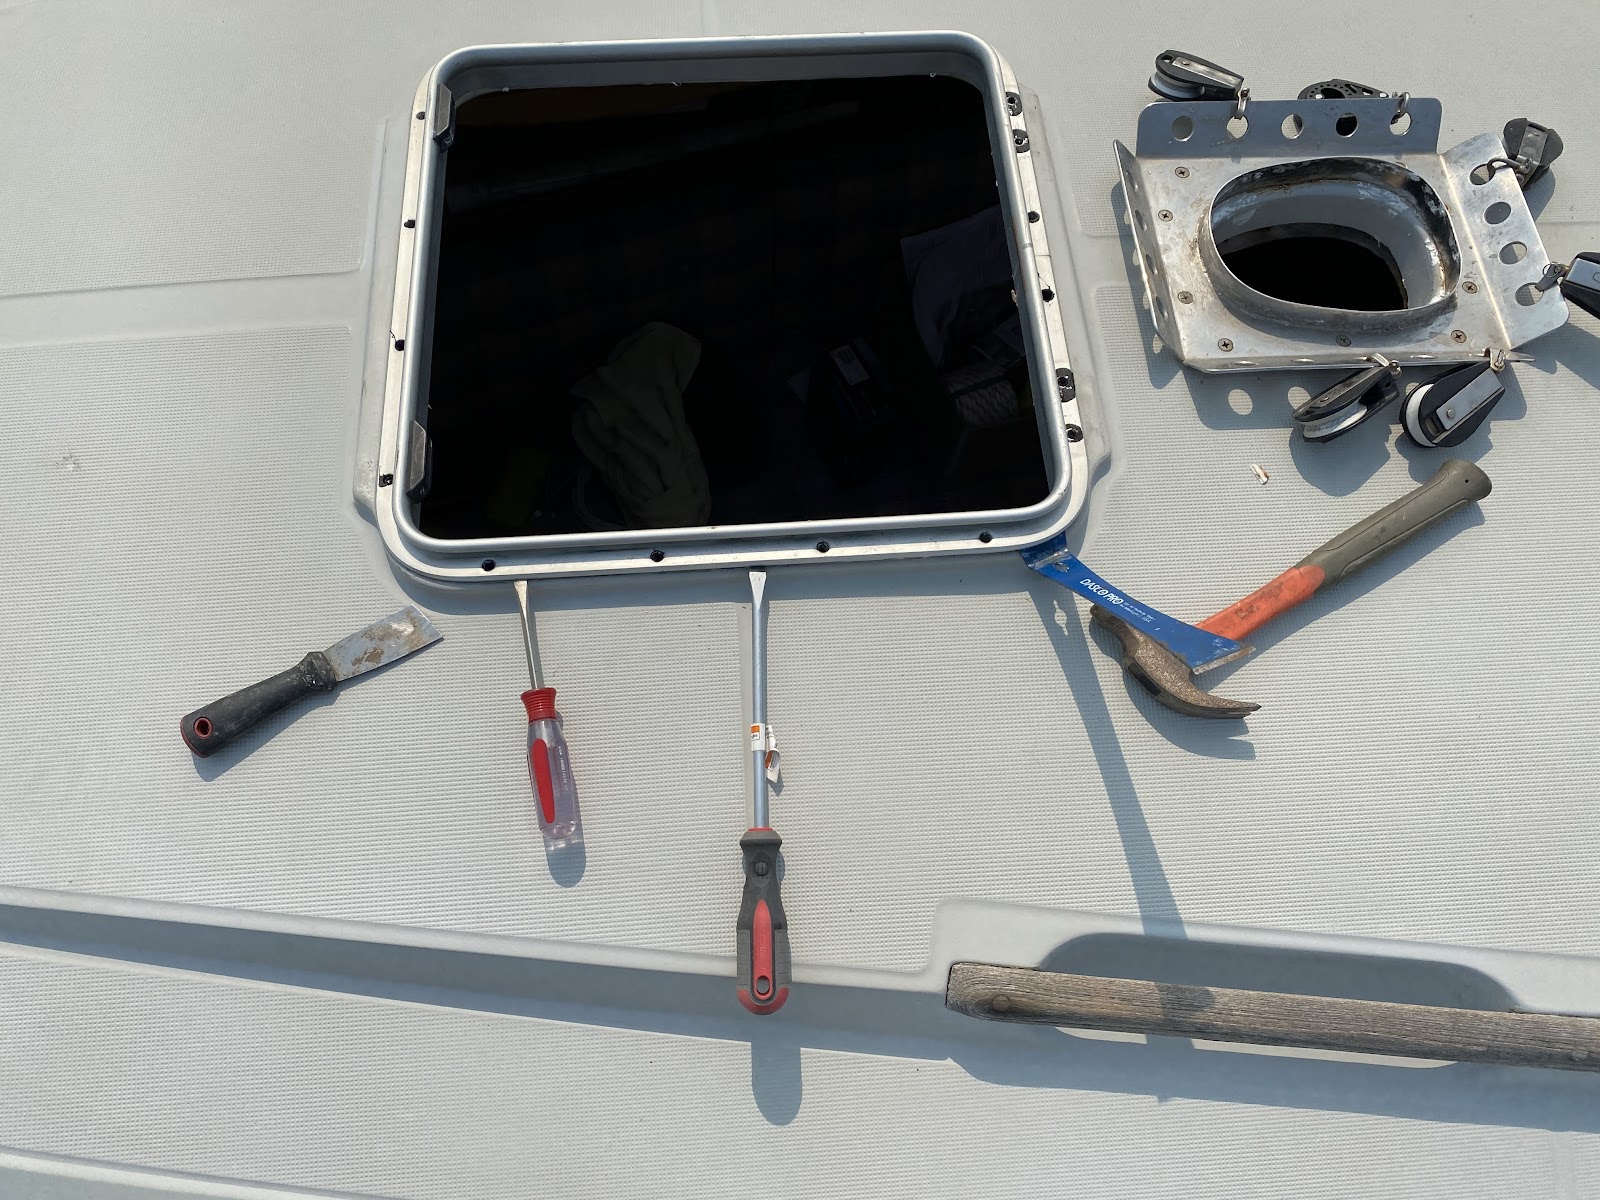
I looked around the mast and found no water or dampness, so I decided it must be the center hatch. I examined it from the outside and it looked flush to the deck. It didn’t seem like a problem. But, after some 15 minutes of hose-testing, I was indeed able to reproduce drips down the bulkhead.
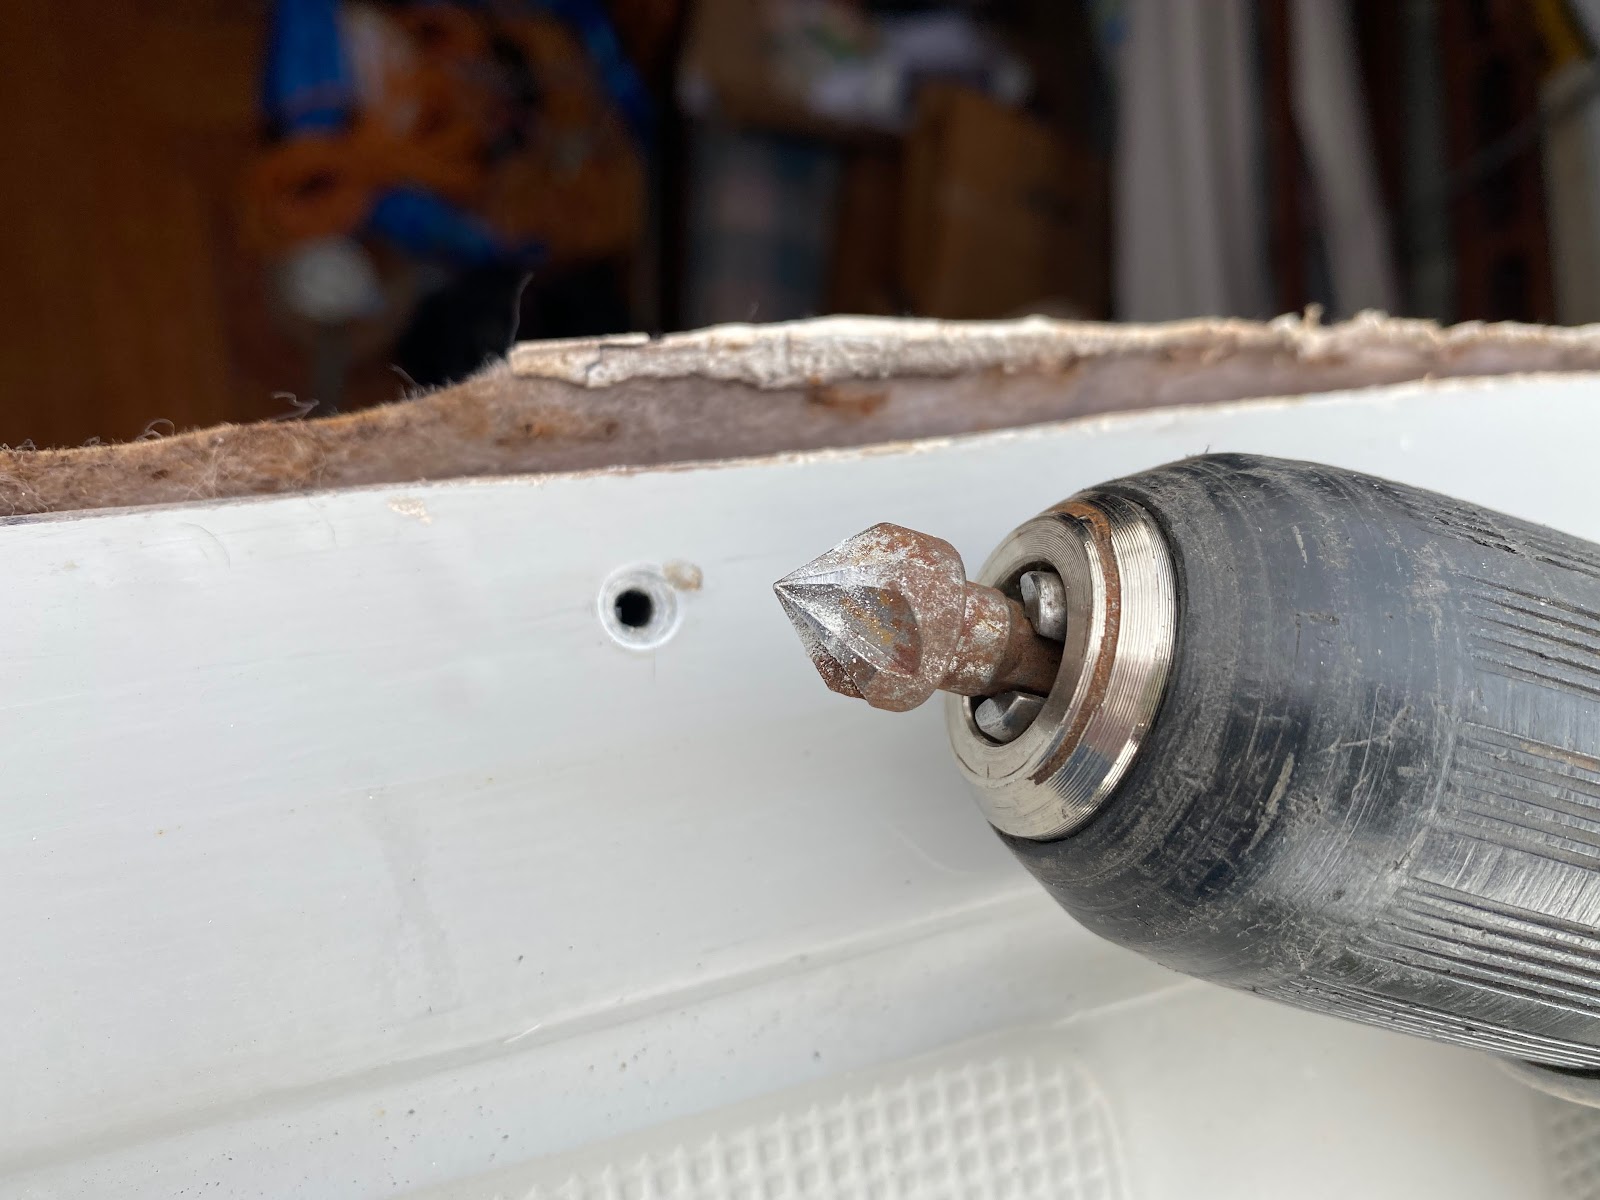
I could unscrew the lens from the fixed frame to see if the lens itself was the culprit. .
The lens did not leak, nor the gasket. It had to be the frame.
I unscrewed the frame screws and tried to pry the frame itself off the deck. I was unsuccessful with the prying.

I removed the screws, then applied life-caulk to the holes in the hope that one of those penetrations was leaking.
This did not work. After caulking and testing, my leak remained. I busied myself with other projects. I would need to pry up the frame.
Early September 2020
Once more unto the breach, as it were. Knowing that forest fire season in California will not last indefinitely, and that the rains will come, I revisited the hatch. This time, I had my putty knife with me, and that made all the difference for prying up the frame.
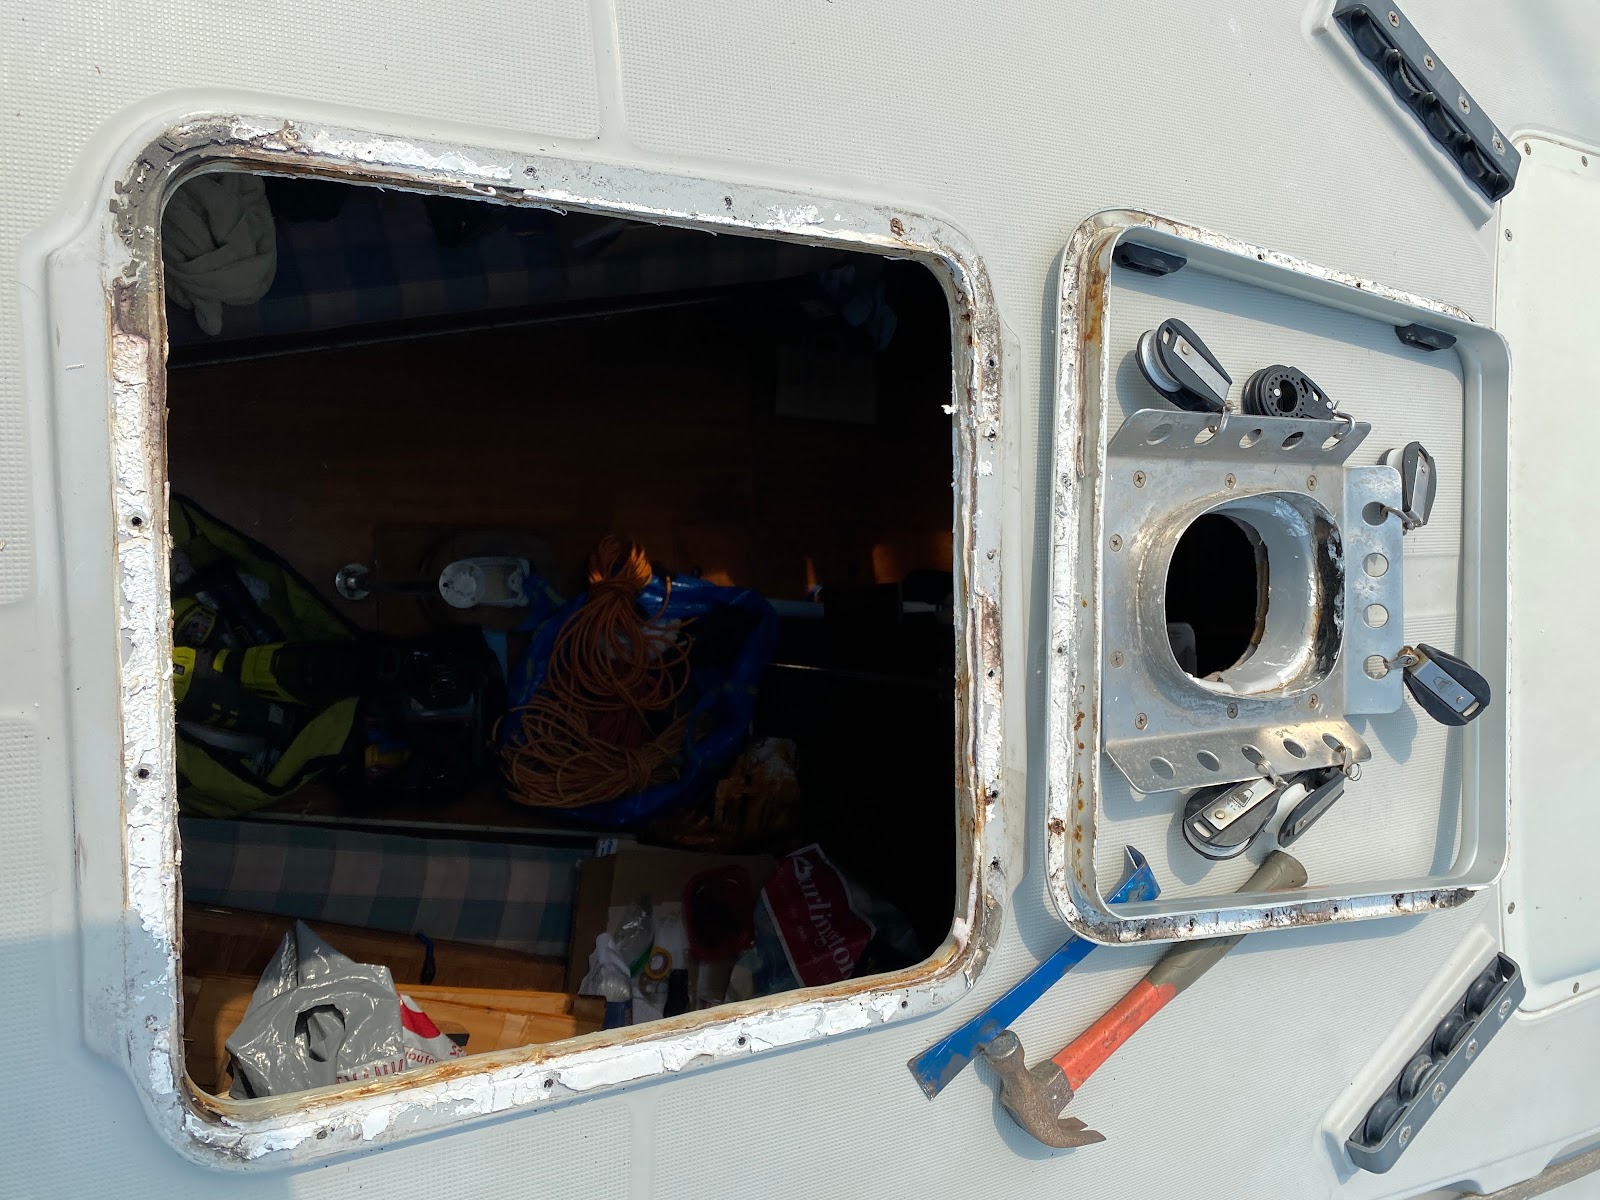
Beneath the frame I found a technicolor combination of rust, mold, white caulk/adhesive/3M something-hundred. All of my suspicions of the hatch frame were justified.
What should I use to rebed it?, I asked my friends at the Ericson Owners forum.
Several votes for butyl tape, especially the type sold by the esteemed blogger Maine Sail, at his site, CompassMarine. Some experienced voices suggested caulk, due to the oozi-ness of butyl tape. I’m sure both sides have merit.
I ordered the fancy “Bed-It” butyl tape from Compass Marine. Two rolls, 50’ each.
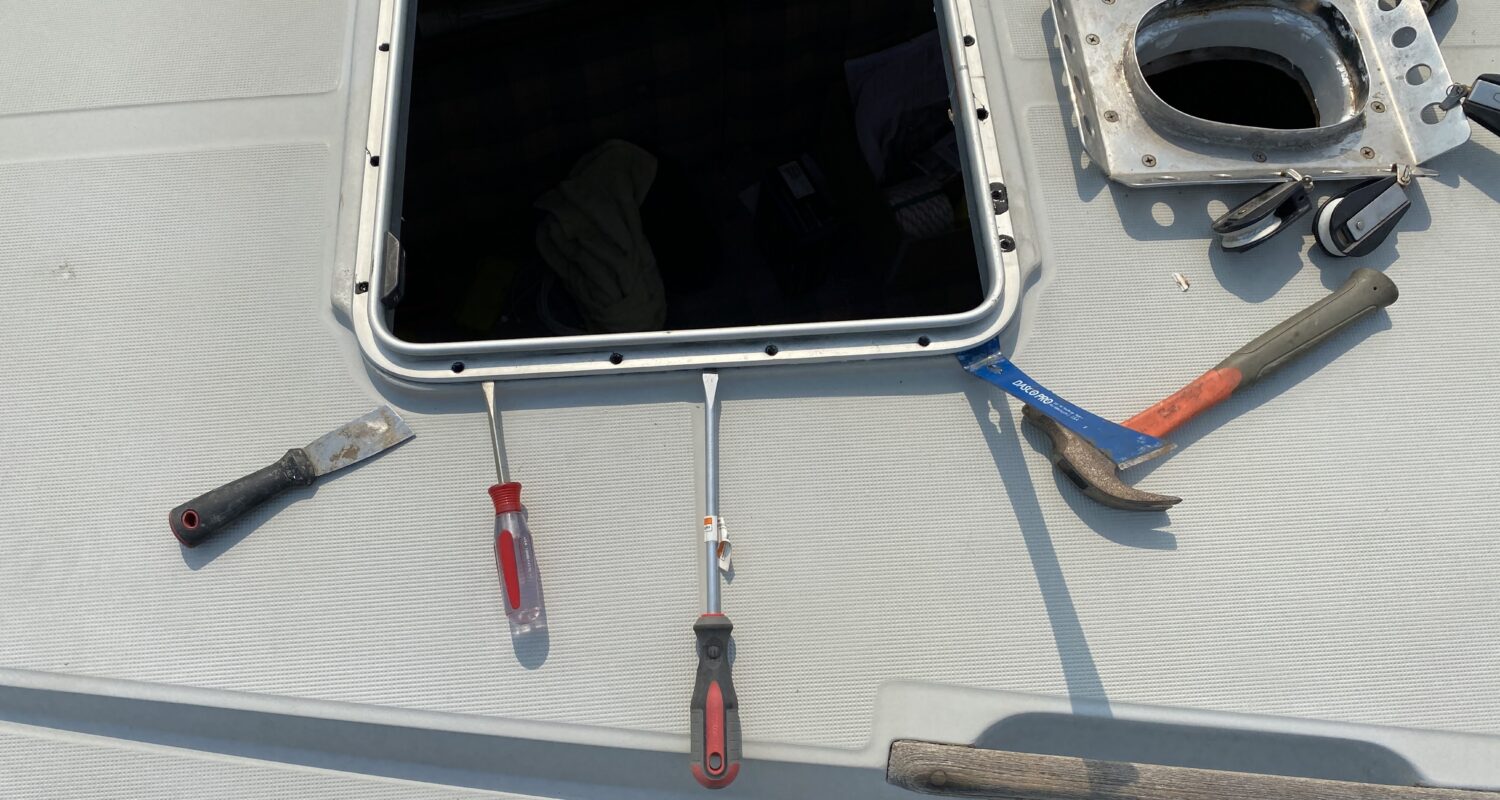
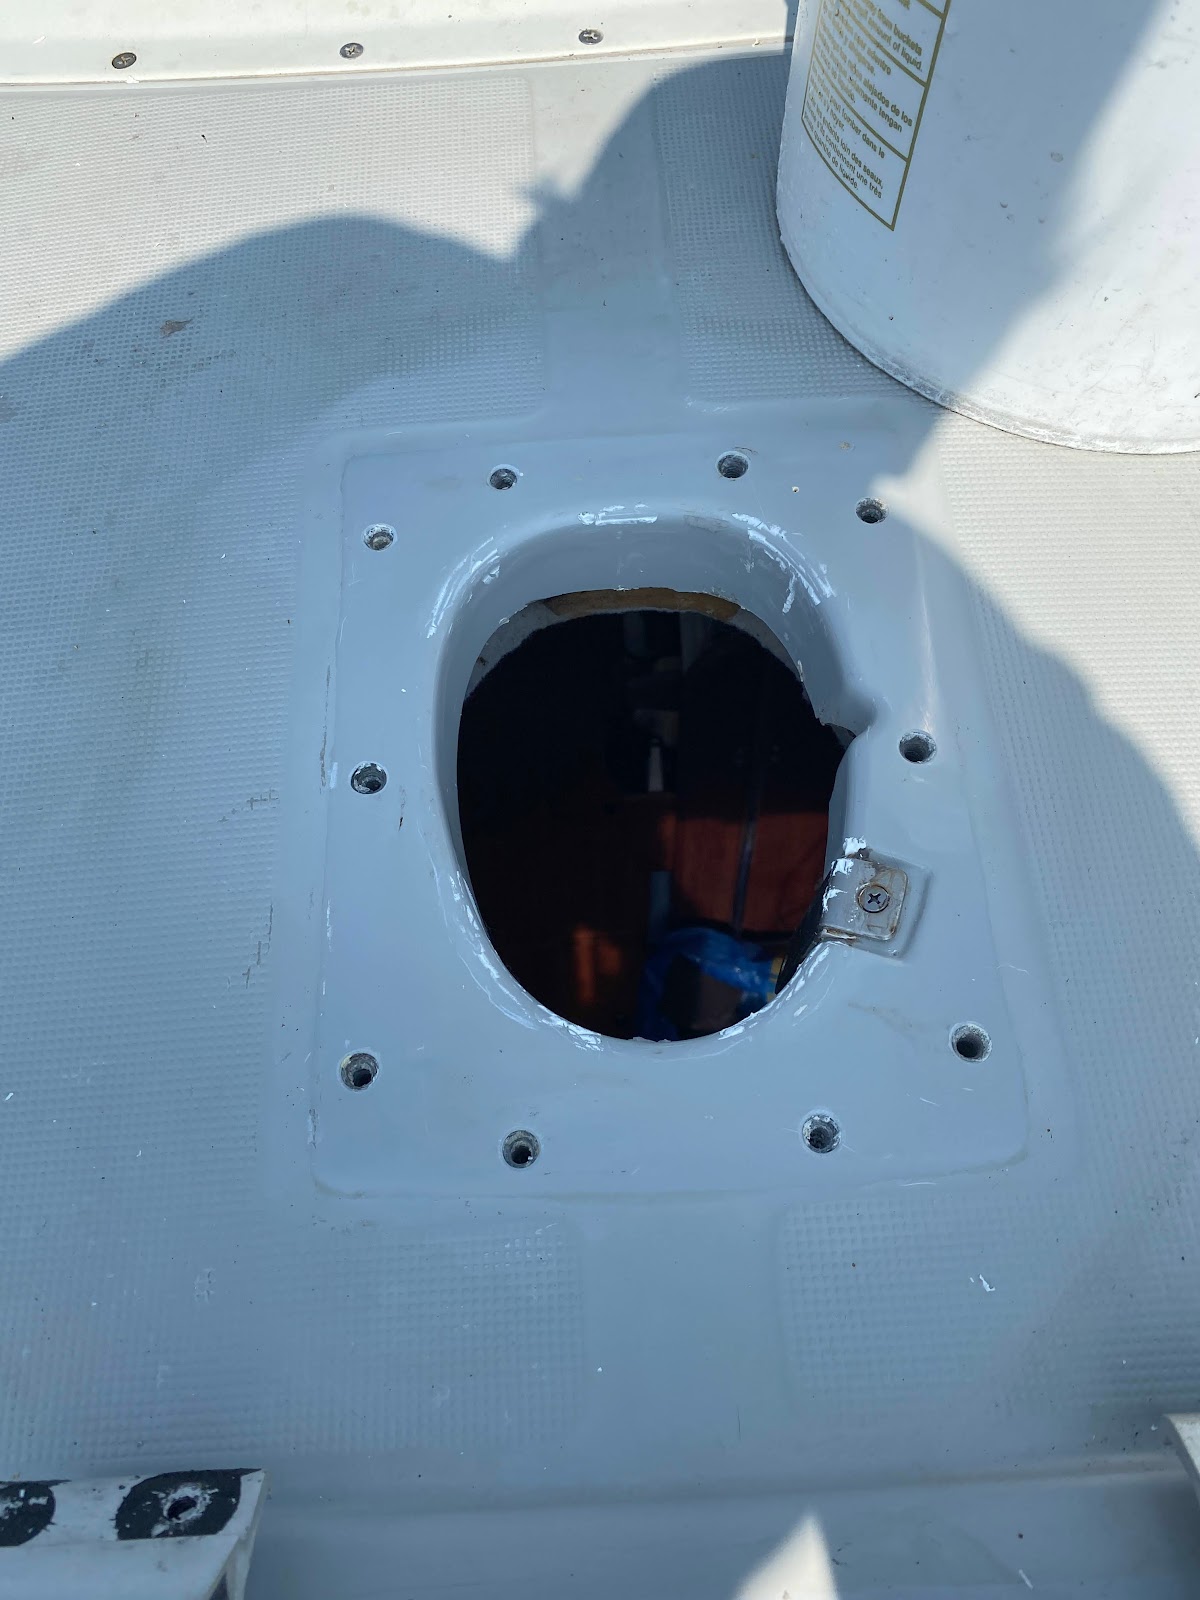
Most of the work in this job is cleaning the old sealant gunk off the frame and the surface of the boat. Whatever one uses to seal in a new hatch, he wants clean surfaces. I used my putty knife, a wire bristle brush, clean water, soapy water, Goof Off, and got nearly all the old crud off. 75% can be removed with the putty knife.
After my initial failure to get the frame out in July, I ordered some fancy industrial-strength adhesive remover called Debond. It’s sold as a means of getting 3M 5200 unstuck.

It worked fine, but I would not say it was a huge improvement over Goof Off, for my case.
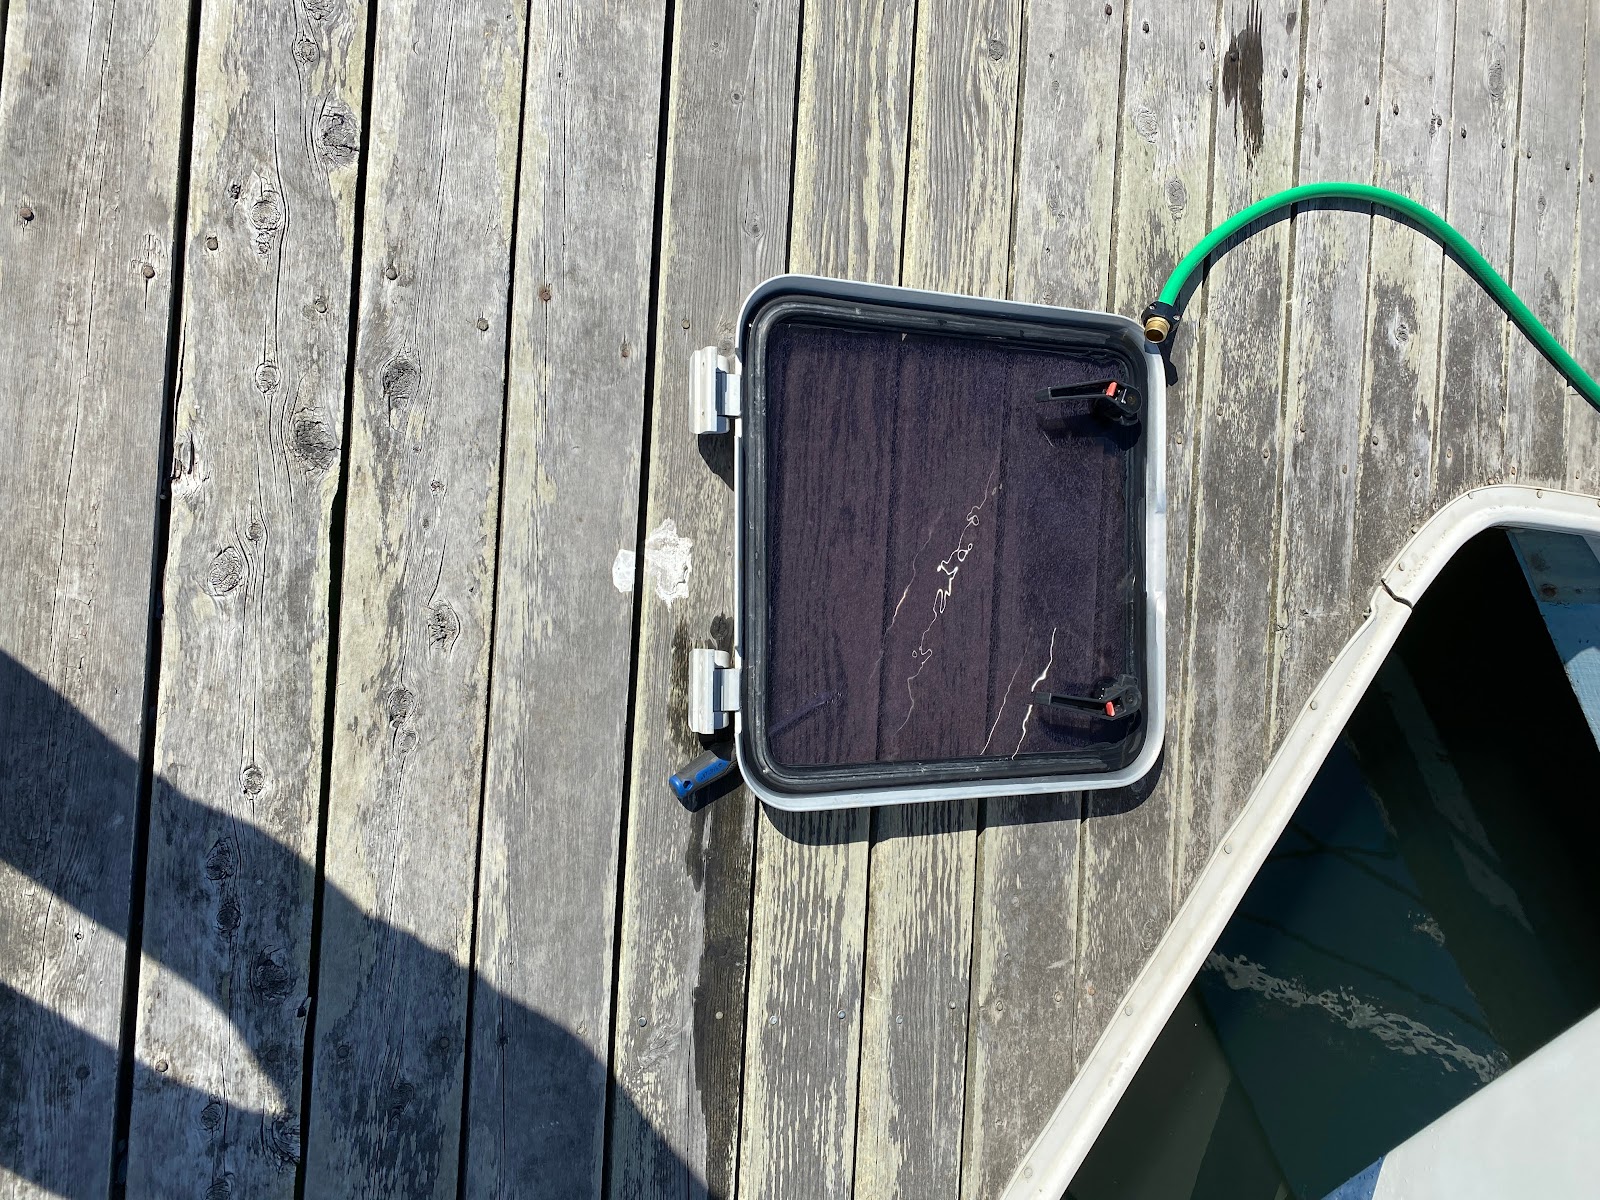
After seeing the condition of the removed hatch seal, I decided that I should take my smallish project and expand it by also doing the same seal replacement with my smaller V-berth hatch.
For this smaller hatch, the lens hinges are riveted to the frame, so the only way to remove the lens from the frame would be to knock out the pins of the hinge. I had no need to separate the lens and frame for this project which made the smaller hatch unwieldy but otherwise the same as the larger hatch.

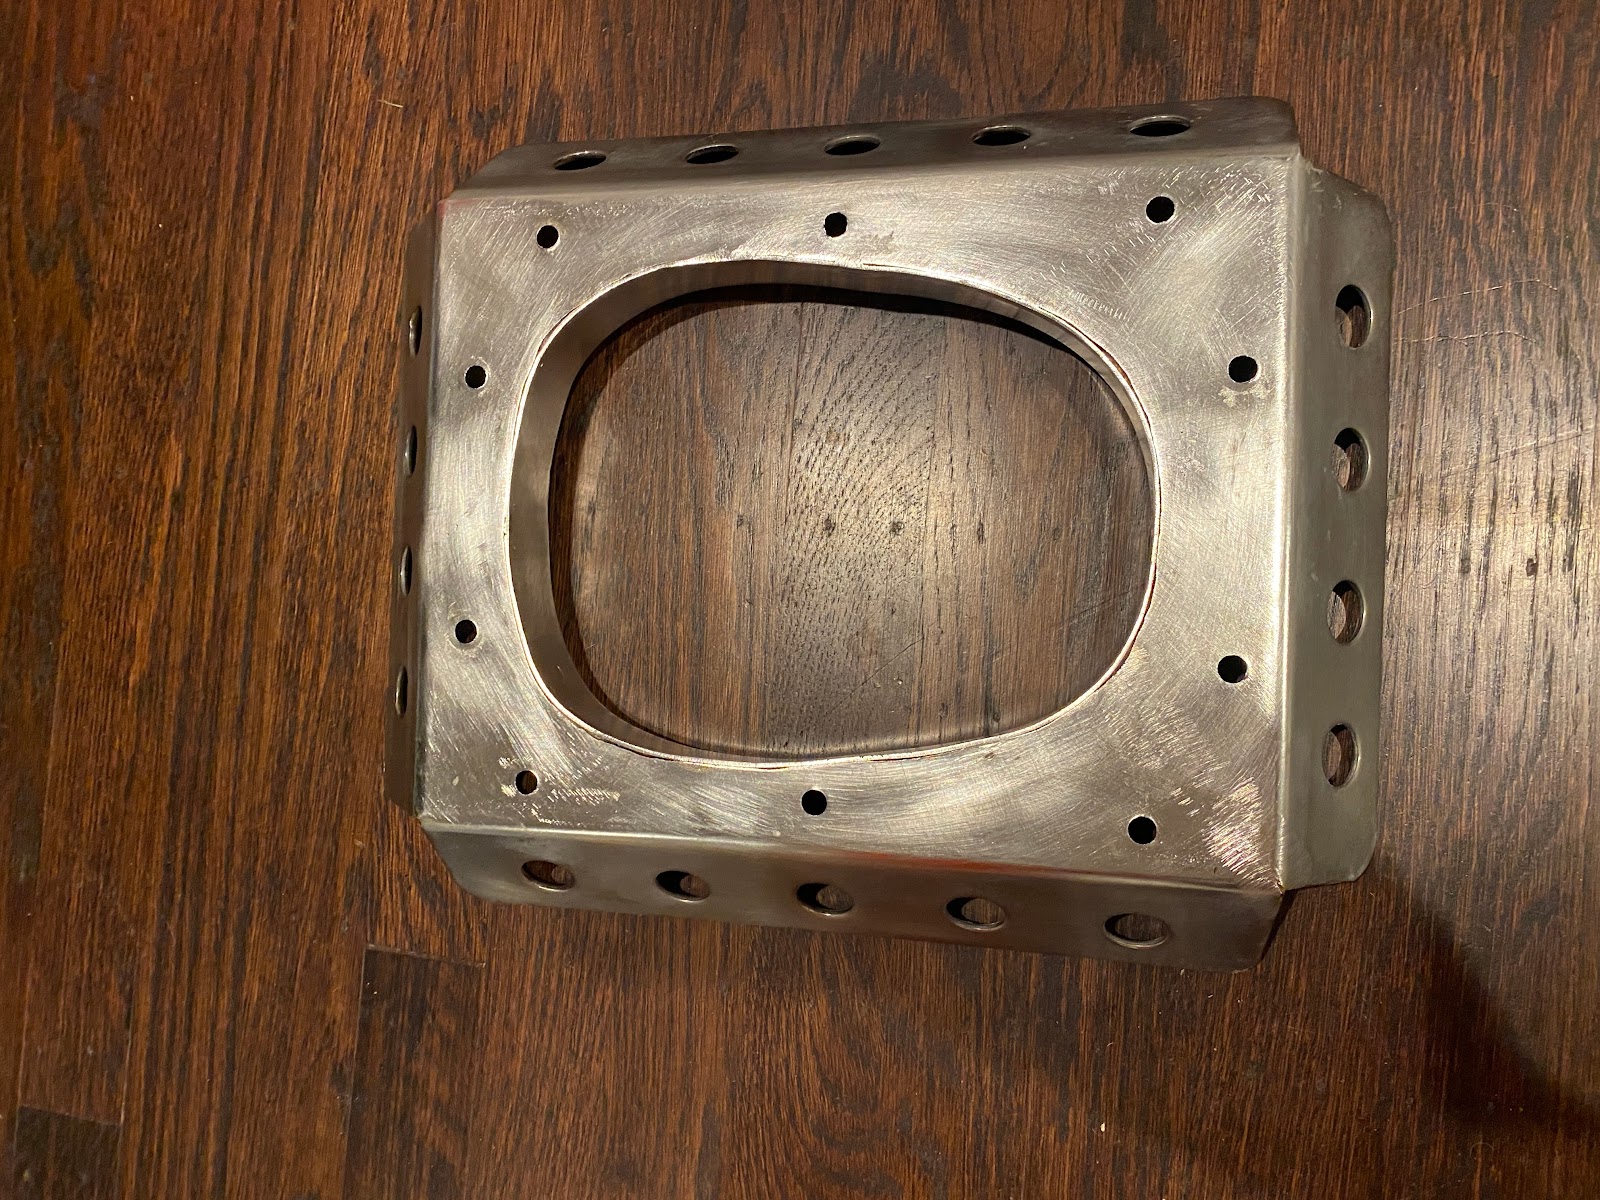
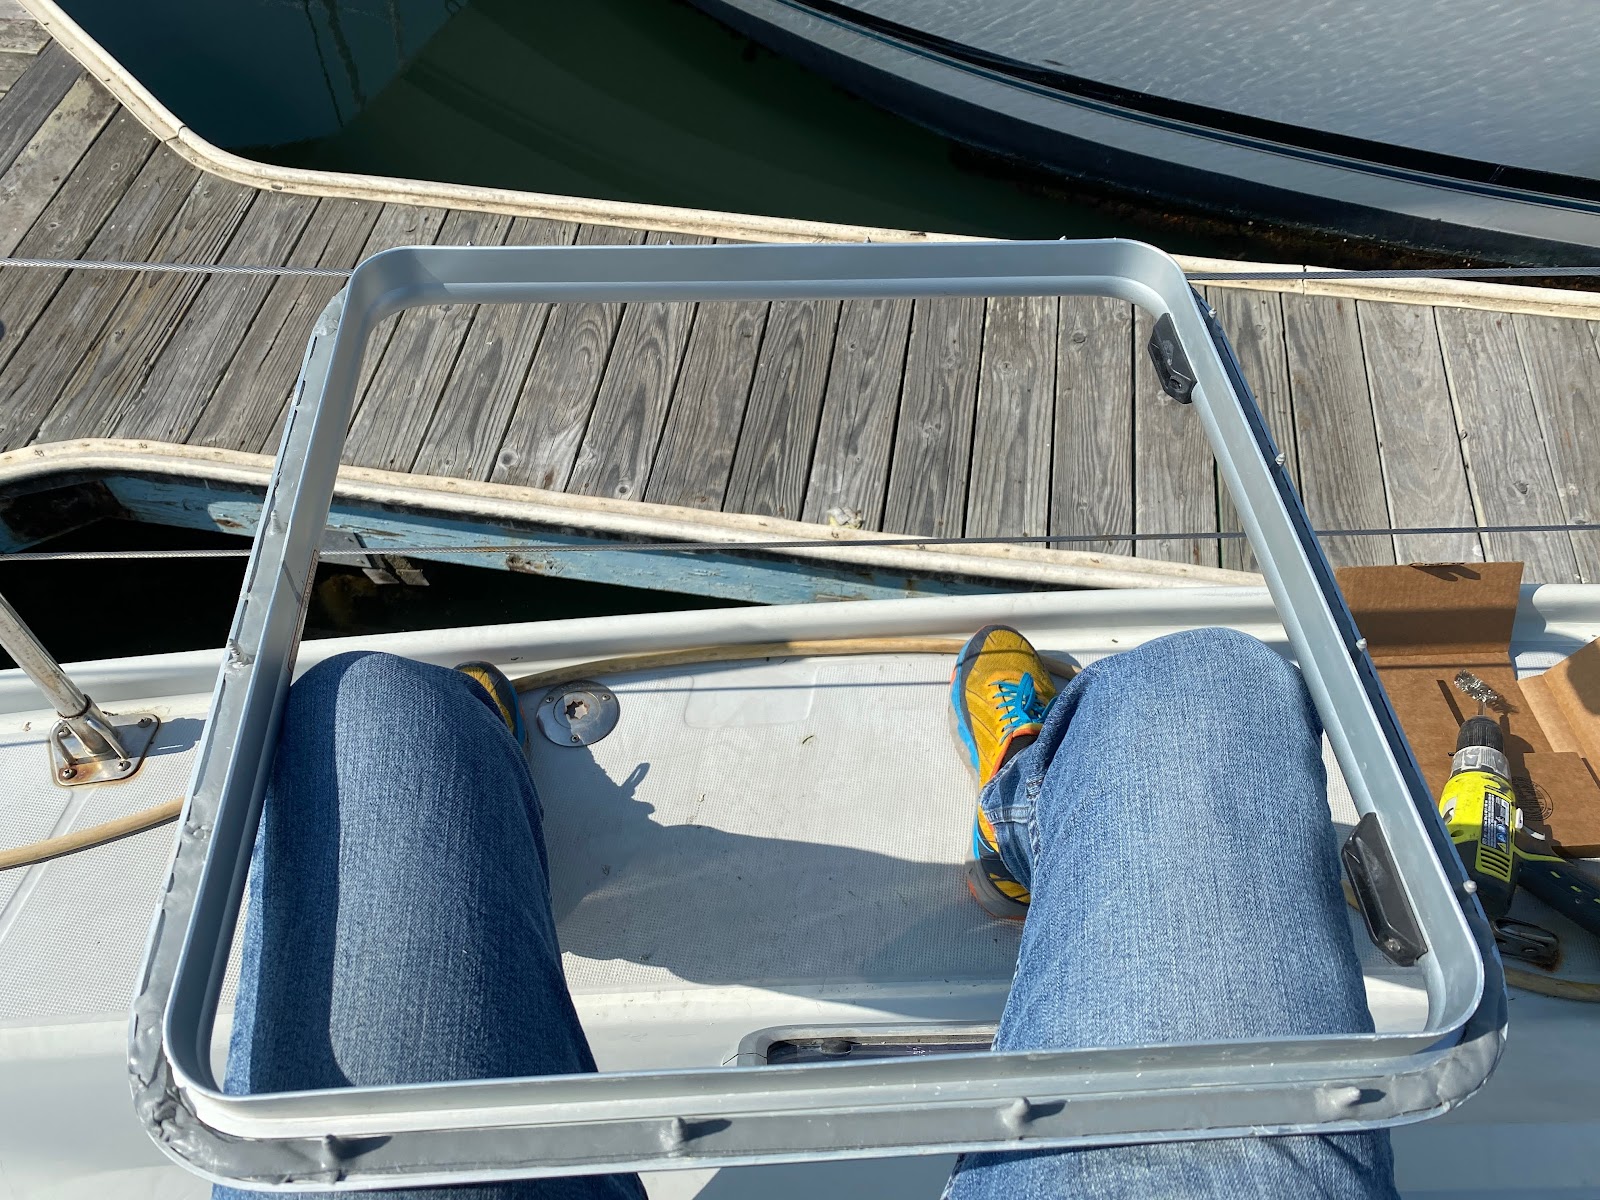
I also removed my Mast Collar:

After prying them up, I’m glad I did so, as they both exhibited evidence of water intrusion that I might as well deal with now.
I cleaned up the surfaces until they were shiny and clean:
The butyl tape arrived and I went to work first on the main hatch.
Day 1: (@3 hours)

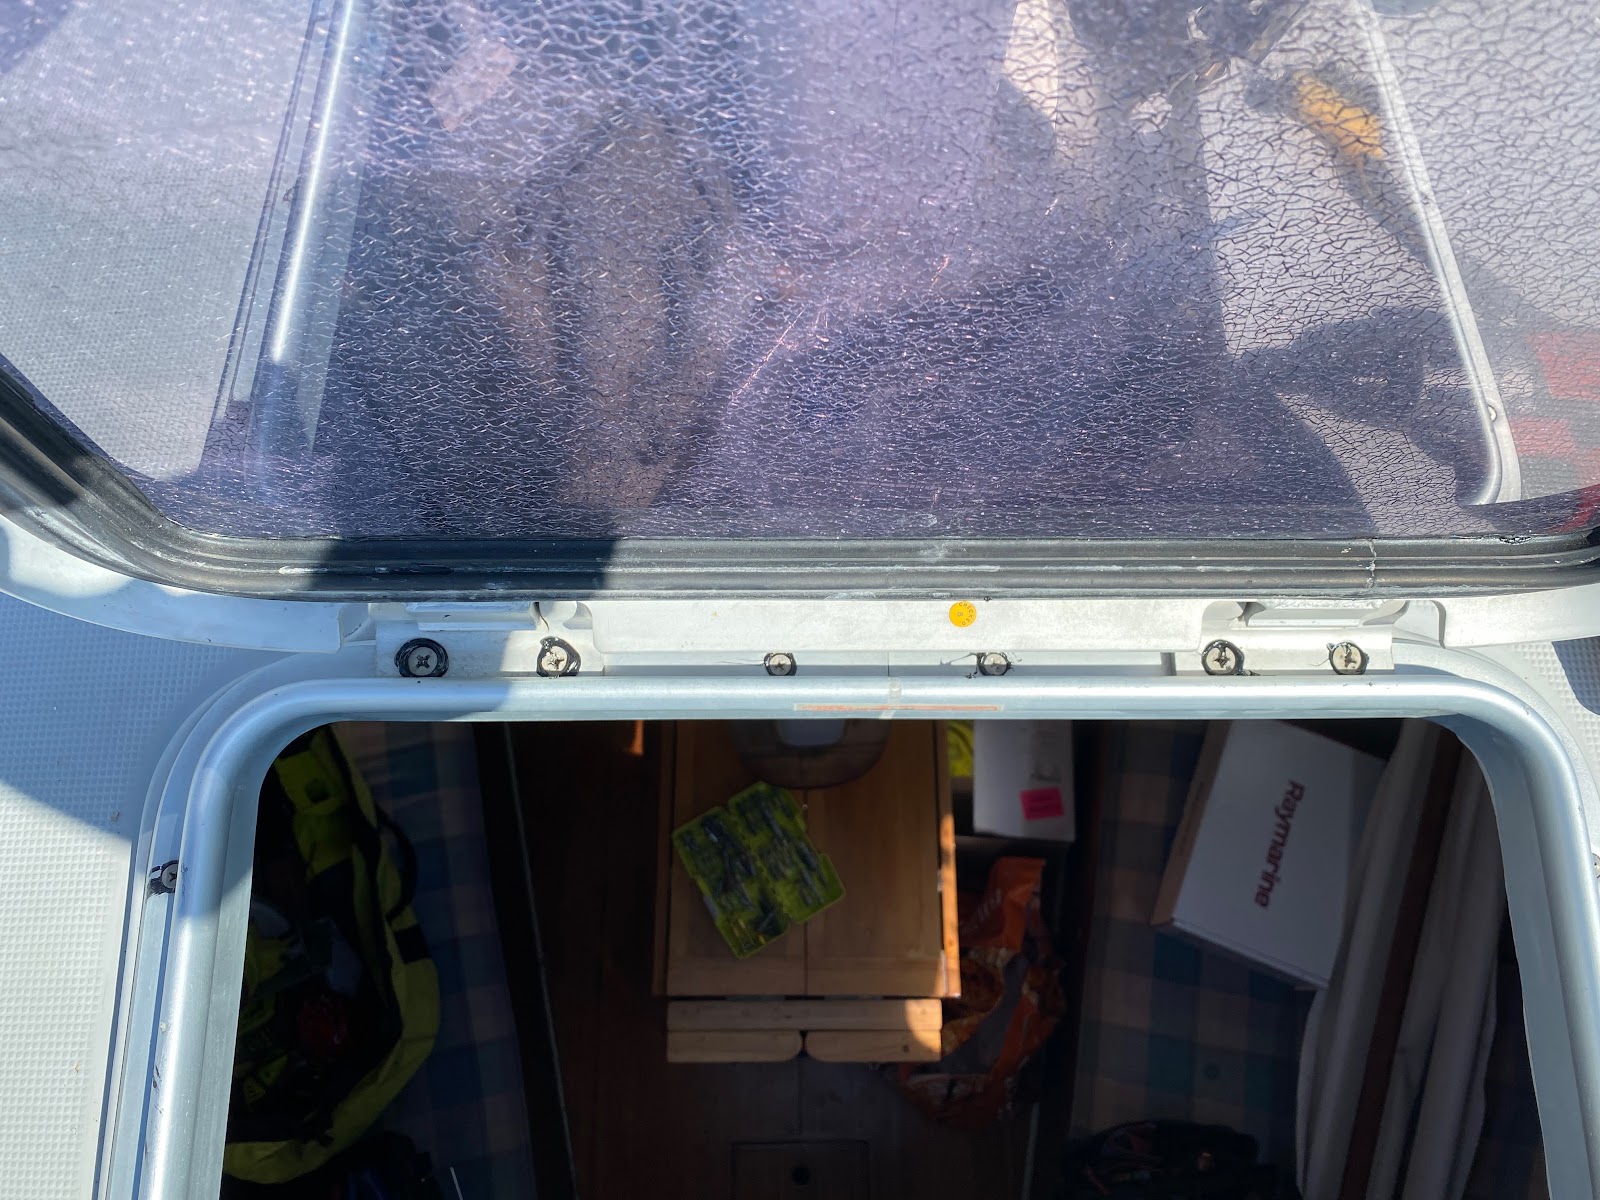
I applied two layers on the sides, and three on the corners, where it seemed the old sealant failed worst. In his article on using the butyl to bed hardware, Maine Sail makes much of the idea of counter-sinking fastener holes to allow the tape to gum in deeper. I made some counter sunk holes. Note the caulk remnants glued to the headliner.
All gummed in and ready to set and screw:
At this point I realized how snugly the frame fit into my leatherette headliner and I had to re-staple the headliner to the vertical surface of the hatch bay into which the frame fits.
This is complicated by the oozing of caulk or junk from a previous hatch-seating into the space between the headliner fabric and the fiberglass hull. What to do? Cut out the caulk and some of the headliner and risk having the entire headliner give way around the hatch? No perfect answer. Insert the hatch frame partway, try to snug the headliner up on the sides, curse, sigh repeat. Cub Scout motto, do your best.
I set the screws in the counter-sunk holes and tightened down the frame.
Day 2: (@2.5 hrs) I went through the same process with my smaller V-berth hatch.
Day 33: (@ 2.5 hrs) Finally, on to the mast collar. The butyl tape is a sticky mess two work with, but it does permit a certain amount of “precision” of application. Like squashing sticky play-doh where you want it. It was easier by the time of my third go, and I thought I had everything laid out properly:
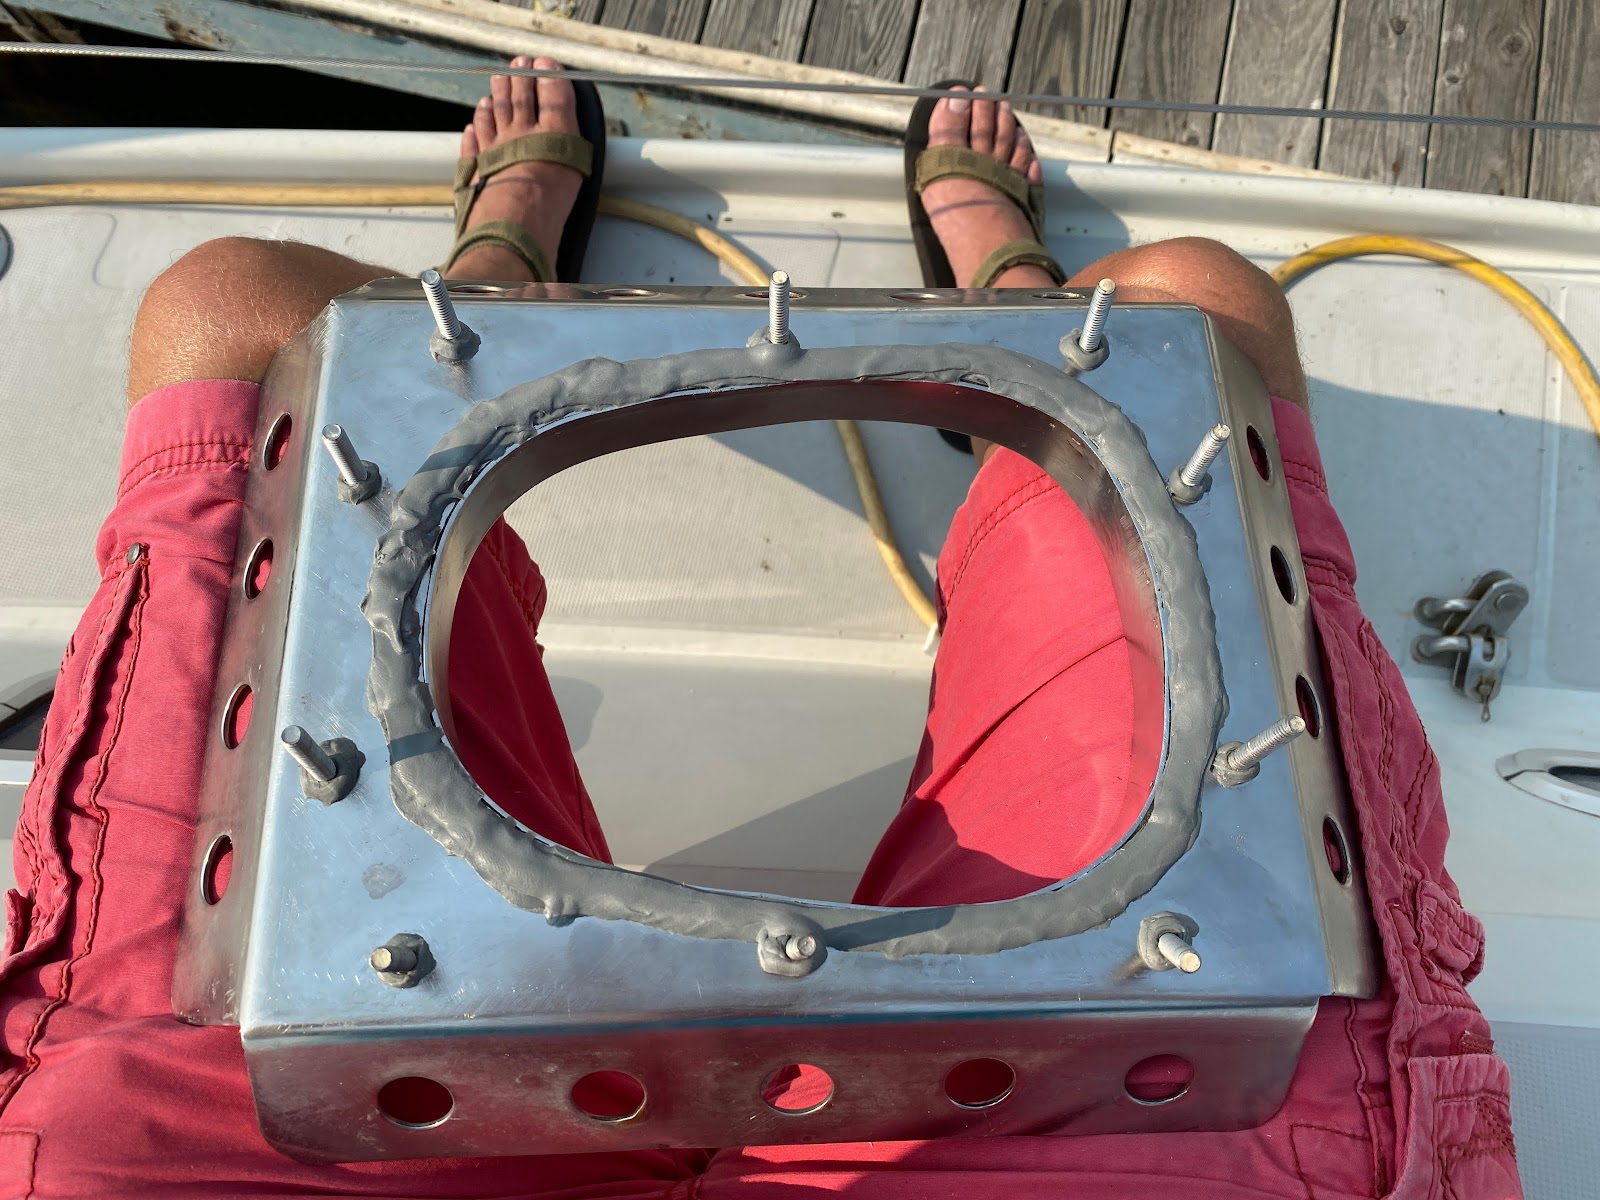
I plopped it down and did an initial tightening. I ran a sharp exacto-knife hobby blade and cut out the excess. At this point I noticed that I had made no special consideration for the cut-out for the stainless mast-cabin-top SS 90 metal. Hmmm. Well, I had already bolted the thing down. Probably the butyl tape would seep into the spaces, right?
I do have a tendency to rush at the end of these projects, when I can see the light at the end of the tunnel. After I trimmed the excess from the mast collar, I went straight to a water test.

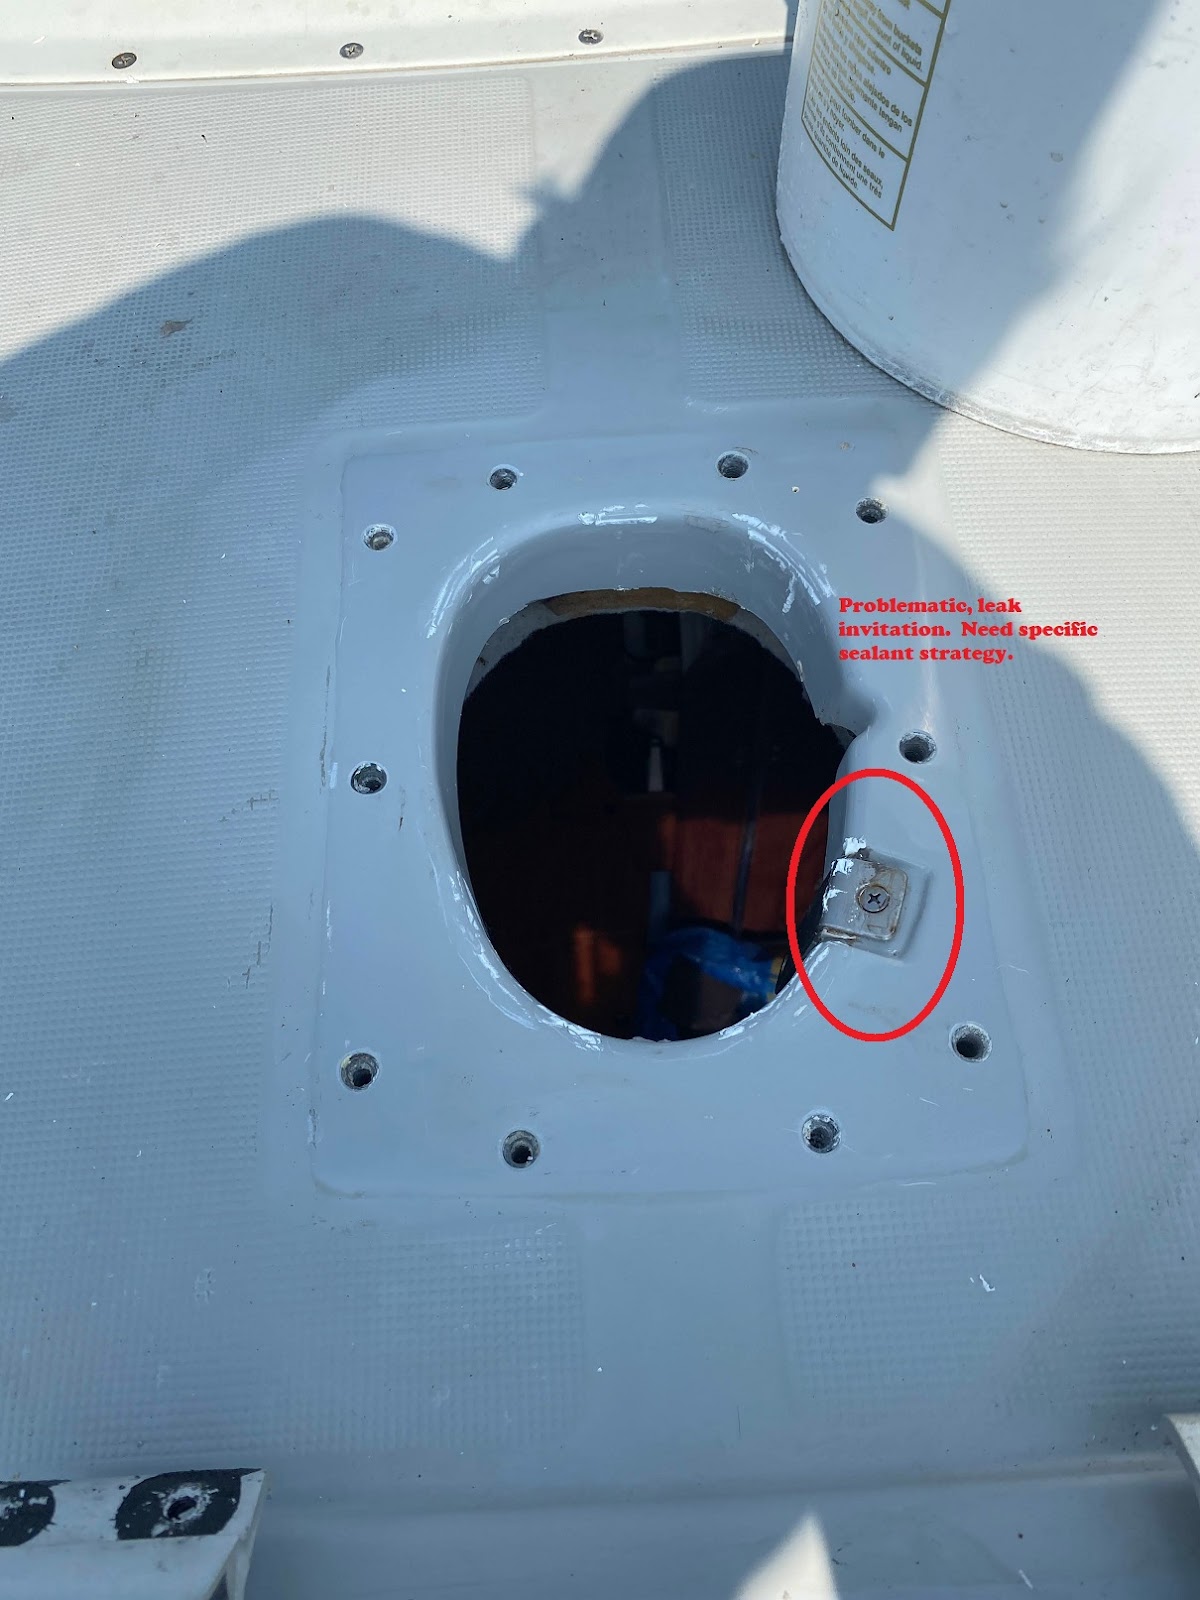
Alas and alack, the mast collar started dripping in exactly the indentation I had feared:
I had to pull up the whole thing and have another go, with more tape. I had very poor adhesion to the deck where the connector was. I applied more tape in that area and another layer around the perimeter of the machine screws. I should have done this the first time.

I re-applied and this time (it was mid-morning) I decided I would wait for the afternoon sun to heat up the newly-applied tape and ooze around before water testing.
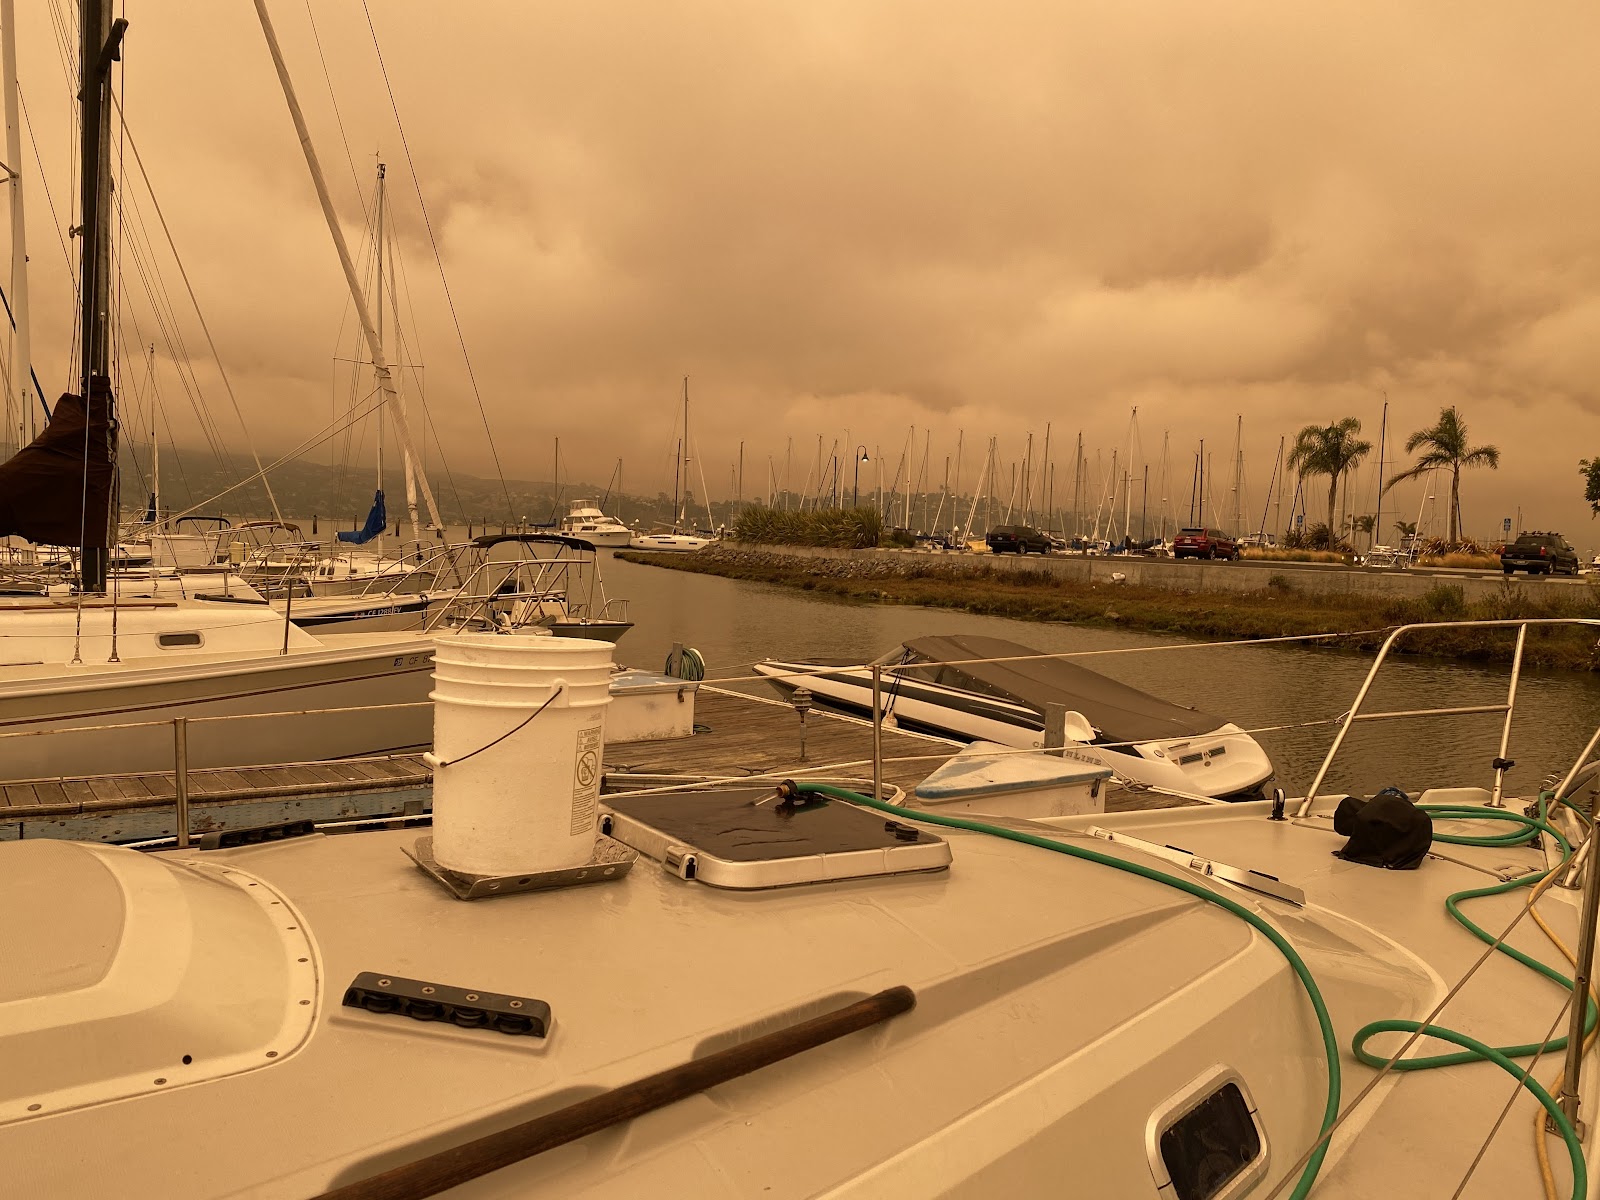
And just today the 9th of September (after waiting for a couple of days of “oozing”), during the apparent apocalypse of darkness at noon in San Francisco, I returned to the boat for another round of testing. I tightened all of the mast collar nuts another time and then the hose:
This time victory, (at least so far). I may wait until we get a few proper rain storms before I tackle the interior refinishing.