Summary:
I rebuilt the manual pump for the marine toilet on my sailboat with a kit from Defender.com. It was an unappetizing project, but I now better understand how everything is supposed to work and this knowledge I hope will help to prevent future problems.
Introduction
If you have never had the pleasure of rebuilding a Raritan Marine Toilet pump, well, you perhaps have made better life choices than I have. I’m sure you’ll be especially grateful for this post sharing what I have learned.
The toilet on my boat has so far worked pretty well. A qualifier is that I have tried to use the toilet as little as possible, so that I didn’t have any messes to deal with, but once one heads off for an overnight trip with friends, toilet use is unavoidable. I have a Raritan PHII toilet on my boat and it looks like this:
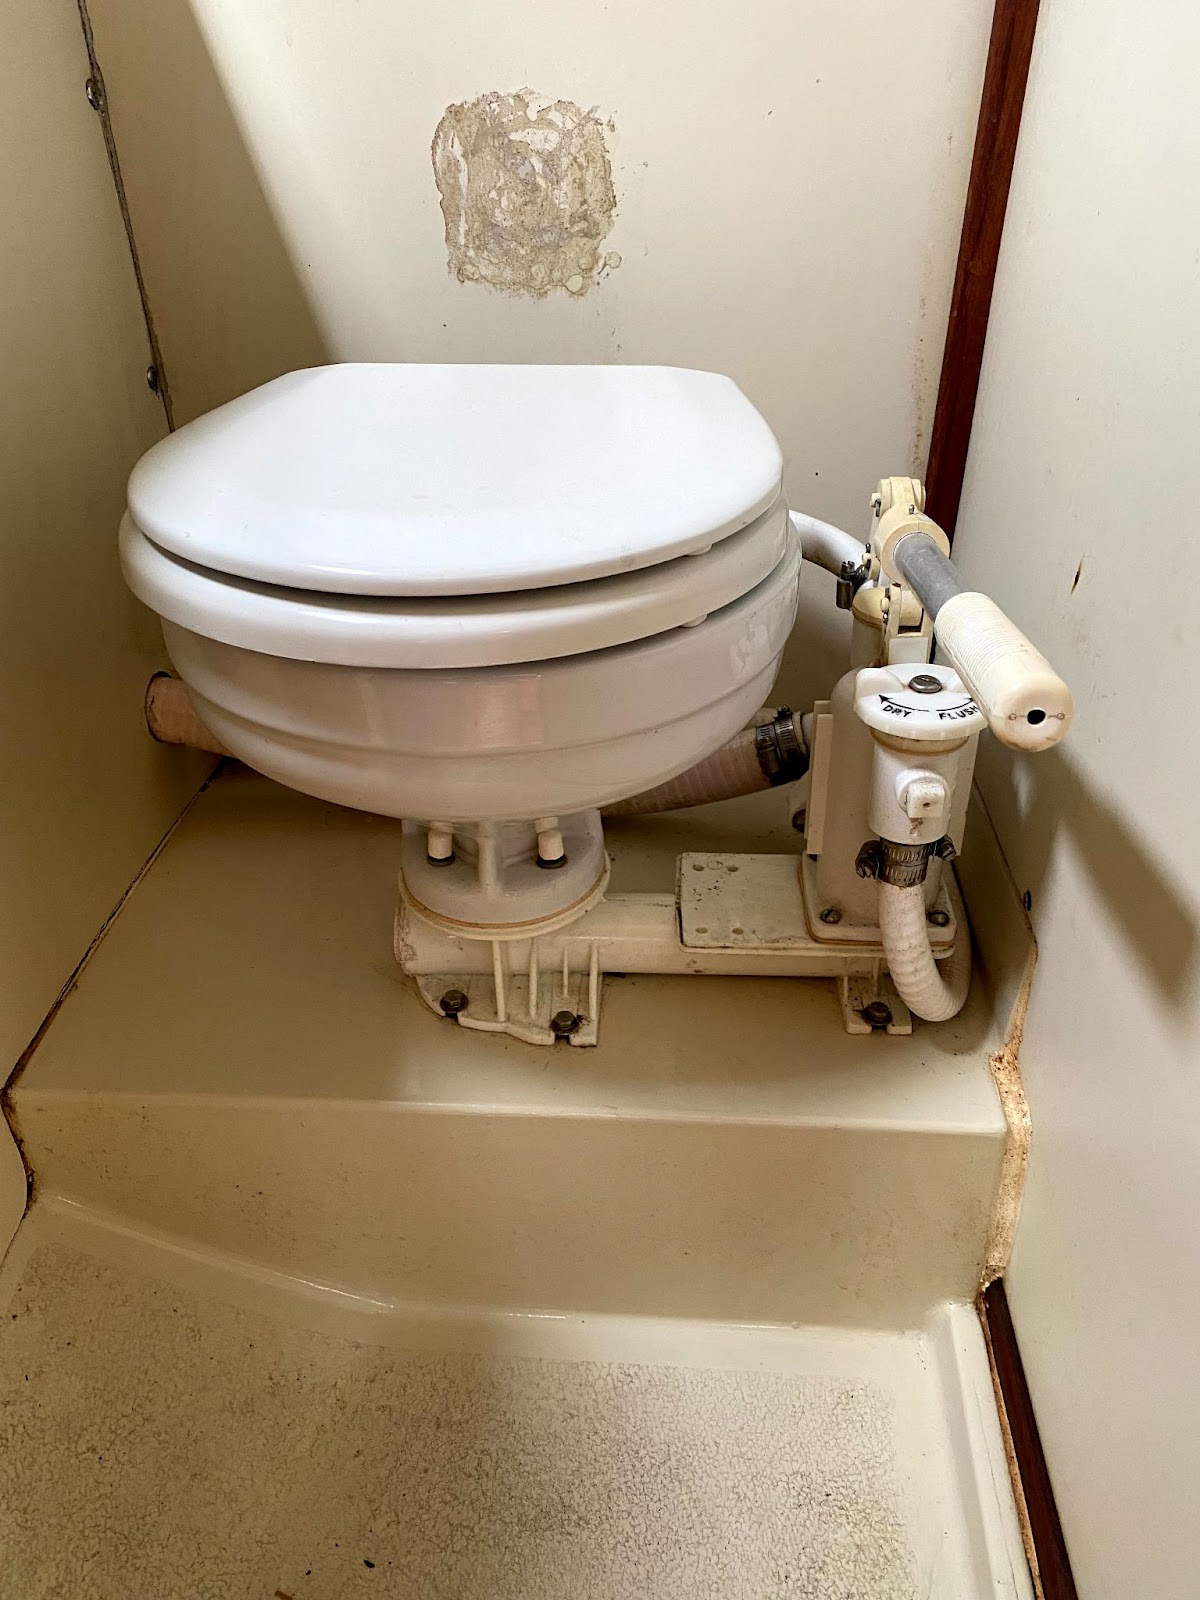
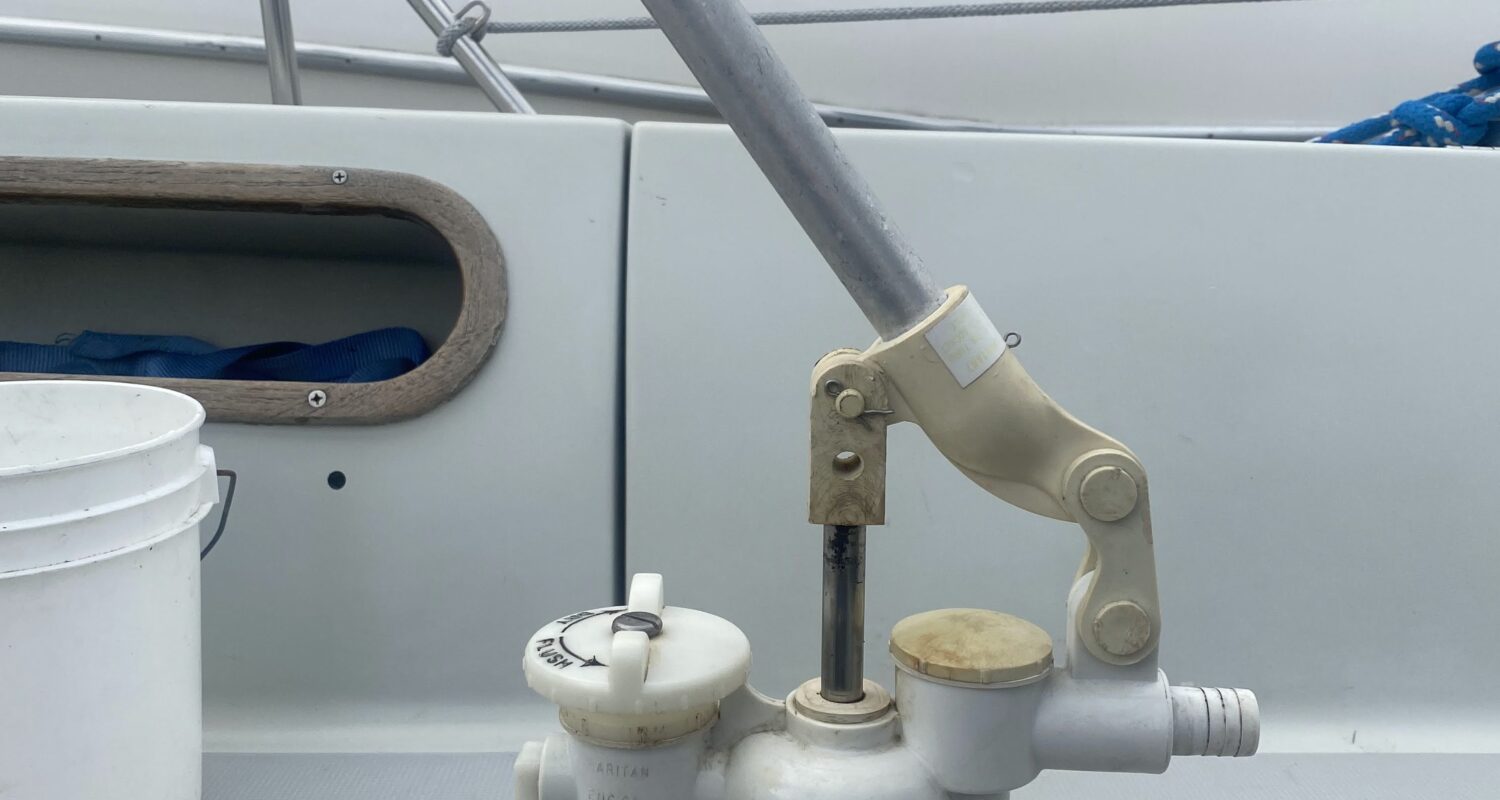
Flushing of the toilet occurs when one operates the handle at right. Clean water is pushed into the toilet bowl, and waste is pulled out. The handle pushes and pulls a piston up and down within a pump assembly.

One problem I encountered on trips was that a bit of water would spurt out around the top of the piston while flushing. Toilets shouldn’t squirt at users.
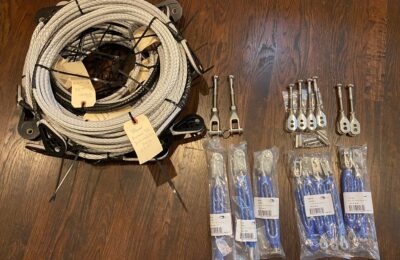
So what’s the right move here? Do you just buy a new toilet? You can get the entire PHII toilet at Defender for $475. What about just a new pump? That goes for about $230 on Amazon or elsewhere. I made the more economic but less delectable choice to buy a rebuild kit for my toilet pump in an effort to get it cleaned up and to stop squirting. I bought a kit from Defender. Here’s the $50 part/package:

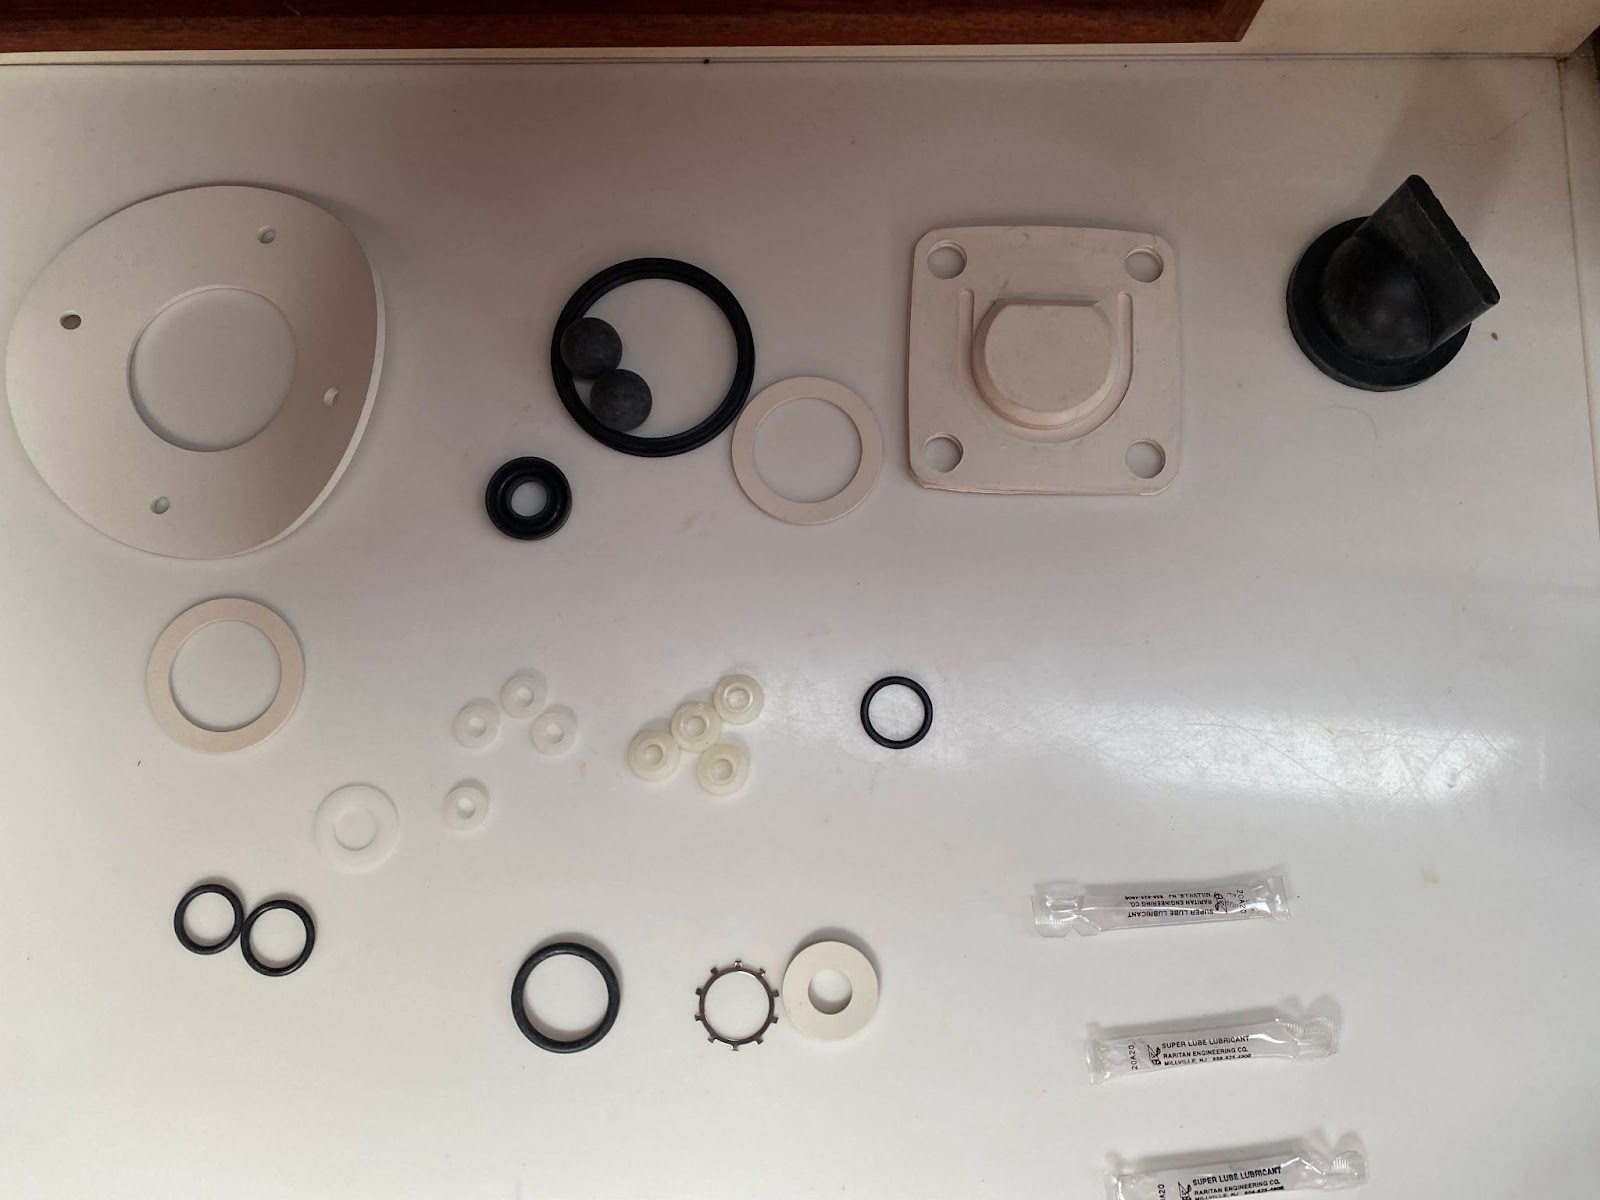
It comes with many small parts, o-rings and gaskets:
The first step is to remove the pump and disassemble it.
Before removing the various hoses from the toilet I suggest you pump out every bit of your holding tank and have an assortment of rag towels at the ready. My boat, SV Sure Shot, is named for a Beastie Boys song, and if I go out of my way to remind you that the name of the Beastie’s fifth studio album is, Hello Nasty, please know that your toilet system will provide an additional reminder of the same once you commence unbolting things.
Disassembly of the pump is not complicated. There is a step-by-step Raritan-produced video that is quite helpful.
I followed the directions and replaced everything that I could. Some of the video did not correspond to my toilet. I think the design has been improved such that newer toilets have less of a problem with leaks around the piston, and use a different cartridge-based system that I did not have. My rebuild kit included small tubes of SuperLube PTFE grease to be applied to the various O-rings.
The pump consists of two chambers in the same housing, separated by an O-ring encircled plate that moves water and waste in and out of the device. Here’s my diagram of how it functions:
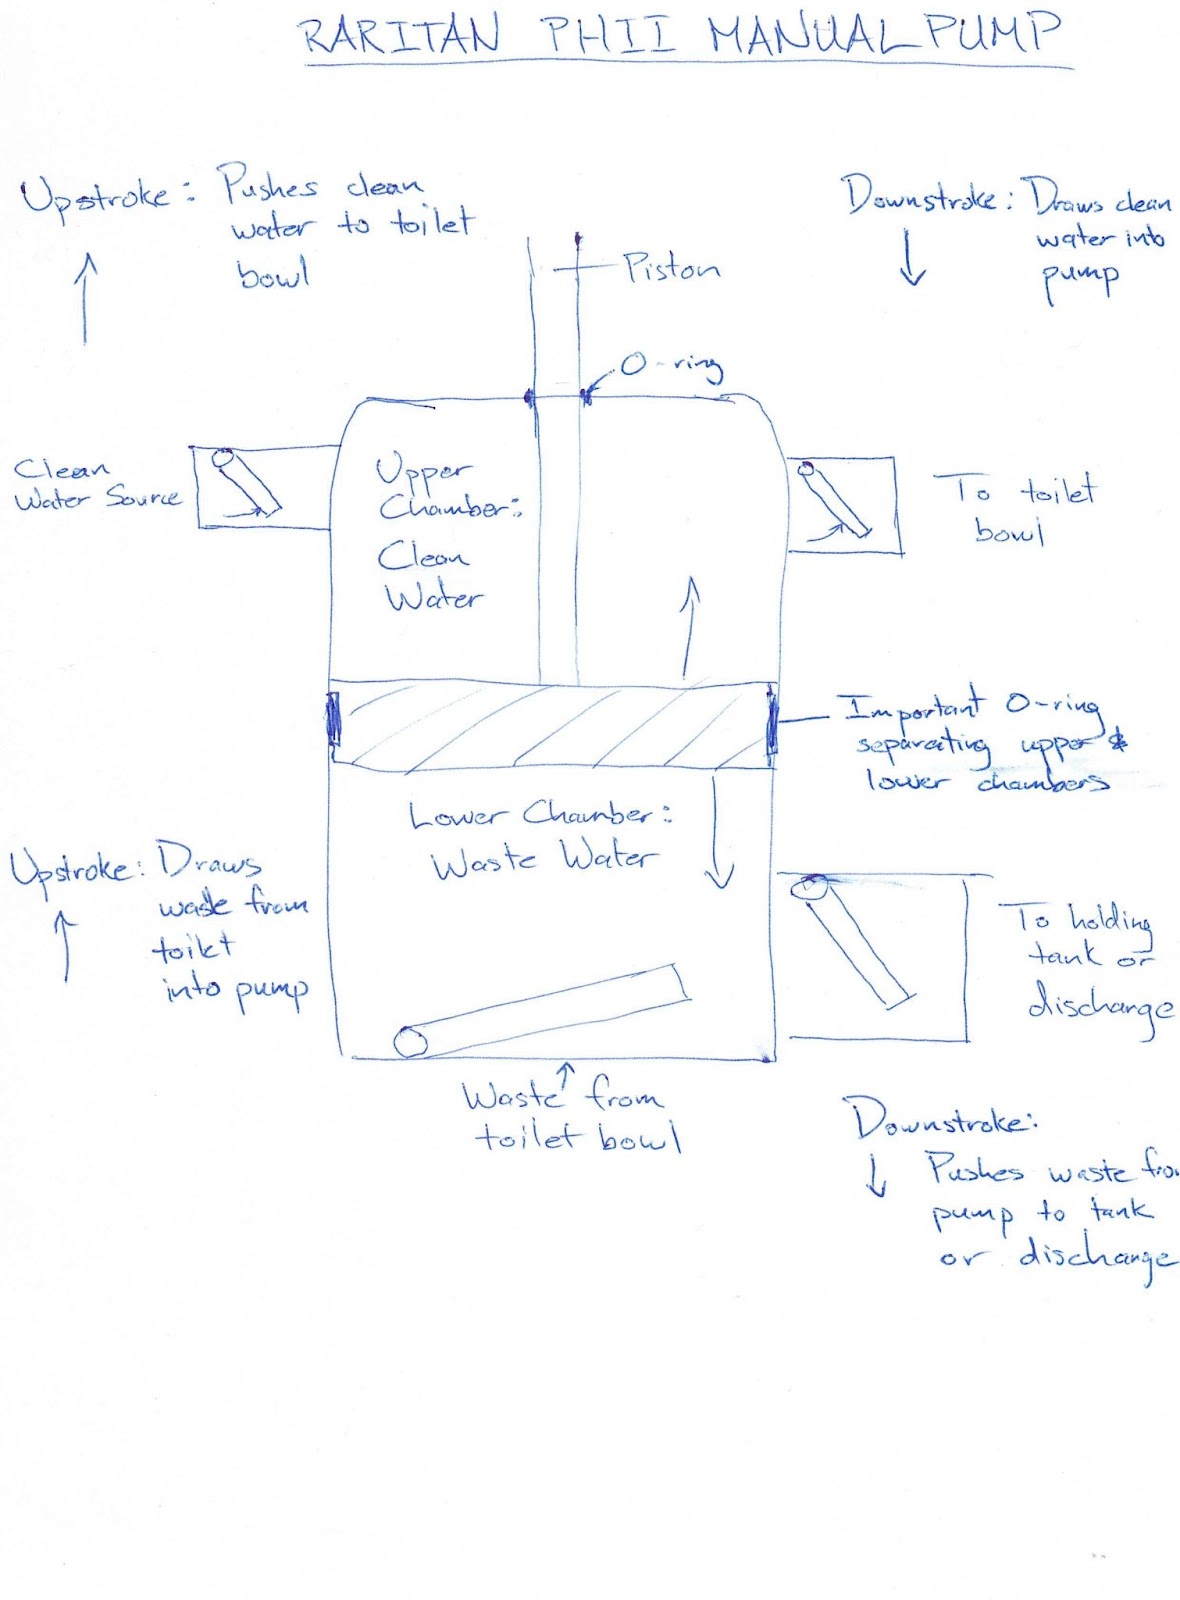
There is an additional feature not shown on my diagram which is the ‘dry’ flush setting. One does not want great amounts of water sloshing around the toilet bowl while at sea, but the pump needs to be able to let air fill in the upper chamber if one wants to continue pumping waste and water through the system without drawing more water into the bowl.
The “Dry” setting does just that – allows air instead of water to go into the top part of the pump.
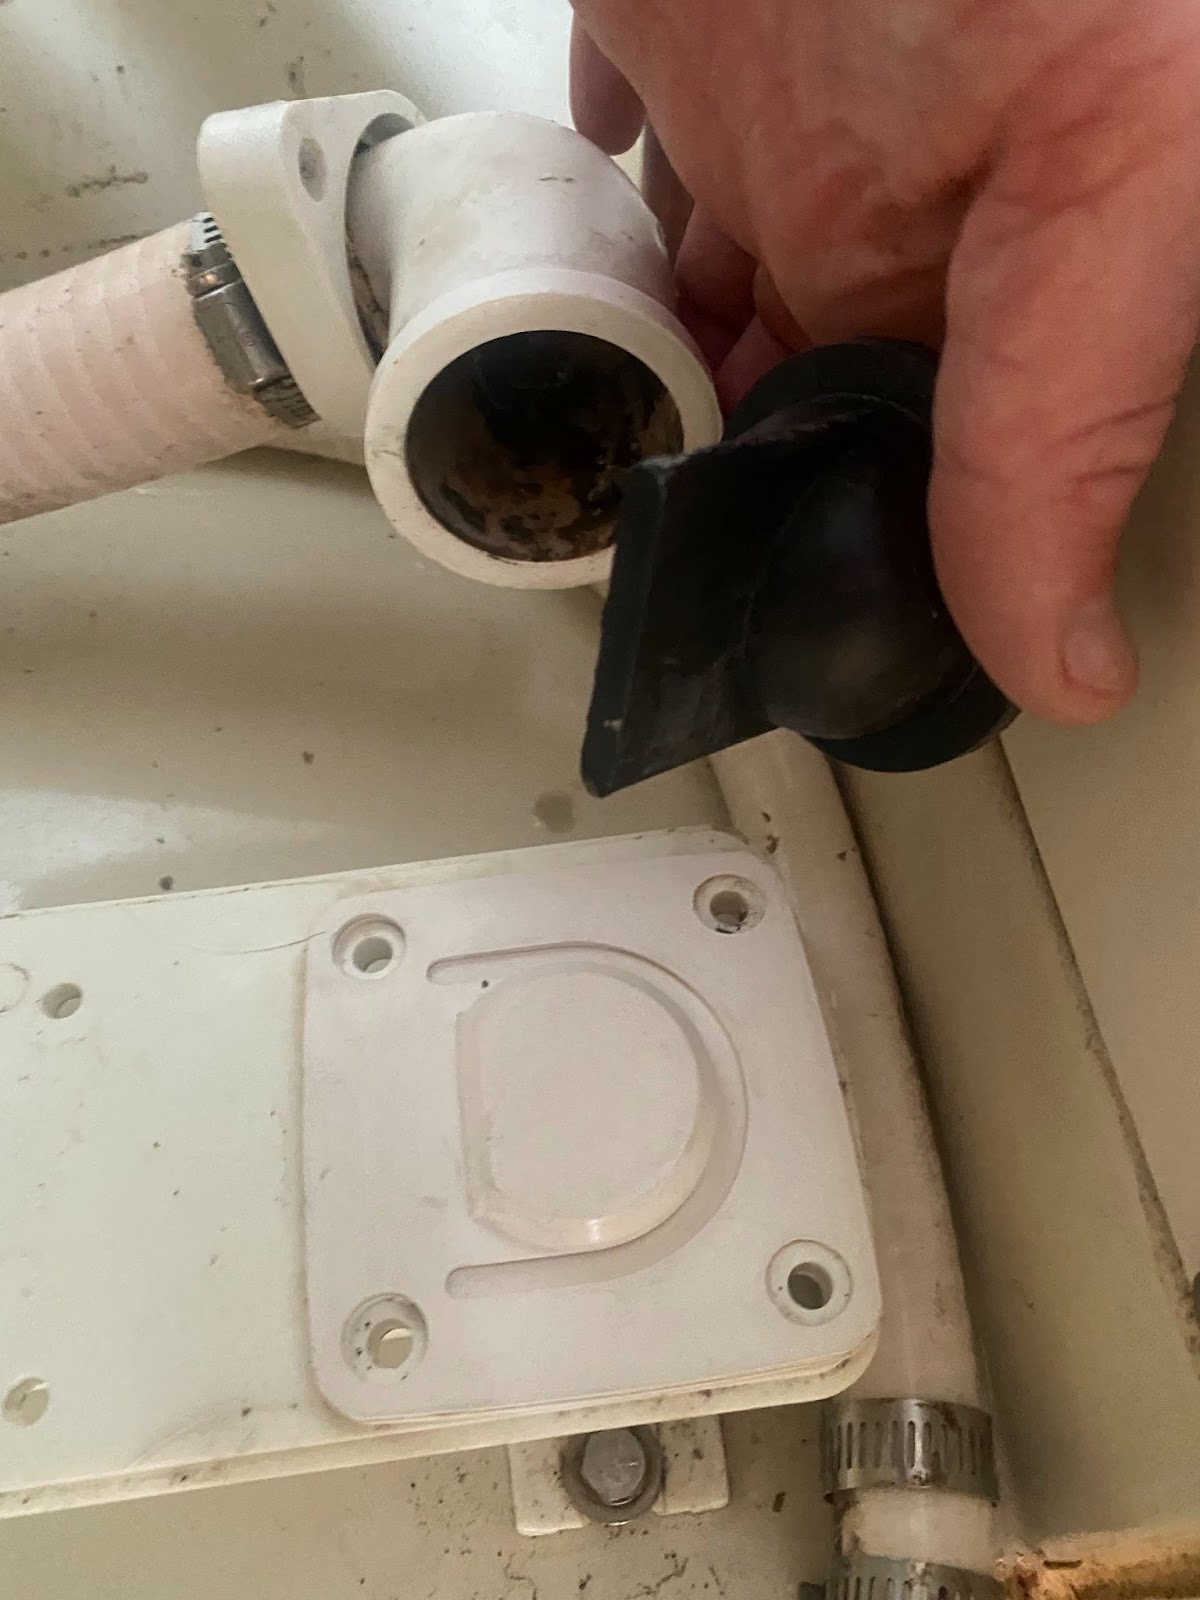
I was able to reassemble everything fairly easily. I discovered that the flapper gasket at the base of the pump was oriented incorrectly in my inherited installation. I changed the direction of the flapper hinge. Here I am showing the flapper and the recommended vertical orientation of the “joker” valve, which opens when waste is being pushed out, and then returns to its natural form, to prevent water and waste and bad smells from backing into the system.
So far so good. I think I have improved the piston seal at the top of the pump very well. It’s fiddly tight work to get all the machine screws tightened back up on the pump. I had to purchase a stubby short shaft flathead screwdriver to fit behind the unit.
Other Observations/Lessons
When in doubt, pump more water through, especially after aggressive use.
There is quite a distance between the bowl and the holding tank, and several places for funk to lodge. You can pump once or twice and the bowl may appear clean, but the waste needs to move all the way along the pipe from the toilet bowl to the pump, then all the way through the pump, then all the way up to the holding tank from the pump. When in doubt, pump more.
If you want to lubricate the pump (especially the plate separating the clean and waste water chambers) try to get the lubricant in from the clean water side.
I plan a future blog post on the (surprisingly numerous) ways I can configure my head to operate, but in simple terms, I have been instructed to use freshwater flushing whenever I am using my holding tank. My freshwater source is the sink in the head. I fill up the sink with water, then the pump draws water out of the sink and into the holding tank. One can buy “Head Lube” from many marine sources and it’s my understanding that the lube consists mostly of mineral oil. (I also received some vegetable oil from a previous owner). It seems like the mineral oil should be drawn into the upper chamber where gravity can help it lubricate the fairly vital O-ring separating the clean and waste water.
In sum, this was a fairly straightforward, if icky job. Buy the kit, follow the Raritan video, and pump everything out before you start messing around.
After assembling the photos for the blog post, I’m left thinking a wholly new toilet would have been the more cosmetically appealing choice. Perhaps it will come to that in the future. A rose by any other name would smell as sweet.