Summary
I replaced the aged stainless steel cable lifelines on my boat with Dyneema synthetic lines. The total cost was around $600 and I learned how to eye splice a single braid rope. It took a total of about 8 hours to install the lines. The most challenging part was to make the lines the right length given the changes in length introduced by the splicing process.
Introduction
One of the items noted on my boat-purchase survey was the advanced age of the stainless steel cable lifelines. Vinyl-coated cable lifelines are no longer cool with the American Boat & Yacht Council (ABYC), but my Ericson was delivered with them. The problem is that the vinyl covers the stainless steel metal and allows it to rust, like for decades, thus weakening the lifelines.
—-> Brief interjection: I heard an interesting discussion of child car seats on the Freakonomics radio show / podcast recently, the upshot being that child car seats, frequently installed incorrectly, from a statistical basis do about as well protecting children as adult-sized seat belts. We like to think child car seats help us out, but they don’t, really. Similar – lifelines. Do they really keep us safer? This topic is somewhat open to debate, and if anyone internet-questions lifelines, he/she is bound to have loads people chime in about that one time under duress when lifelines saved their bacon. But what about all the times that someone trips over a lifeline at the doc? Or is sent overboard because the line is only 24” off the deck, a perfect fulcrum point to destabilize an adult homo sapien? I googled hard (as in 4-5 times) to find an official insurance study justifying the use of lifelines. I could not find one. Joshua Slocum did not have them. Well, I have a 6 year old, I should keep them…←–
Back to replacing lifelines. I replaced my standing rigging with synthetic lines from Colligo. I wanted to do the same with my lifelines (swap out cable for rope) and I thought I could figure it out all myself.
Design Considerations:
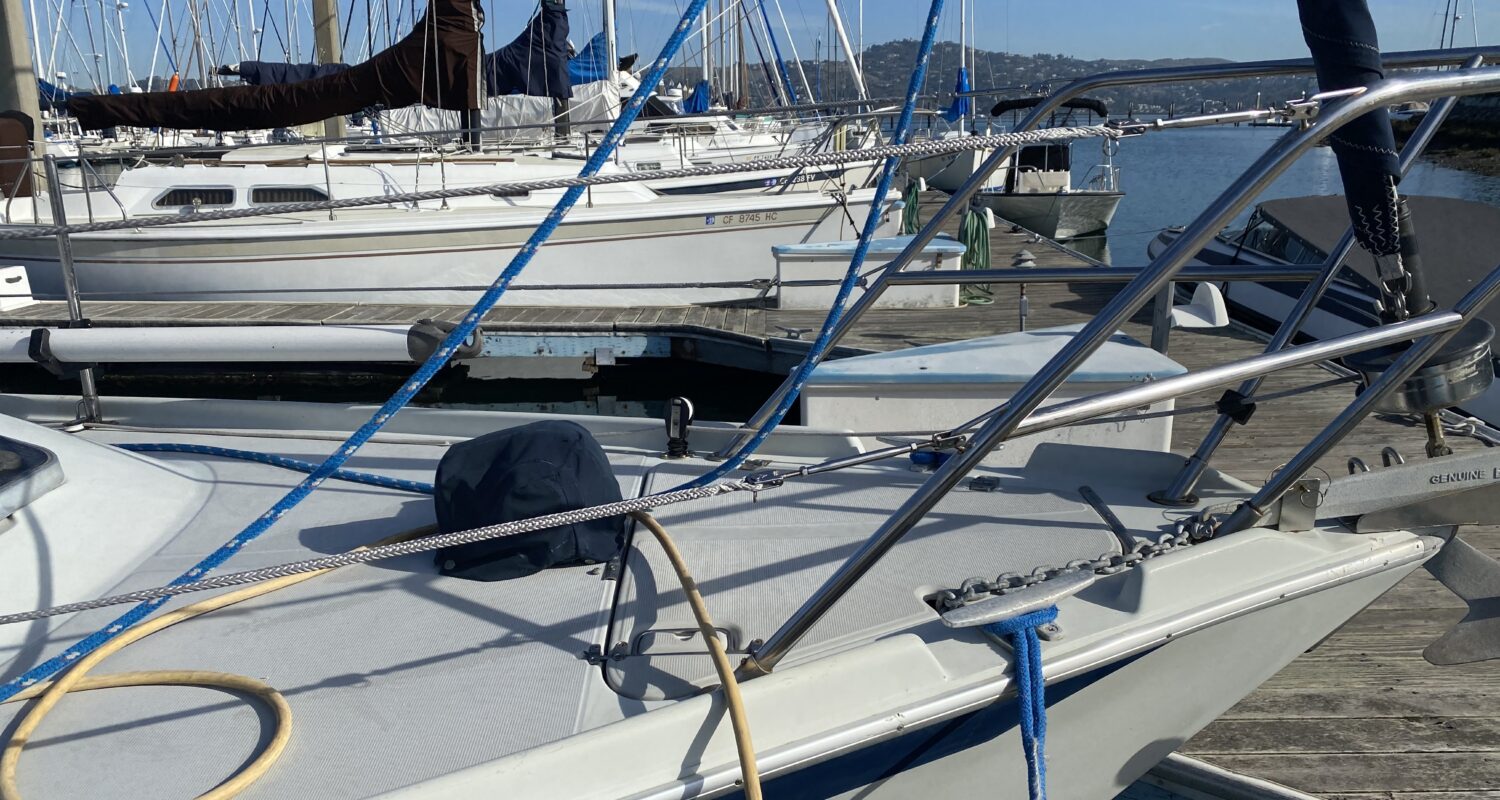
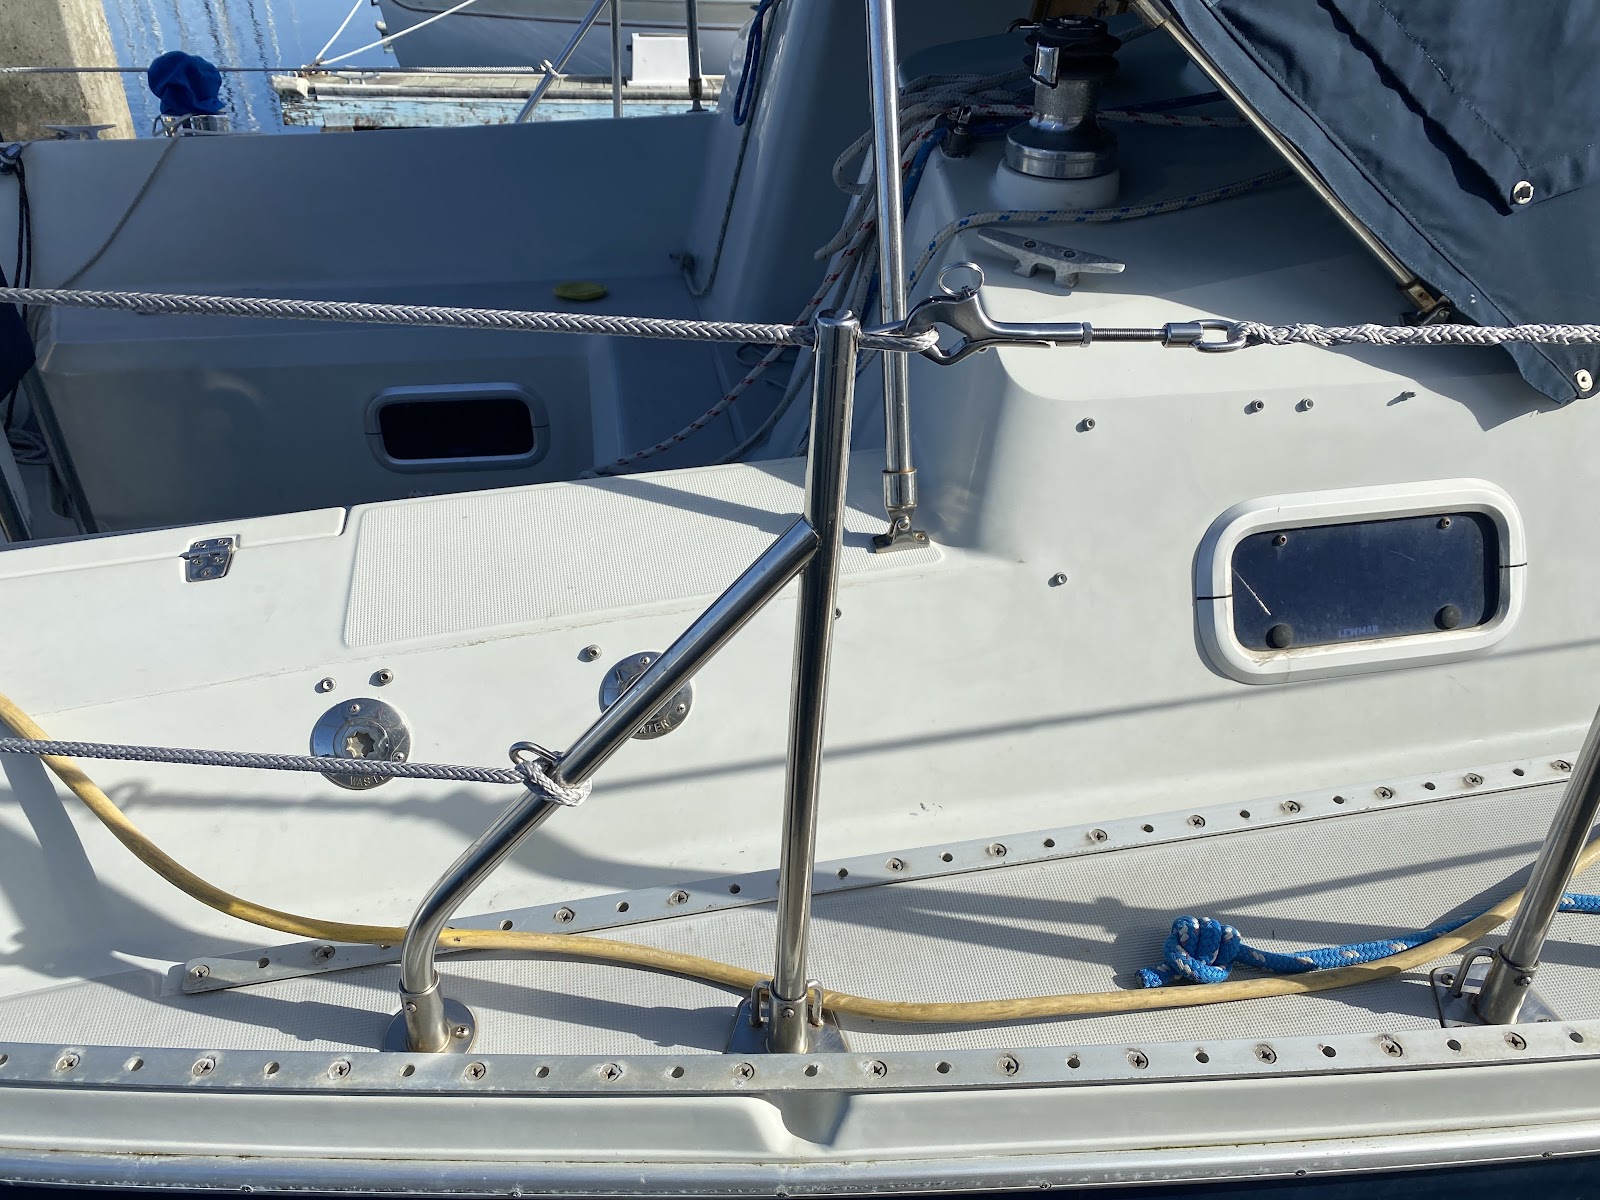
My boat has a total of 8 lifelines (fore and aft, starboard and port, upper and lower) and 2 gates (Port and Starboard). I bet yours has something similar. Each lifeline consists of a static end point, a second ‘dynamic’ end point that can be tensioned, and a line in between. On my boat, the tension end-point was the outermost (attached to the bow and stern pulpits) and had a closed-body turnbuckle to keep the line taut. Here is a view of the starboard bow pulpit:
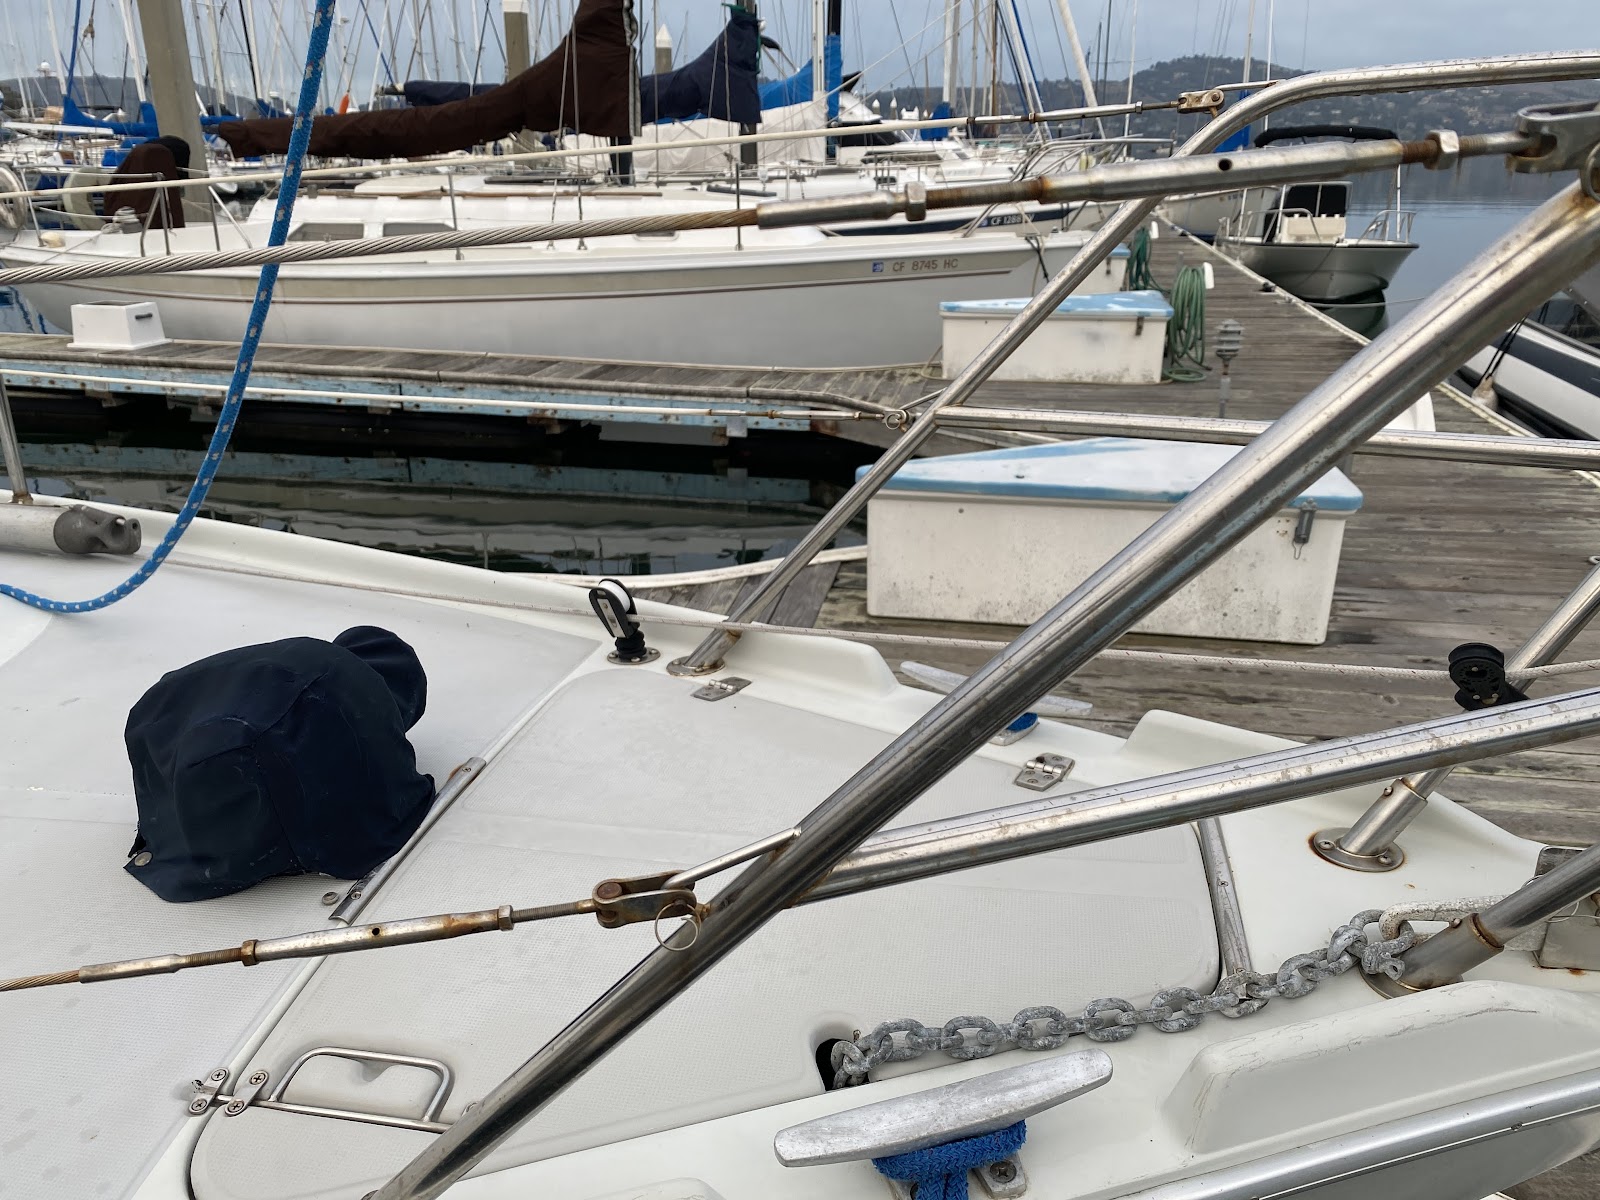
Here is a view of the gate:

I needed to choose components with which I could replicate the existing lifeline structure. I looked to the University of YouTube to see if there were any clever tips to be learned, and found these guys:
I like their effort and that the guy rebuilt a Yanmar motor in the cockpit of his catamaran, so he has my respect. They use some fittings from Colligo and use synthetic line lashings to tension their lifelines.
Dyneema is a brand-name for ultra high molecular weight polyethylene (UHMWPE) fiber monofilaments. For sailing, it is used it to make ropes/lines. It’s also good for making bulletproof armor:
It’s strong, light, smooth, and it doesn’t stretch. It comes in 12 strand single braid lines (ropes) that are very easy to splice. Because the rope is so slippery, the splicing has to be done properly.
Anyone taking on this project needs to learn how to do a locking brummel splice. This is an eye splice that does not move. There are a multitude of how-to-eye-splice videos on YouTube, but I mostly relied on this one:
To tension my lifelines, I could have purchased the Colligo lashing fittings. Here’s a page with some information from Colligo:
https://www.colligomarine.com/colligo-tech-synthetic-lifelines
Instead of lashing I wanted instead to use turnbuckles in the same way I had used turnbuckles for my standing rigging.
Based on my design plan, my shopping list was as follows:
- 130 feet @ ¼” Amsteel Blue (A Samson rope product, made with dyneema fibers) from Defender at $1.07 per foot from Defender. 8@ jaw-jaw ¼” 316 stainless CS Johnson turnbuckles from West Marine @ $35 per. @$280
- 4@ 316 stainless 3/16” thimbles from Defender $1.59 each
- 2@ CS Johnson Gate hooks with splice eye from Defender $55 each
- 1@ Samson splicing kit from Defender $43.
Total cost: Approximately $580.
Building the Lifelines
I watched the how-to-eye-splice video several times. The trick, if there is one. is to figure out the ‘mobius loop lock’ that ensures your splice can’t slide out and that the fibers lay properly oriented.
For each line, the fixed connection end requires no measuring. I attached my lower lines to my gate posts using a ‘luggage tag’ loop with the line running through the eye splice I had created. The fixed side of the upper lines would be integral to the gate, so those I terminated with my four stainless thimbles:

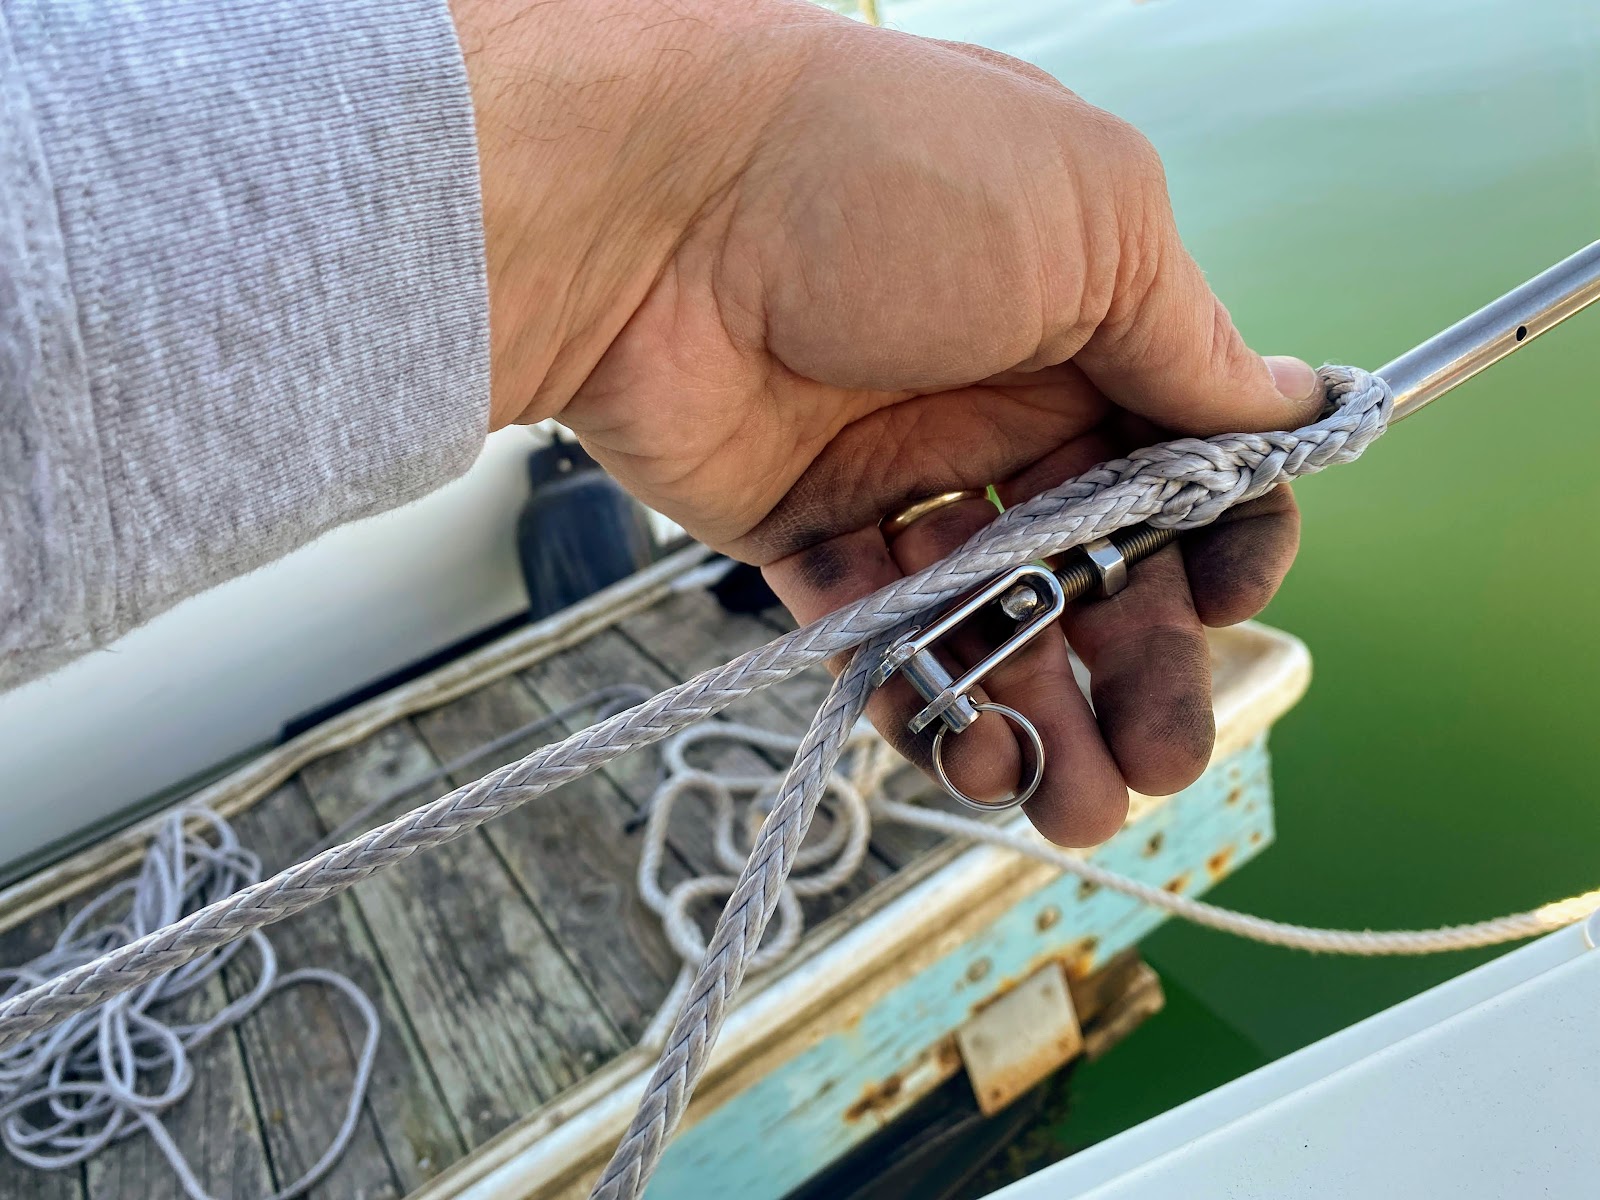
The other end of the line, that attaches to the turnbuckle or lashing is a bit trickier. One wants the line to be just long enough so that the tensioner can be attached, but still have enough operable room to add tension.
So just set your fixed point line and see how much rope you need, right? Not that simple. The challenge is that as you bury the line back into itself as part of your eye-splice, the exterior sleeve of the splice has to expand the weave of the rope, and so the line shortens overall. To compensate for this factor, one needs to plan for his non-spliced loop to be longer than the desired end length.
How much longer? I was targeting a 20” splice bury, and I found that the splice and the bury would shorten the line by about 2.5”-3”.
This process is further complicated when you taper the line. One wants to taper the buried line to help the fibers lay flat and for aesthetics. It’s really easy to taper the line – you just pull out a few of the 12 strand bundles and snip them at staggered distances from the end of the line.
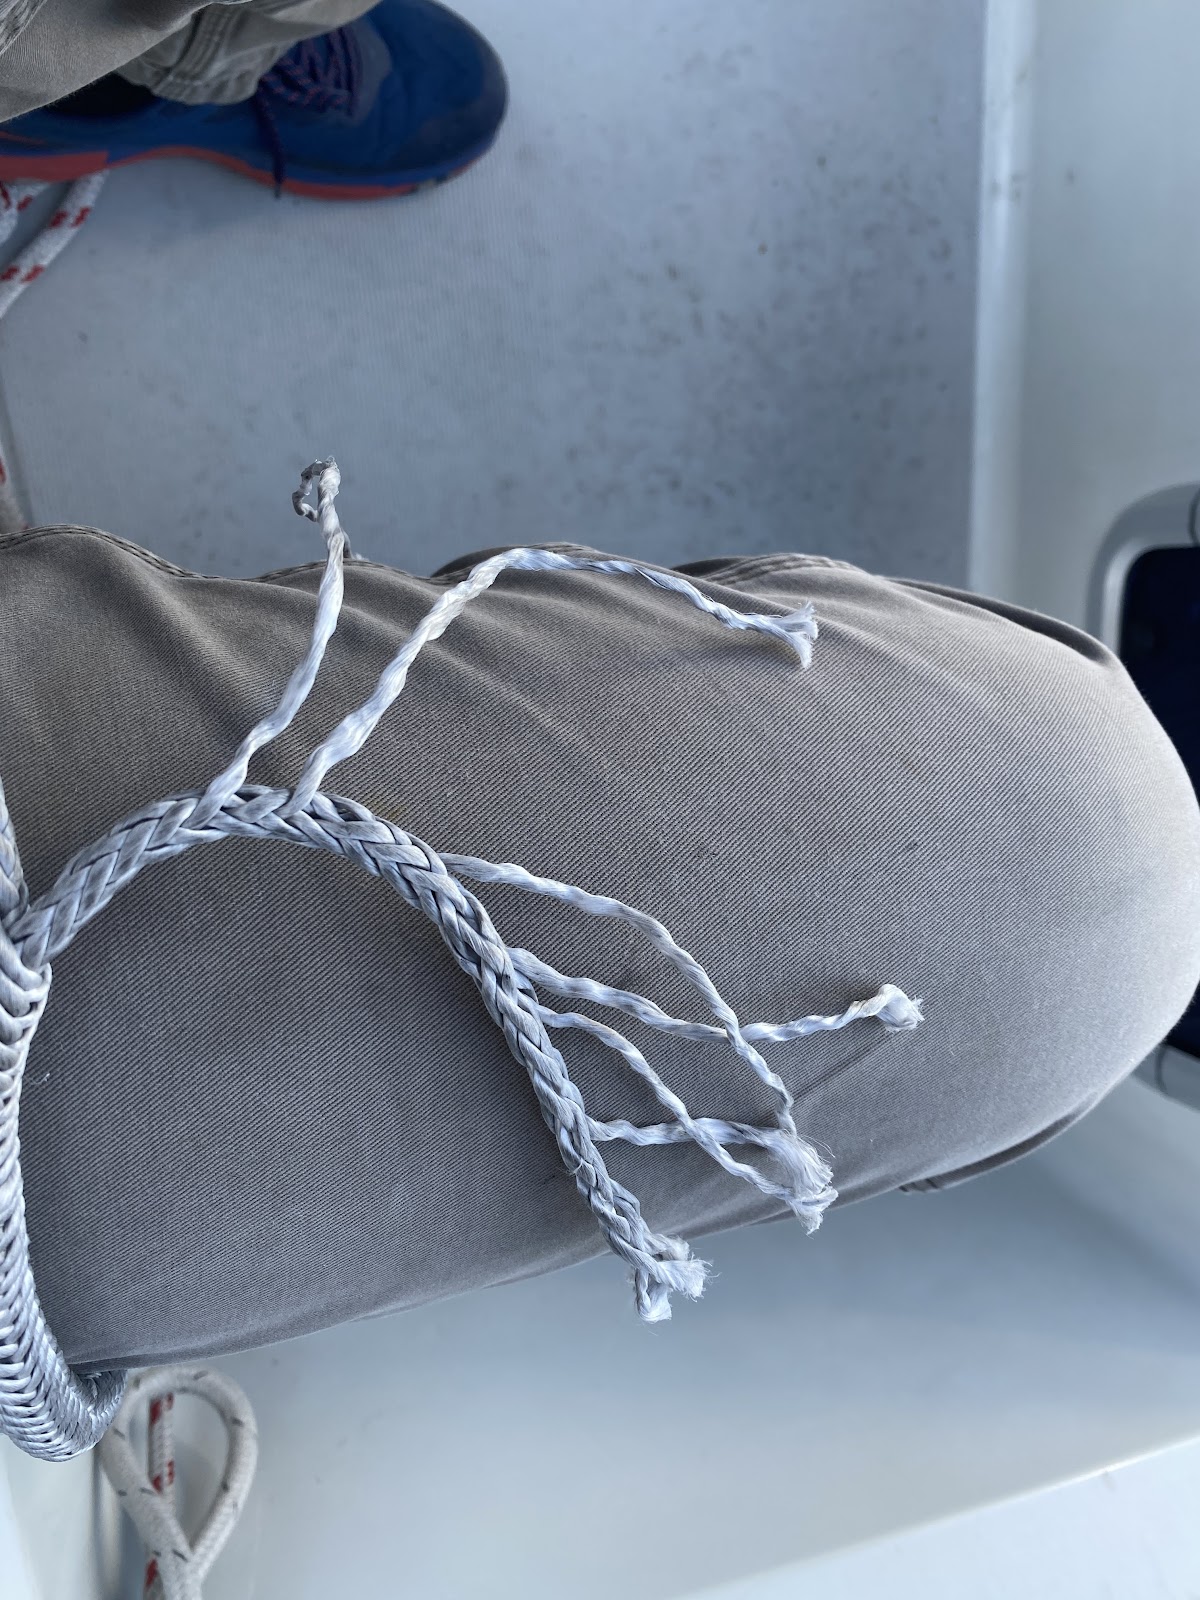
But, (surprise!) now the tapered sheath portion of the splice is not as stretched out as it was with the full line and your line elongates as your splice moves out.
I had to take a number of splice mulligans (to mix terminology from two leisure sports.) Eventually I got all of my lines to a satisfactory length and tension.

The gates remained. These were a bit different in that the short length of the line between the end points would not permit me to do a 20” bury at each end as the buried ends would overlap. I did a modified eye splice with more interweaving of the buried end back and forth into the line.
Analysis
One might point out that pinning an eye-splice into a jaw-jaw turnbuckle leaves a tight bend radius on the line and could be a weak point for the line. The Colligo guys say that a bend radius should be 5:1. I think this means the radius of the thimble or terminator should be 5 times the diameter of the line. Colligo sells lashing-style fittings that meet this 5:1 standard.
Fair enough. One can buy turnbuckle tensioning bolts that are designed to be spliced into, and they do not have anything like the same bend radius. Truth be told I found these turnbuckles after I purchased and installed my jaw-jaw connectors. If I were to do it over, I would buy these splice-end ones.
Another point is that the lines may suffer chafe. The general argument for Dyneema is that it shows chafe readily by becoming fuzzy and thus with a minimum amount of inspection, chafe should be evident.
Consider a back-of-the envelope scenario calculation.
Suppose a sailor weighing 225 lbs slips on his foredeck and falls to the lifelines.
The acceleration of his fall means his impact weight is much higher. How much higher? [Scientific Wild Arse Guess] – 10 times, so 2,250lbs hitting the lifeline structure.
What happens?
The load is transferred to the whole system, including the lines, connections, stanchion posts, stanchion feet, and pulpits. There is some elasticity as the stanchion posts deflect (bend).
What fails first? Is it the spliced dyneema line rated at 8600 lbs? Is it the turnbuckle rated at 4200 lbs? Is it the single machine screw that holds the stanchion post into the stanchion base? The bolts holding the stanchion base into the hull? The welded stainless loops attached to the bow and stern pulpit?
I think it is difficult to say in practice, though I am confident that the dyneema are an improvement over the existing rusting coated lines they have replaced.
Finally, I would add that Defender has some CS Johnson Synthetic Lifeline-specific hardware kits you may want to check out to see if they suit your specific needs, as you design your system.