Replacing the dashboard on a sailboat shouldn’t be that complicated. You just unscrew one piece of rectangular plywood, cut a new one, plop in some instruments, and boom there you go. Well, kind of.
The nav station as I received it:
The battery monitor, GFCI, and Loran did not work. The map light worked, a little. In back, spaghetti alla puttanesca.
If you are taking on a similar project, keep in mind you may well find a direct-wired lead back here. That’s a wire that is permanently connected to your battery system, and even if your battery big switch is set to “All Off” you may still have live 12V power back here. That is good for something like a sentry bilge pump as a fail-safe. That large red wire going into the small fuse panel in the picture above is directly wired. Ask me how I know.
You take everything else out and you’re left with the panel. The right thing to do at this point is to carefully remove and label each wire from the breaker panel. Verify that each one meets current ABYC standards and make a plan to re-wire the entire boat up to code and any potential modifications. Some members of our community have done this, and I commend them. By removing all of the wires from the main breaker panel one can pull the electrical panel out and then remove the dash.
I considered the removal of all of the wires. Unscrewing, labeling, photographing, etc. I thought about it some more. I decided to do the right thing, the careful thing, and I got out my Sawzall.
Trip to Home Depot. Handy 2’*4′ panel of 1/2″ interior cabinet grade birch plywood. $23. Perfect.
About that dashboard being rectangular, it’s not. The top edge conforms to some curve slope of the boat.
Cut carefully from the template removed from the boat.
The backside of the old dash has beveled edges. Try to match those and it will snug back into the space better.
I guessed this was about a 30 degree bevel and cut it with my skil saw. It’s less than 30 degrees, I overdid it a bit on the bevel.
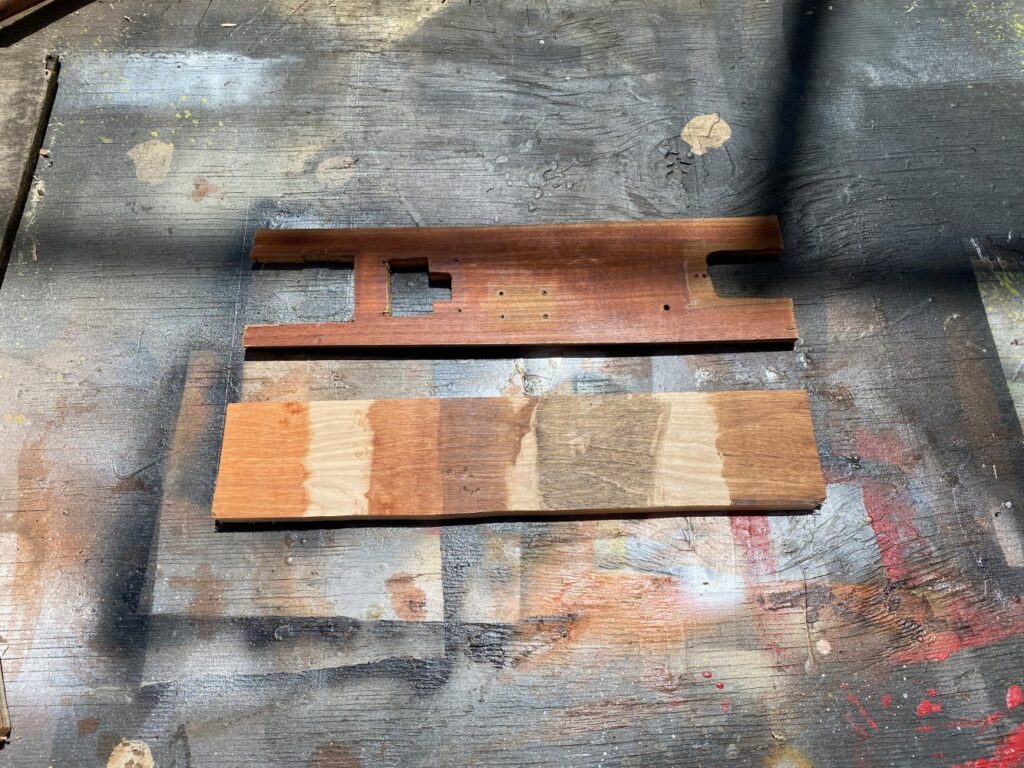
Top piece is the template removed from the boat.
Since I used the sawzall approach coming out, I need a gap for the re-installation.
I had to put a little thought into the backer plates. There is a lip around the edge of the dashboard enclosure into which this piece fits, so the backer plates have to stand clear of that lip. They are epoxied and screwed on.
The bottom connector piece attaches with two SS machine screws, countersunk. This could be epoxied in and the kerf spaces hidden with wood putty and varnish, but I like the idea of being able to disassemble everything again without a sawzall.
It’s still a work in progress until I receive and locate my gadgetry, stain, varnish, etc.
Finally, the stereo I removed from my boat had a wired ‘Remote Control’ so that anyone reclining in the palatial grandeur of the aft quarterberth could adjust volume etc. It looked like a factory install with nice trim:
I removed the trim and needed something to cover the hole. With great interest in only using the finest materials, I picked the best piece of cast-off redwood fence board in my back yard, sanded it, routered (routed?) the edges, and stained it with Varathane ‘Colonial Maple’ and added a couple of coats of satin-finish varnish, and was relatively pleased with the color and texture match.
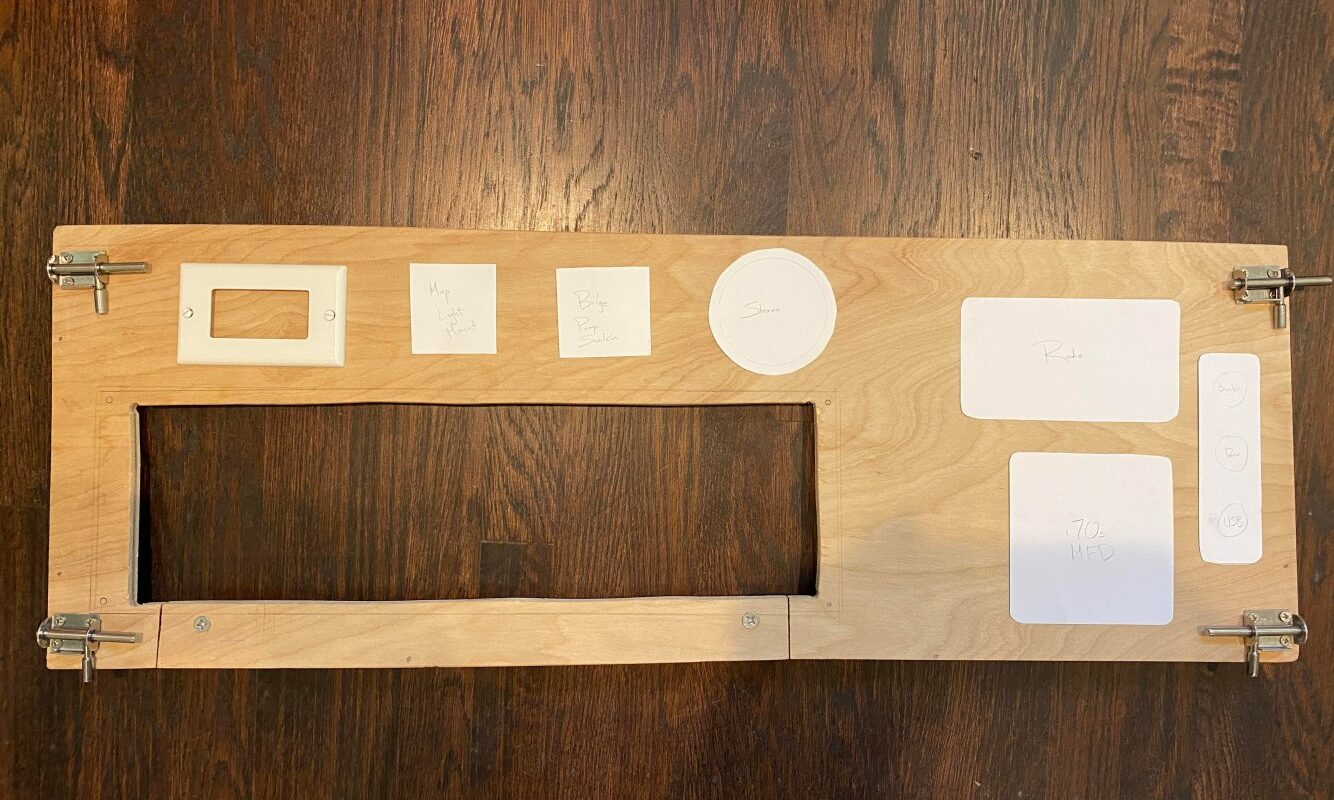
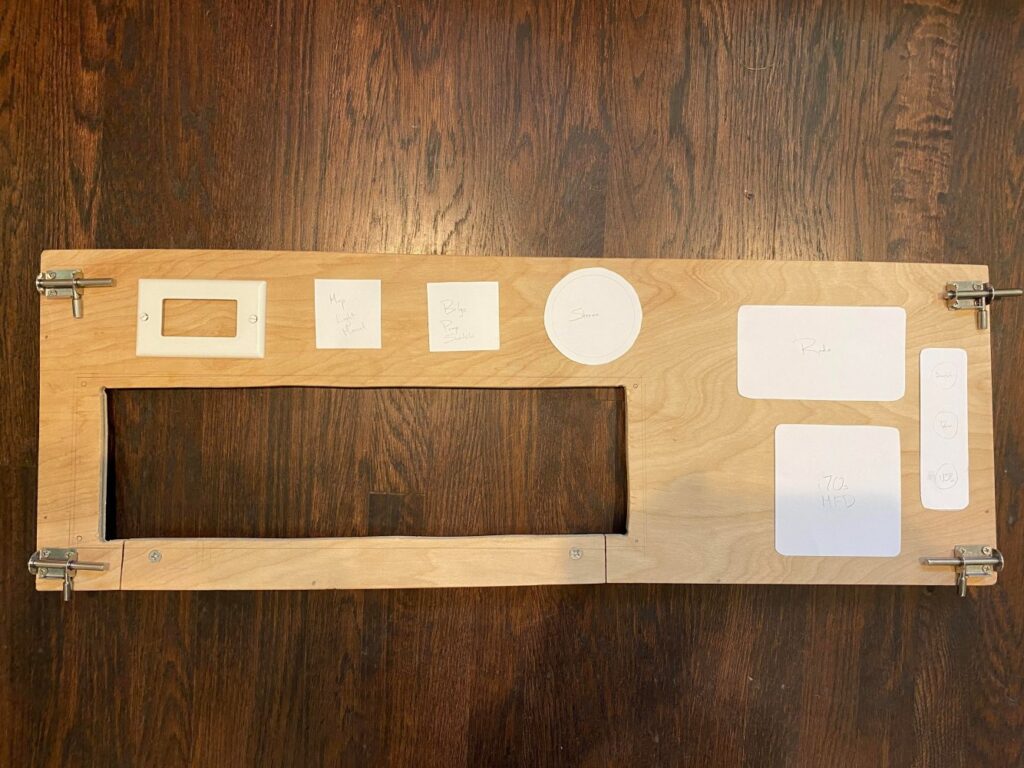
I considered various placements for my new electronics.
I tried several different stain colors that I had around the house in order to find the best match to my surrounding woodwork.
Once stained, I added a satin sheen finish.
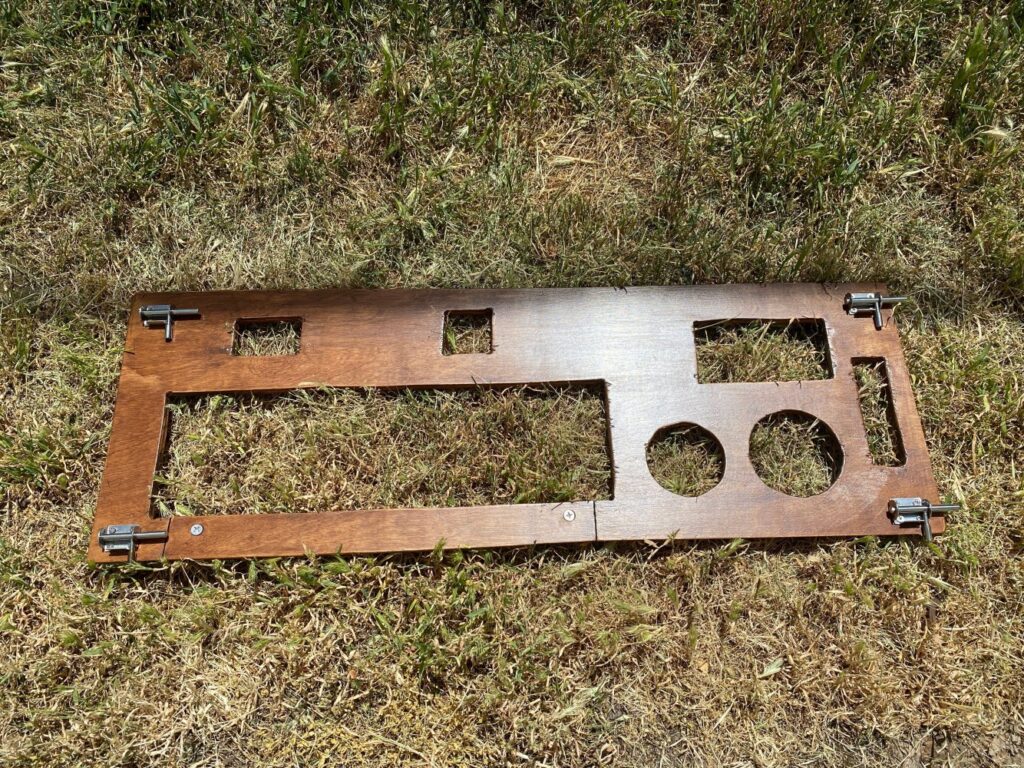
After finally completing my re-wiring, I got the instruments installed and all the lights on. Victory.