I made a couple of updates to the routing of the control lines for my Aries wind vane.
My boat is set up with both control lines leading from the vane itself to the port side of the cockpit and then to the wheel hub. The cast aluminum from which much of the vane is made is not smooth and presents a chafe hazard for the lines that constantly work back and forth while the vane is engaged. Locating the first set of blocks in three dimensional space to avoid rubbing is key. I started with a double turning block mounted on a rear rail:
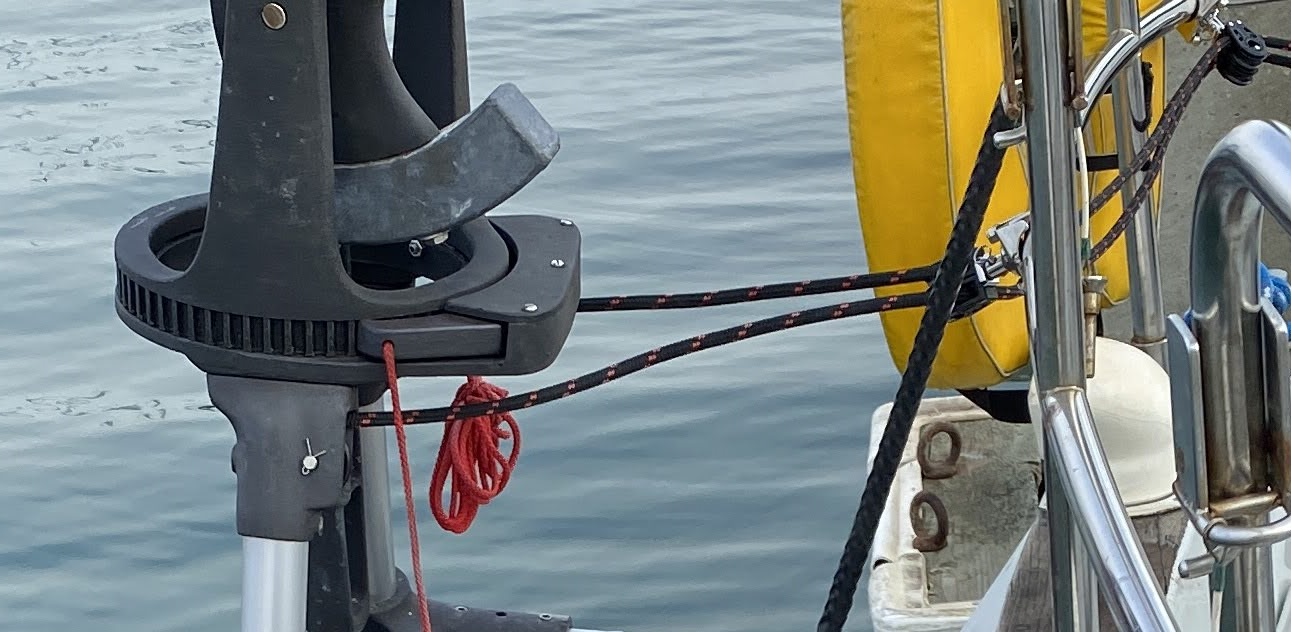
This created too much chafe in the lines.
For version 2.0 I tried to lash in better positions for the blocks.
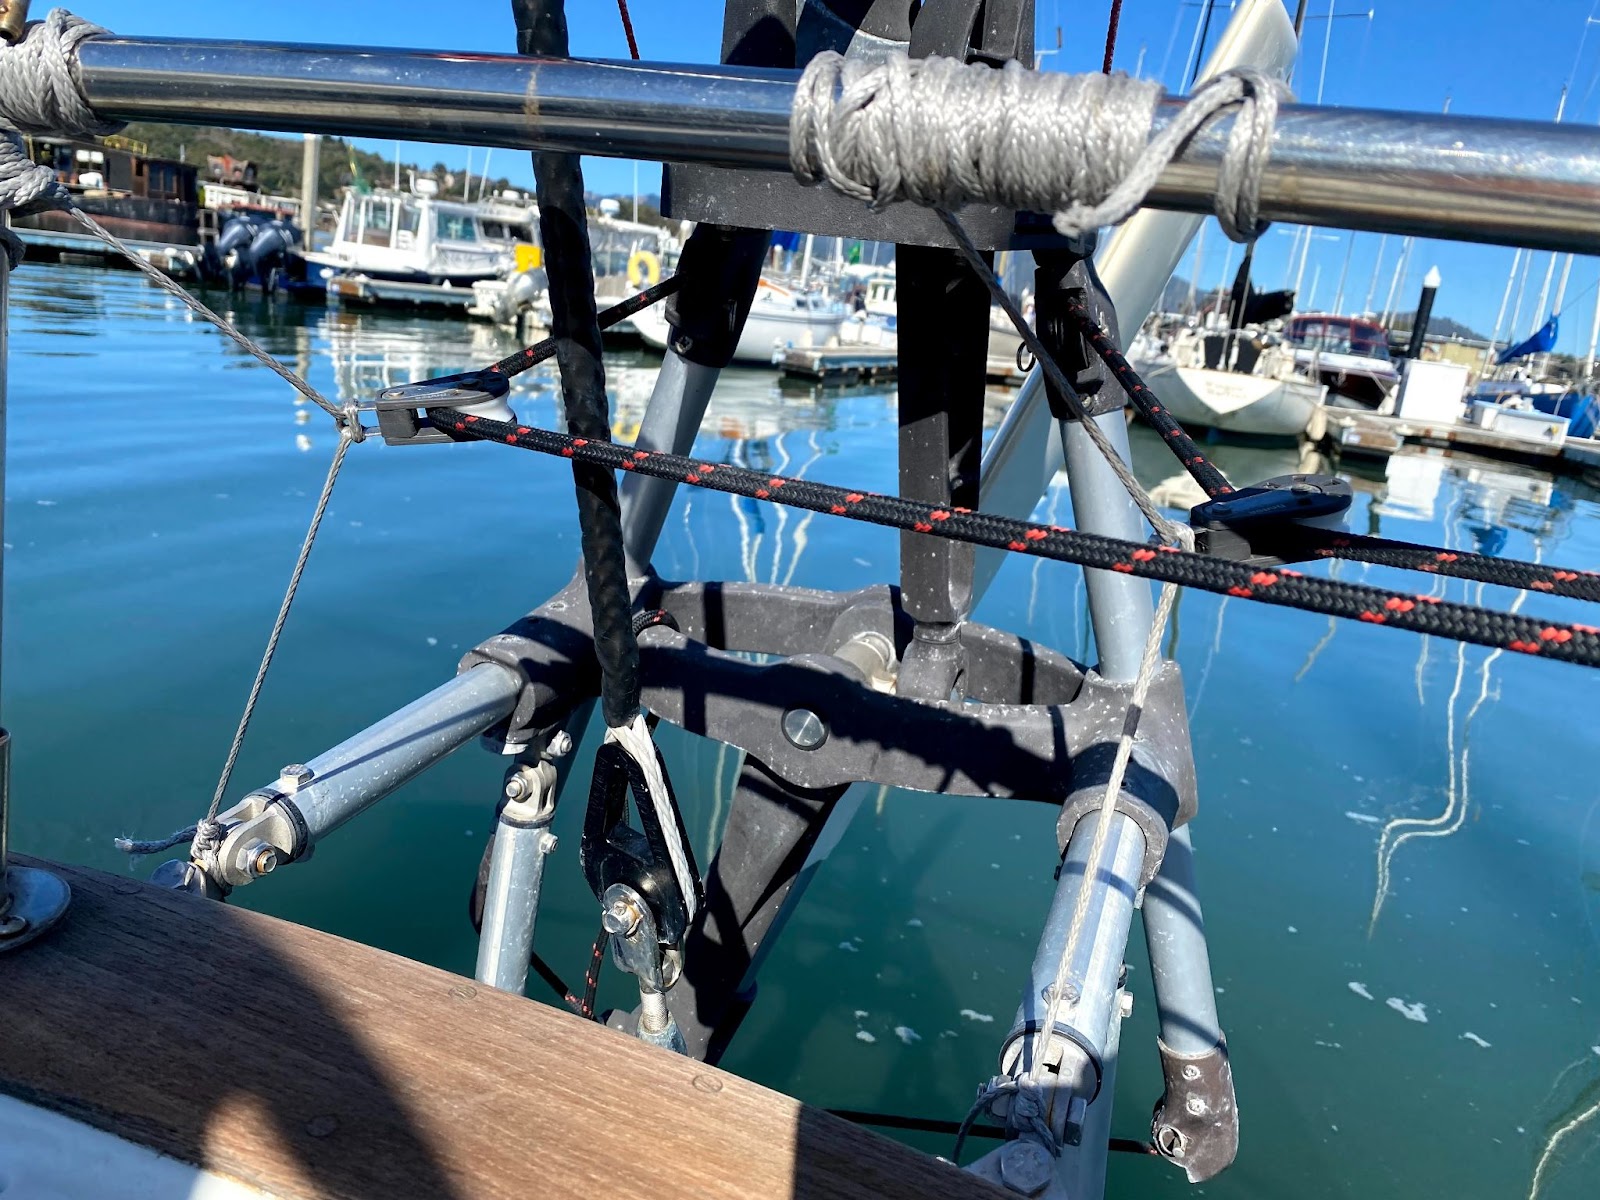
Despite my best efforts to keep the lines taut, this arrangement introduced a lot of swaying into the steering system, so that the wind flapper would have to move a great deal before the control lines could transmit the steering change to the wheel hub. More big S-turn steering.
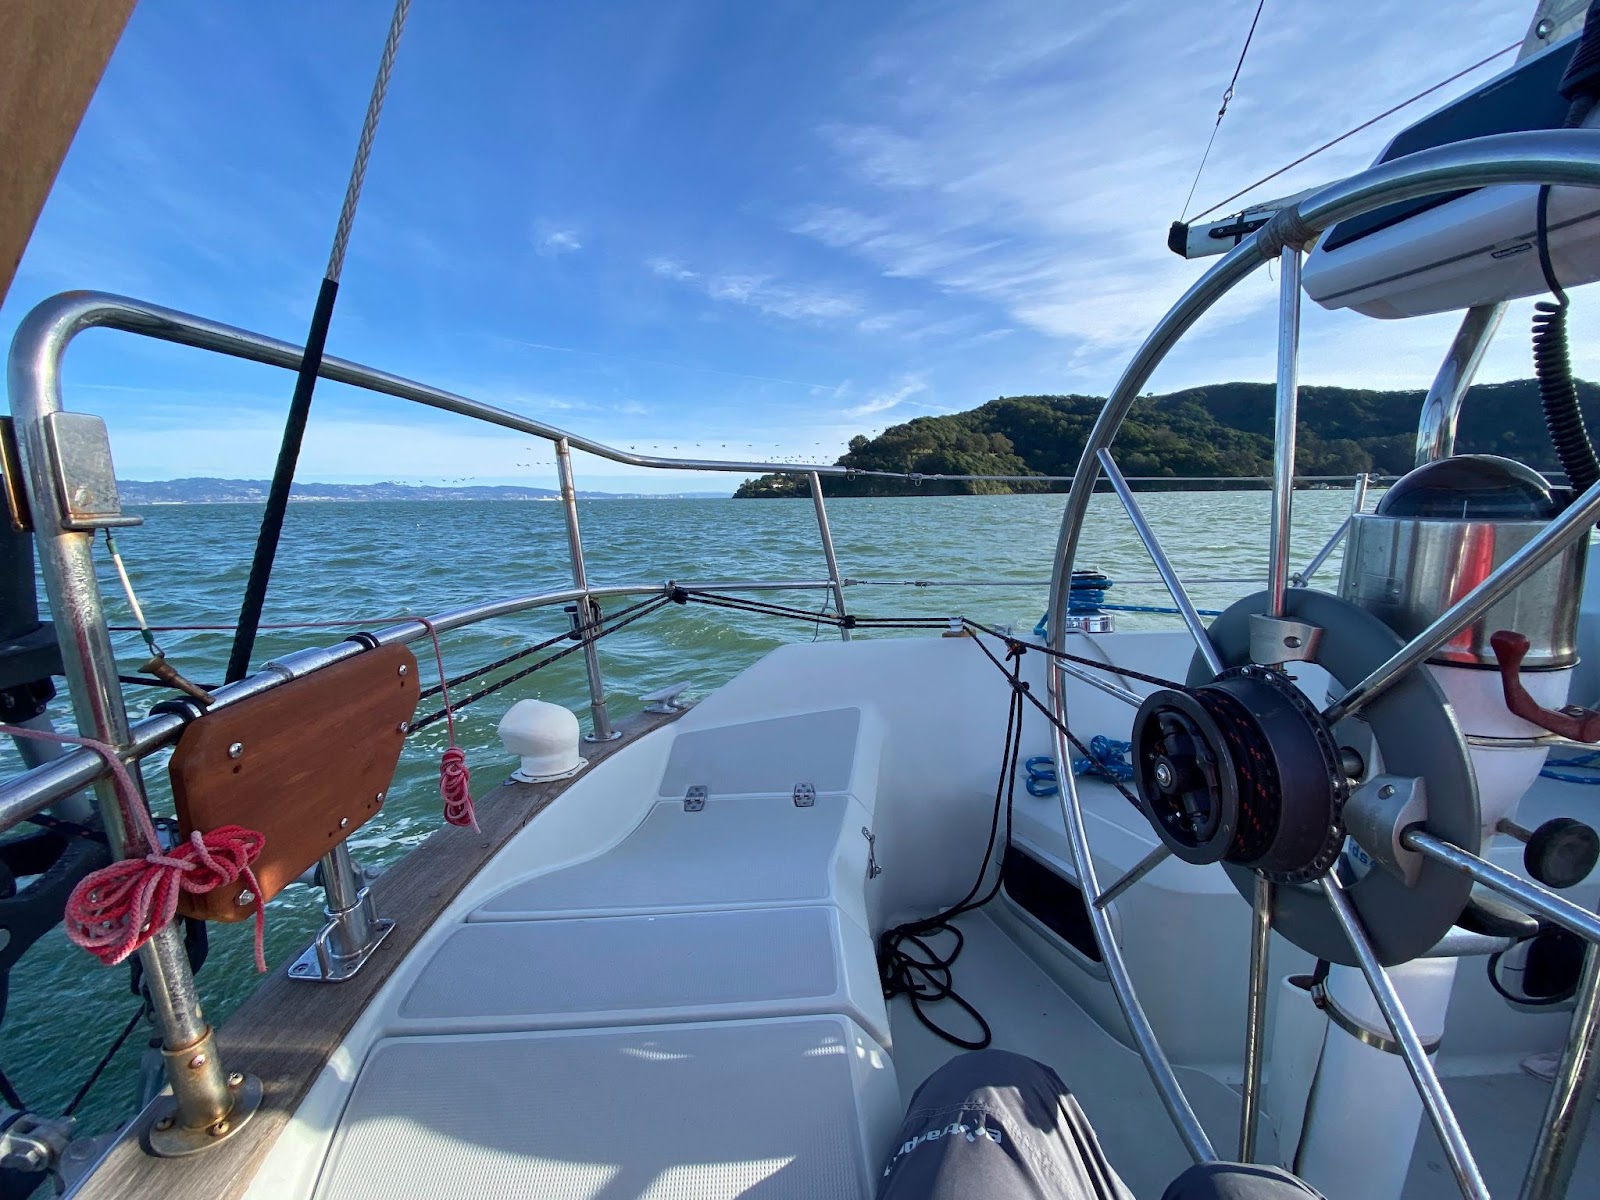
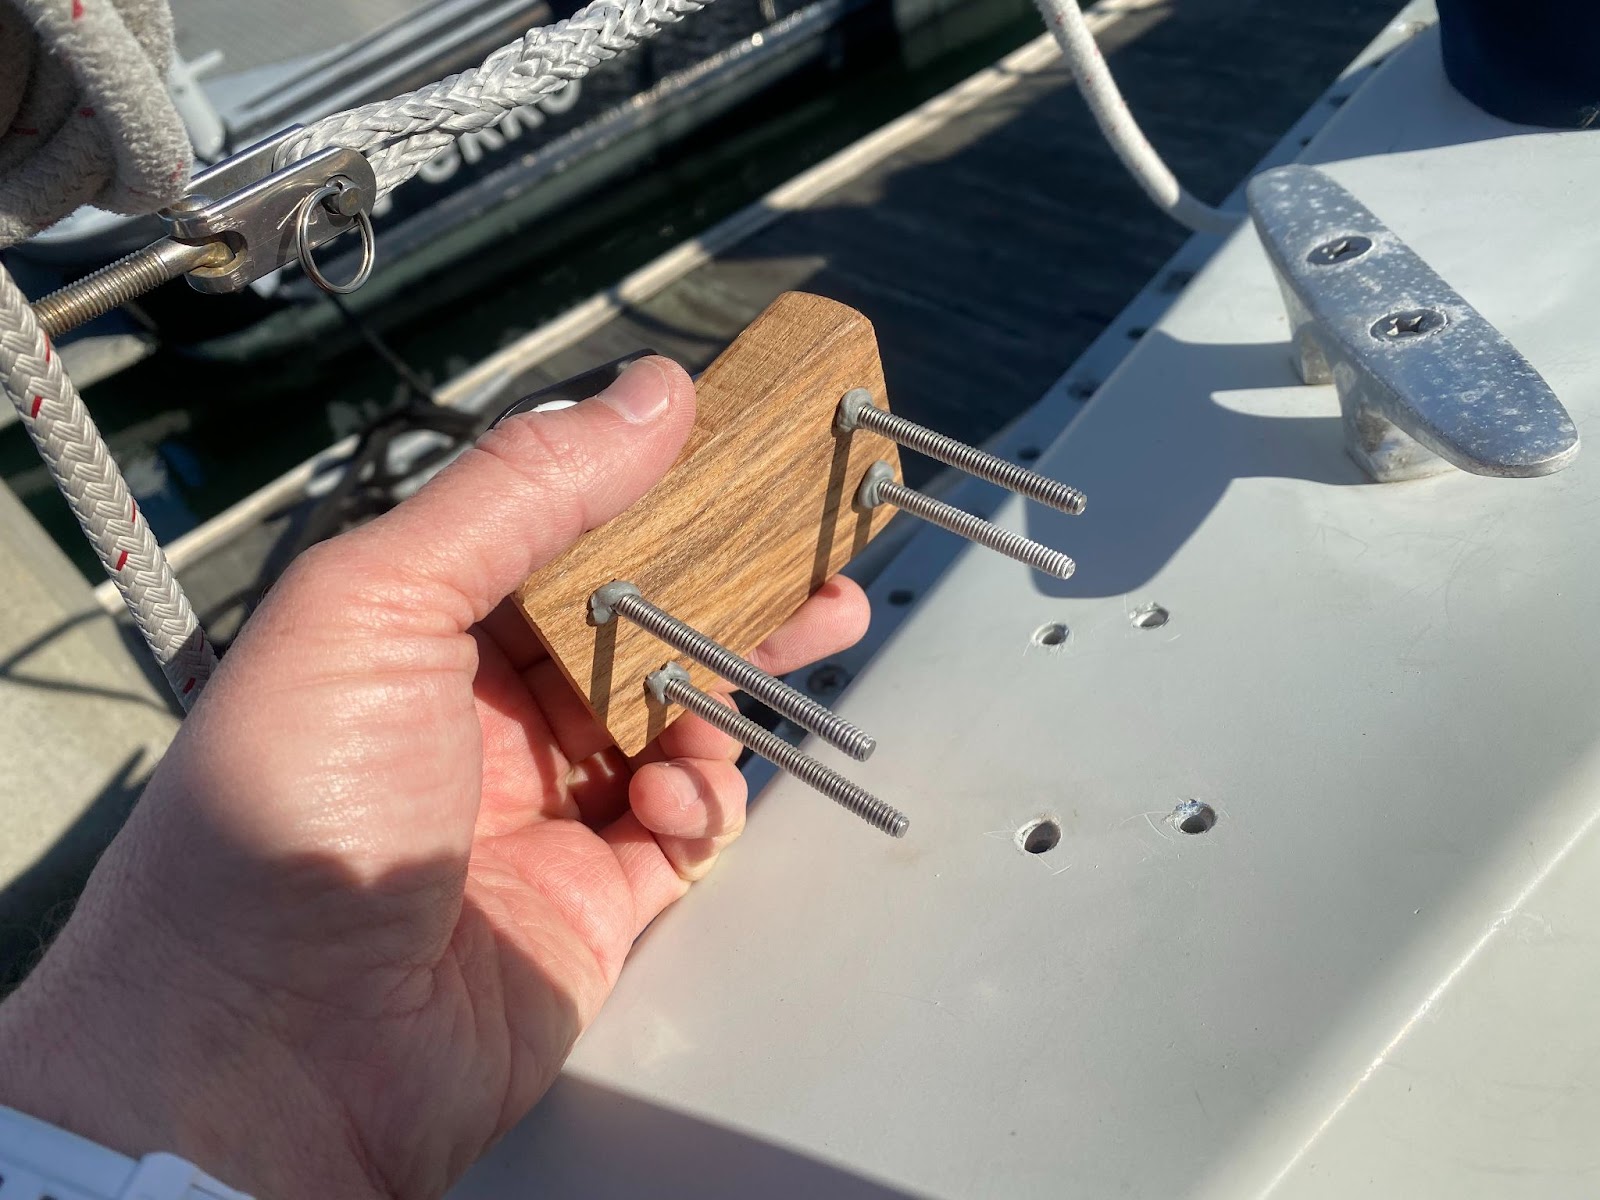
So, I decided to make a more permanent fixed point for this first turn coming off of the vane. I installed an extra 1” stanchion post in the centerline of the boat and added a hardwood plate to which I could attach eye-bolts and fix my blocks.
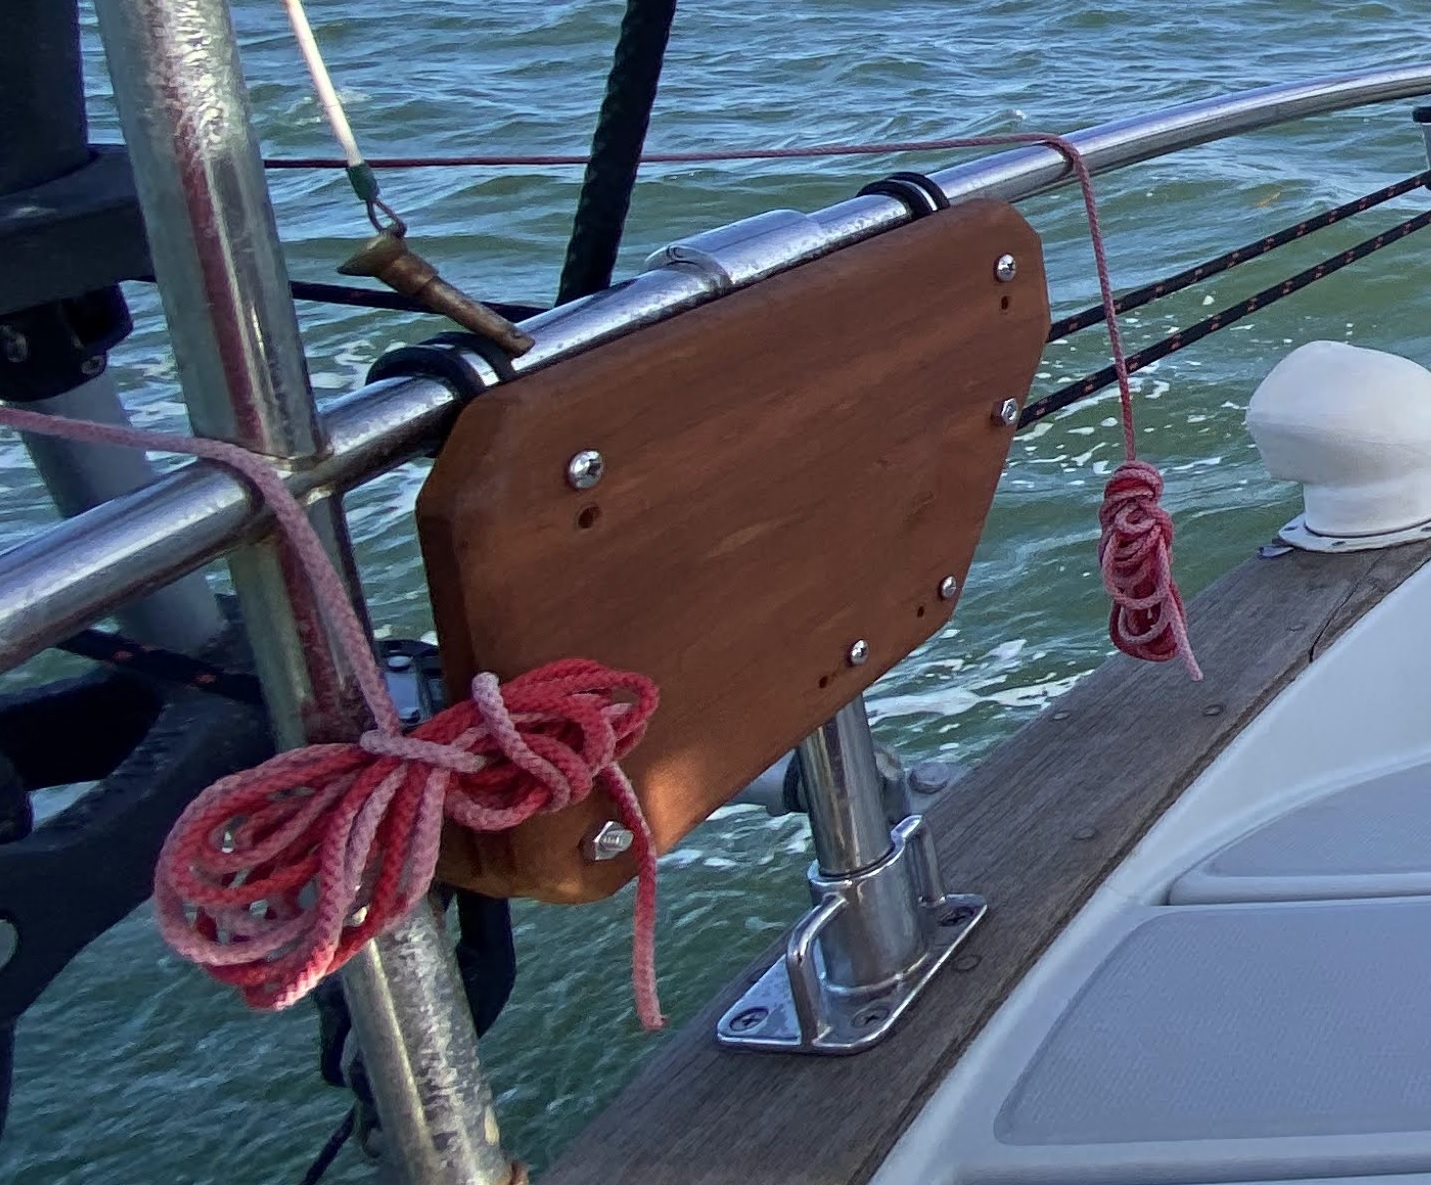
The ‘extra’ holes reveal that I made some adjustments to the design in the field. I realized I had to offset fore-and-aft and up-and down the two lines so that they would not rub on one another. I added a second layer of wood for the starboard eyebolt:
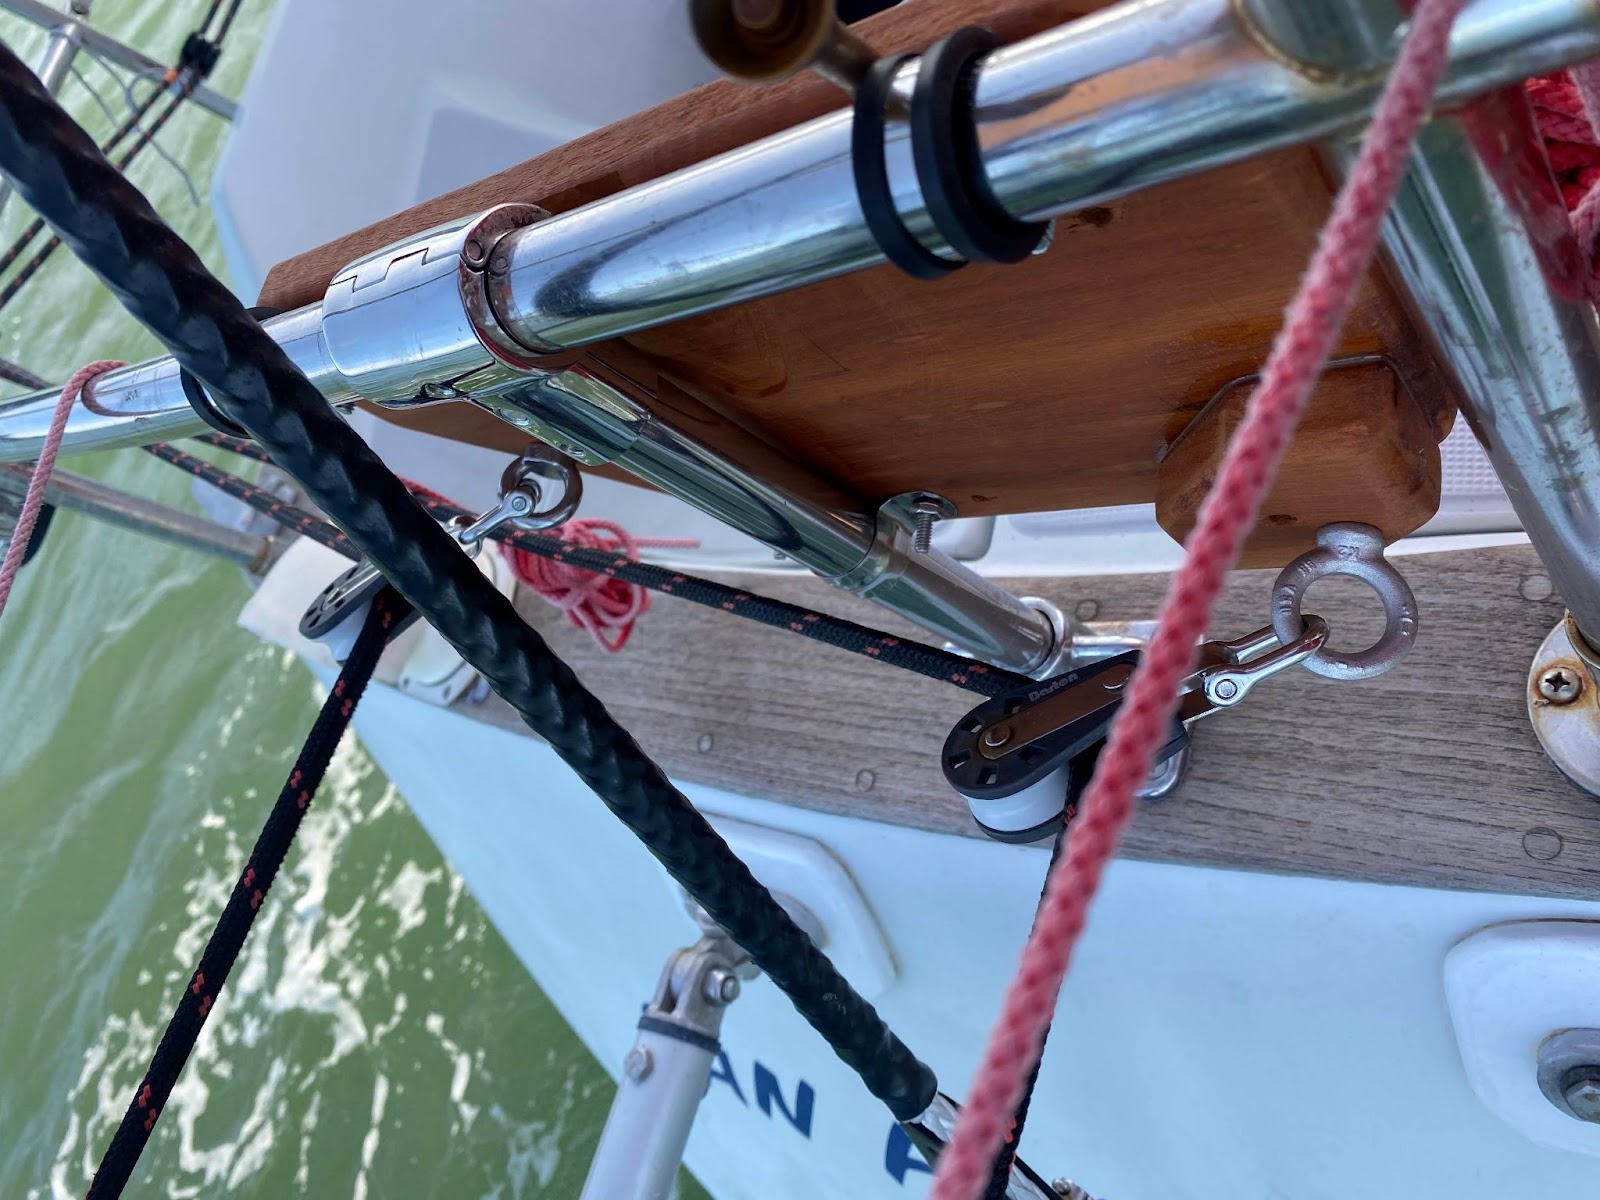
I purchased the wood at MacBeath hardwoods in Berkeley. The species is called “Goncalo Alves” or Brazilian Tigerwood.
The stainless parts for the new stanchion post came from Defender.com, and I had a length of tubing custom-cut at Svendsen’s in Richmond California. Most of the fasteners came from Amazon except for one egregiously expensive shoulder eyebolt from McMaster Carr.
The other part of my control line routing that needed to be improved was the last set of blocks before the lines connected to the hub. In my previous installations, I had made use of a length of dyneema around a nearby cleat.
This was unsatisfactory for a couple of reasons – the dyneema swayed back and forth, the lashing limited use of the cleat, and the two-single blocks worked okay but it wasn’t optimal.
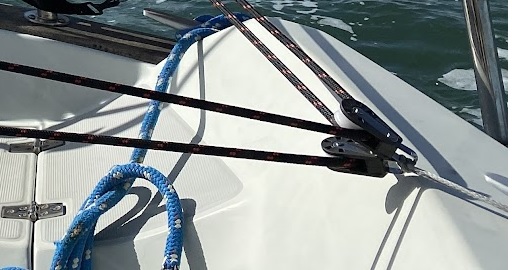
What I wanted was a double cheek block mounted on the coaming. I found a suitable Schaeffer double-cheek block at Defender, but the coaming was sloped away from the cockpit. To remedy this situation I fabricated a small teak wedge plate to eliminate the slope of the coaming.
It’s always a bit preoccupying to drill holes in one’s boat. I did these properly, over-drilling the diameter, filling them with epoxy to prevent water from intruding into the hull sandwich, then drilling again for my bolt penetration. I applied Compass Marine Butyl Tape for watertightness:
And voila, a reliable, fixed double cheek block:

So, still a few refinements to be made (final fasteners etc.) but I am satisfied with the installation: